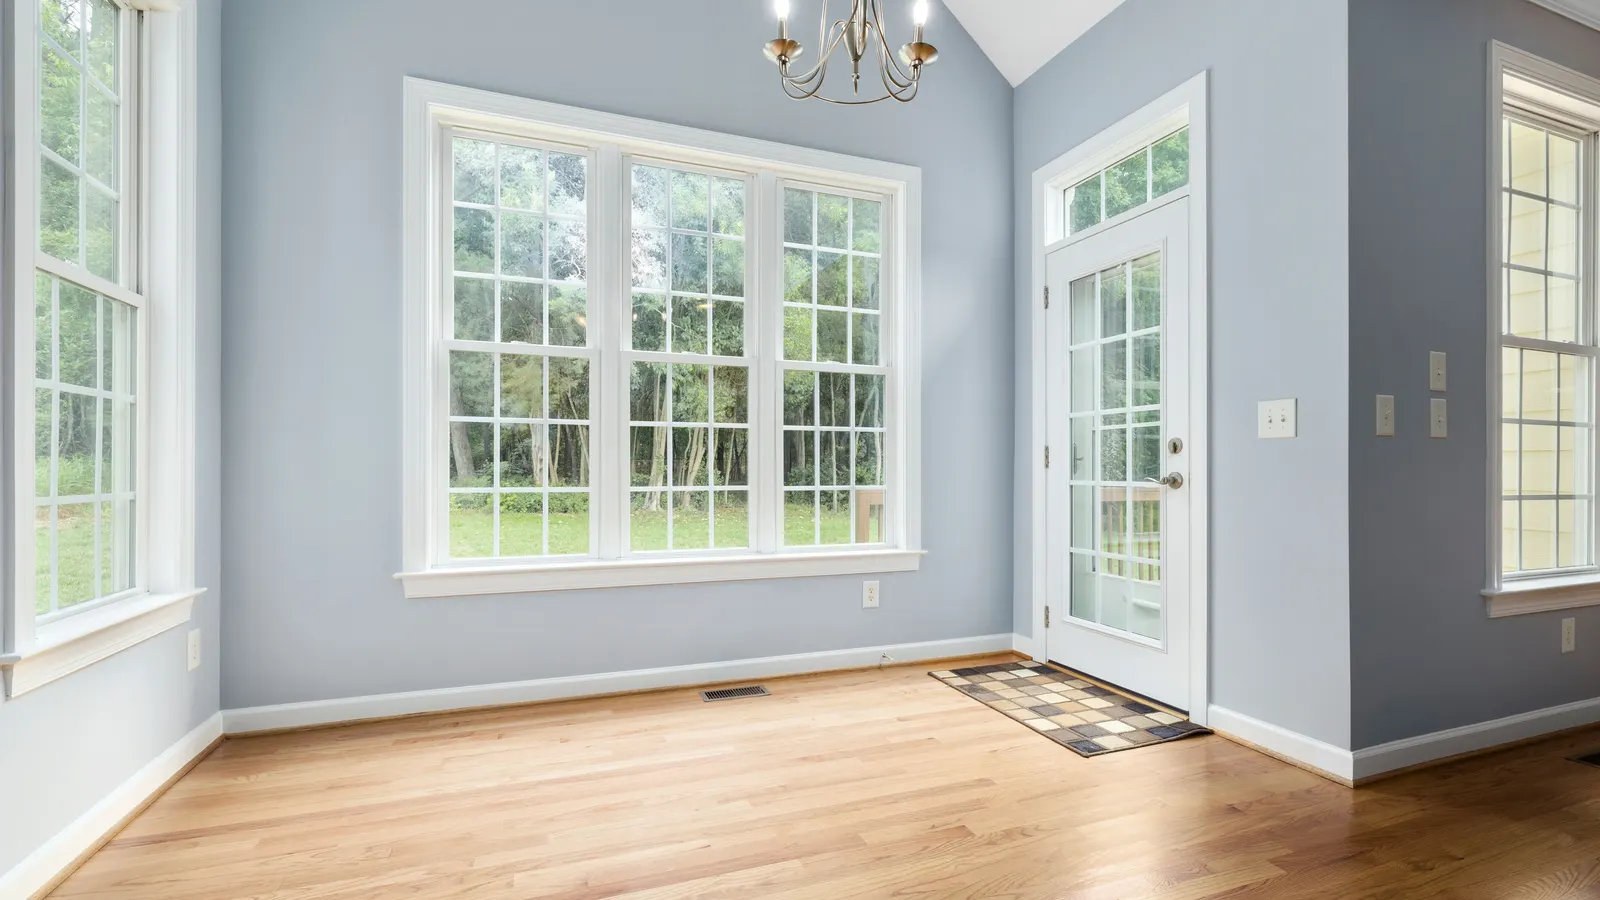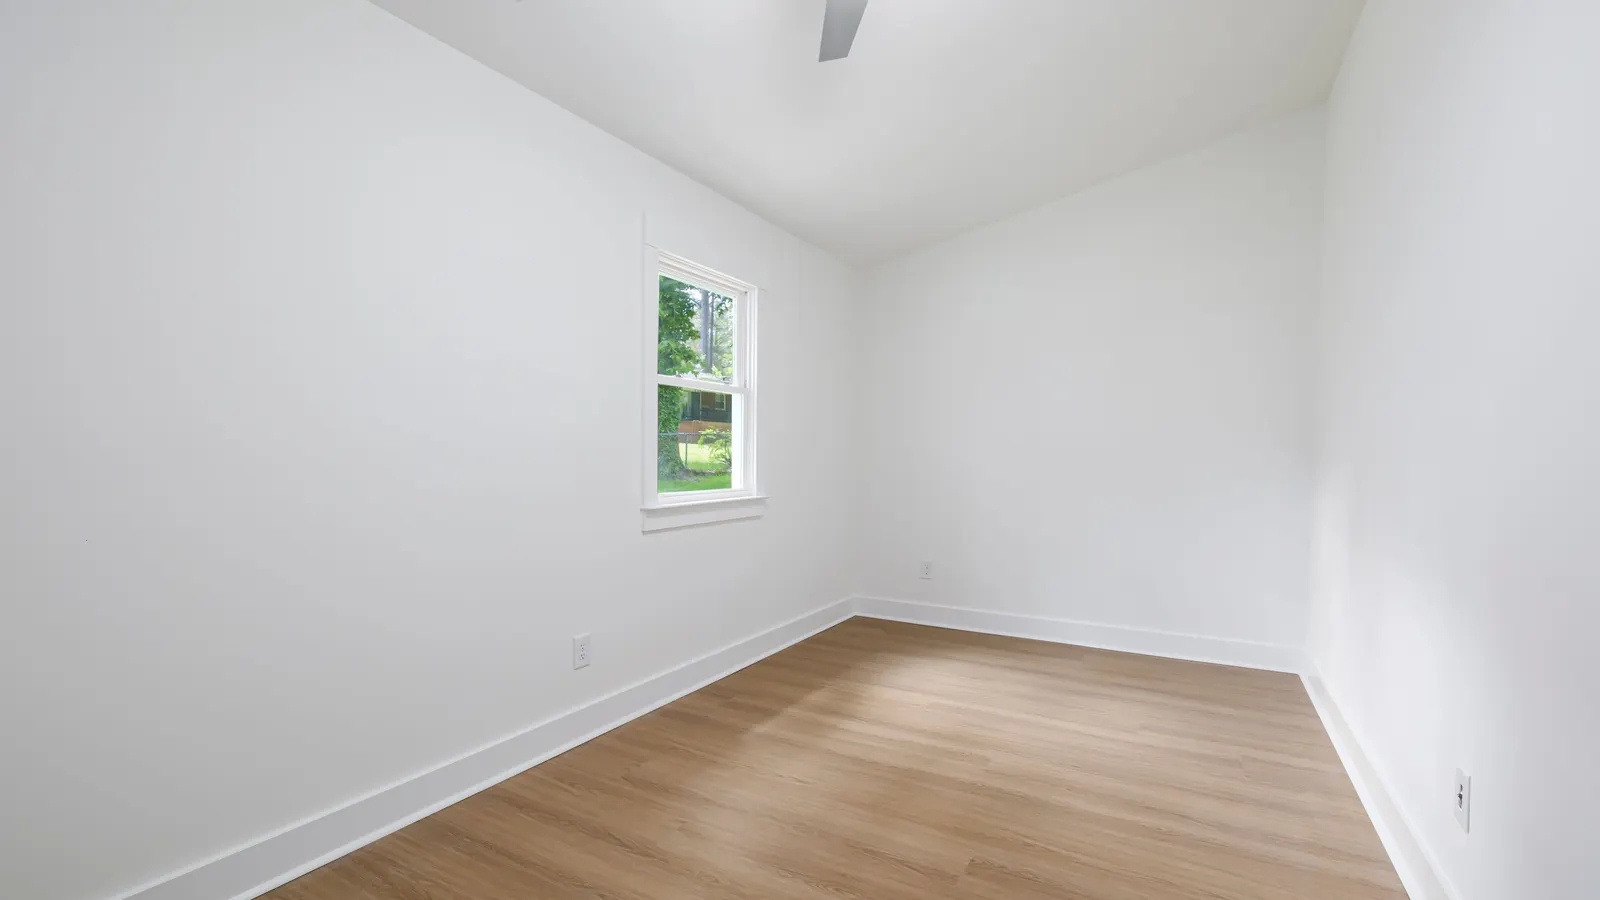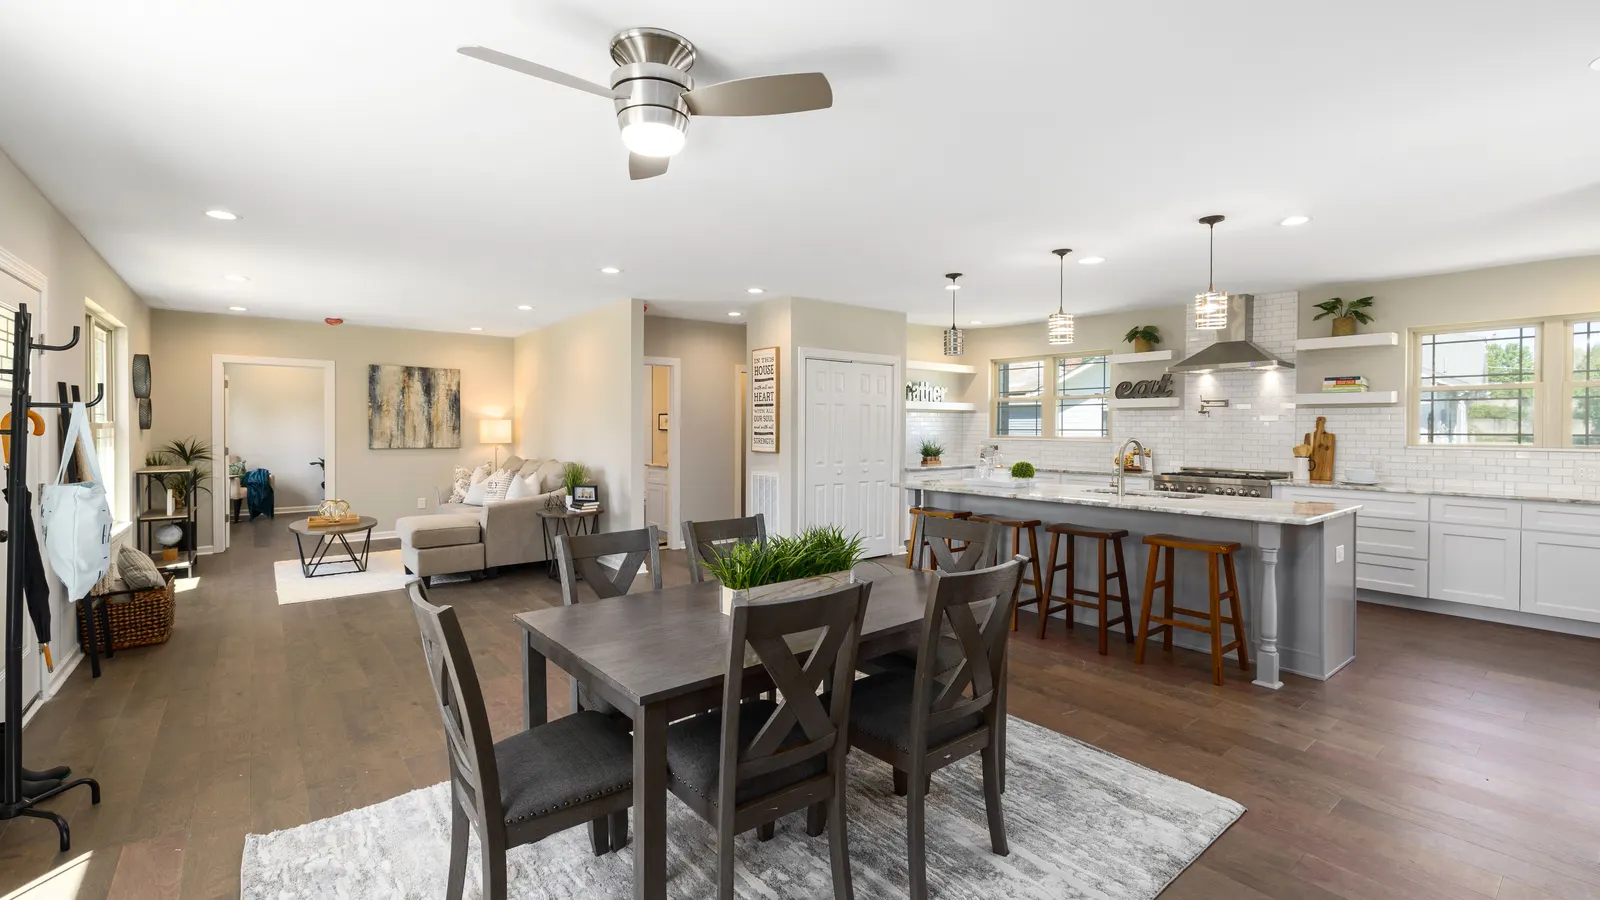
Most of the interiors we paint are in homes people are living in. The couch stays in the living room, somebody still has to cook dinner, and the kids still need to get to their bedrooms. So the work has to fit around the household, and the walls still have to look right in your own light once everything is put back.
This is how an interior job usually goes with us, along with a few things you can do to make it easier on yourself. Our interior painting page covers the service itself.
Starting With a Walk-Through
Every job starts with a consultation. We talk about color, walk through the scope with you and then send a written proposal. The walk-through is where we sort out the details, like which rooms we’re doing, whether ceilings, trim and doors are included, and what needs fixing before anything gets painted.
Color usually comes up early, since it affects everything after it. Color consultation is included with every painting project at no extra charge, and you look at sample and mood boards on site, in your own light, before you decide. There’s a separate post on how our color consultation works if you want the details.
It also helps to tell us how you use the house. Let us know which rooms you need every day, where the dog sleeps, and whether you’ve got guests coming or a date you’re working toward.
Covering Up the Room
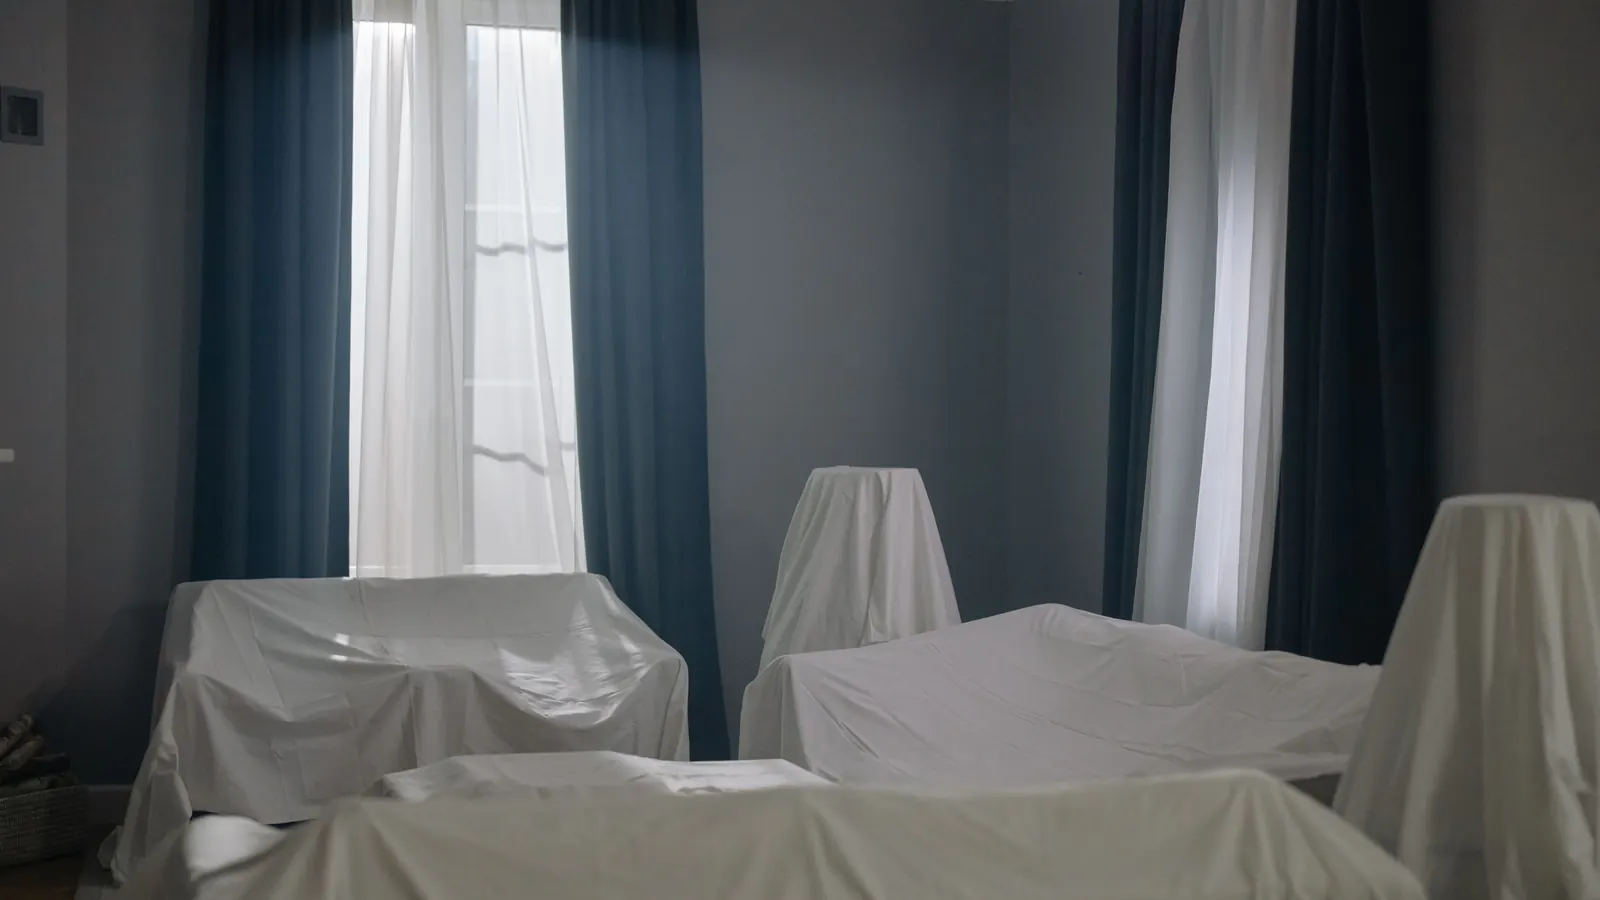
Before anyone sands or paints, we cover the furniture and mask the floors. Furniture that can be moved gets pulled away from the walls, and whatever stays put gets covered. The floor protection is taped down so it doesn’t slide around underfoot, and anything that shouldn’t get paint on it is masked off.
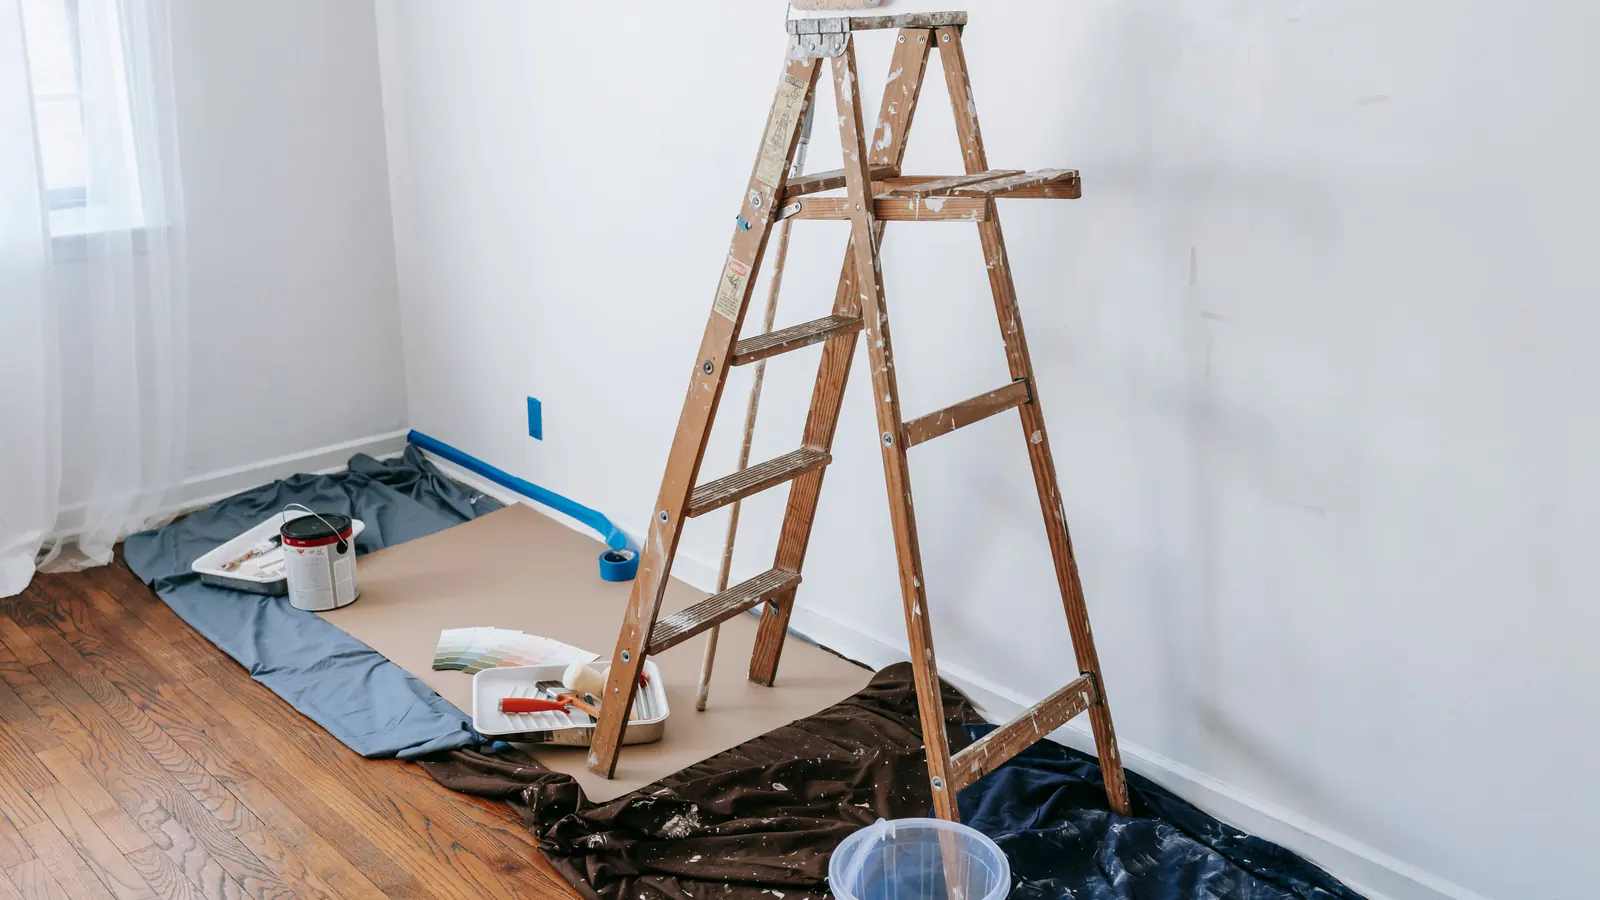
You can save some time, and some worry, by doing a few things before we show up.
- Take the art, mirrors and anything on the shelves out of the rooms we’re painting.
- Put away anything small, fragile or valuable.
- Clear off the bathroom counters and window sills.
- Tell us about anything that shouldn’t be moved at all, like a piano or a heavy cabinet.
Covering everything properly takes a while on a careful job, but it’s worth it. The paint and dust stay in the room we’re working on, and you can keep living in the rest of the house.
Fixing the Walls First
Paint won’t hide a bad patch. If anything it makes it more obvious, especially when sunlight comes across the wall at a low angle and catches every edge and nail pop. That’s why we don’t put a coat on until the surface is repaired, leveled and consistent from one section to the next.
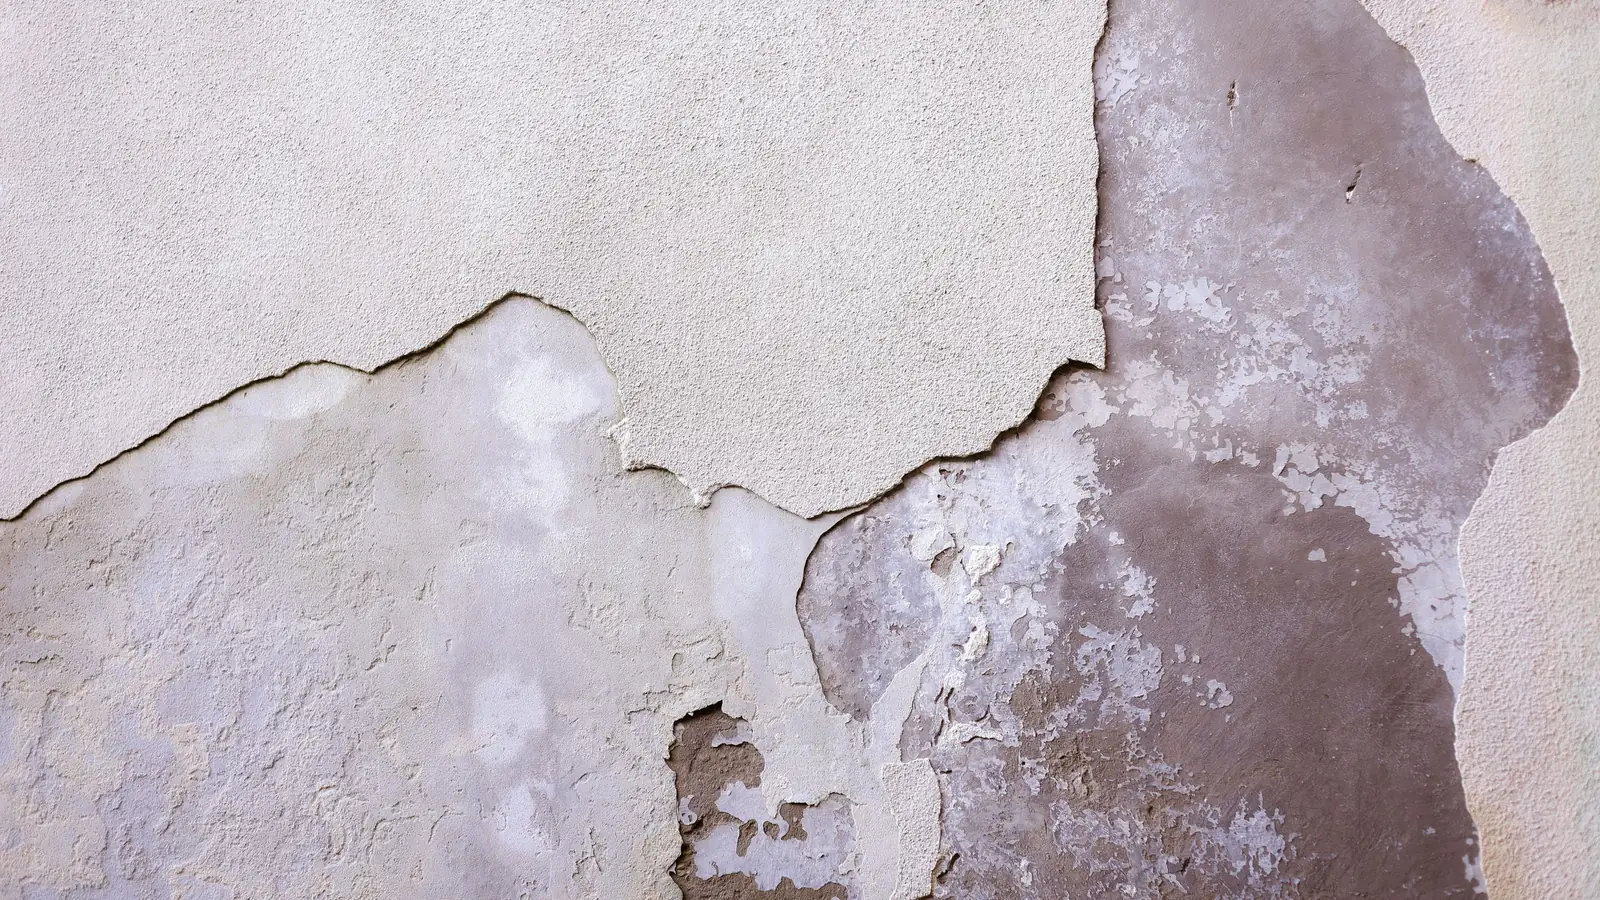
In practice that means filling holes and cracks, resetting and patching nail pops, and sanding the repairs flush. Where the light is harsh or the finish has some sheen, we sand to a Level 5 finish where required. That’s a thin skim coat over the whole surface, so the patched spots and the rest of the wall look the same once they’re painted. Our post What Is a Level 5 Drywall Finish? explains when it’s worth doing.
Older Homes and Lead Paint
If your home was built before 1978, the older layers of paint might have lead in them. Sanding or scraping them makes dust, so we test before doing that kind of prep, and if there’s lead we follow lead-safe practices. We’re EPA Lead-Safe certified. Our post on lead paint in pre-1978 homes explains why that matters when a family is living in the house during the work.
Primer, Where It’s Needed
We don’t automatically prime every wall. Primer goes where the topcoat needs some help. On slick surfaces like old glossy enamel on trim, a good adhesion primer gives the new paint something to grab. Where there are old water stains or smoke marks, or knots in wood, a stain-blocking primer keeps them from bleeding through. Patches and bare wood get primed too, so the finish looks even over them.
Getting the right primer in the right spots is a big reason the finish coats come out looking uniform when they dry.
Finish Coats and the Walkthrough
We put on at least two finish coats, using low-VOC premium paint lines, including Fine Paints of Europe interior systems when they’re specified. Trim, doors, crown and baseboards take a beating that walls don’t, so they get coatings picked to show off the detail and hold up to wear.
You’ll see progress every day. Once the painting is done, we walk through the rooms with you and handle any touch-ups right then.
Paint can feel dry long before it’s fully cured, so go easy on the walls and trim for the first few days. Don’t scrub them, and be careful pushing furniture back against them. The label on each product says how long it needs to cure.
Common Questions
Do we have to move out while you paint?
Not for a normal repaint. The furniture’s covered and the floors are masked, so you can keep living there. If the job includes lead-safe work in an older home, we’ll talk through which rooms need to be closed off while that part gets done.
Is help picking colors included?
Yes. Color consultation comes with every painting project at no extra charge, and you see samples in your own light before you decide.
Can you paint the cabinets too?
Cabinets are a different process. We take the doors off and spray them off site. Our cabinet refinishing page explains how that works.
If you’re planning to repaint inside, take a look at our interior painting and color consultation pages, then request an estimate or give us a call at (650) 961-7415.