Settings
Focus mode
Focus keeps the section you are reading bright and greys out the rest of the page. Super focus adds a second, brighter spot on the part of the section you are reading. In either, ↓ and ↑ move to the next or previous section (or part, in Super focus).
How grey and dim Focus makes the sections outside the bright one. Moving it turns Focus on.
Color vision
For red-green color blindness: deutan (green-weak) is the most common kind, protan (red-weak) the next. Charts, highlights and warnings move to blues, oranges and purples that stay apart, with a cue beyond color. Photos never change. Applies to the blog and the service pages.
Your choices are saved in this browser, on this device.
01Surface Restoration
Preparation that makes the paint last
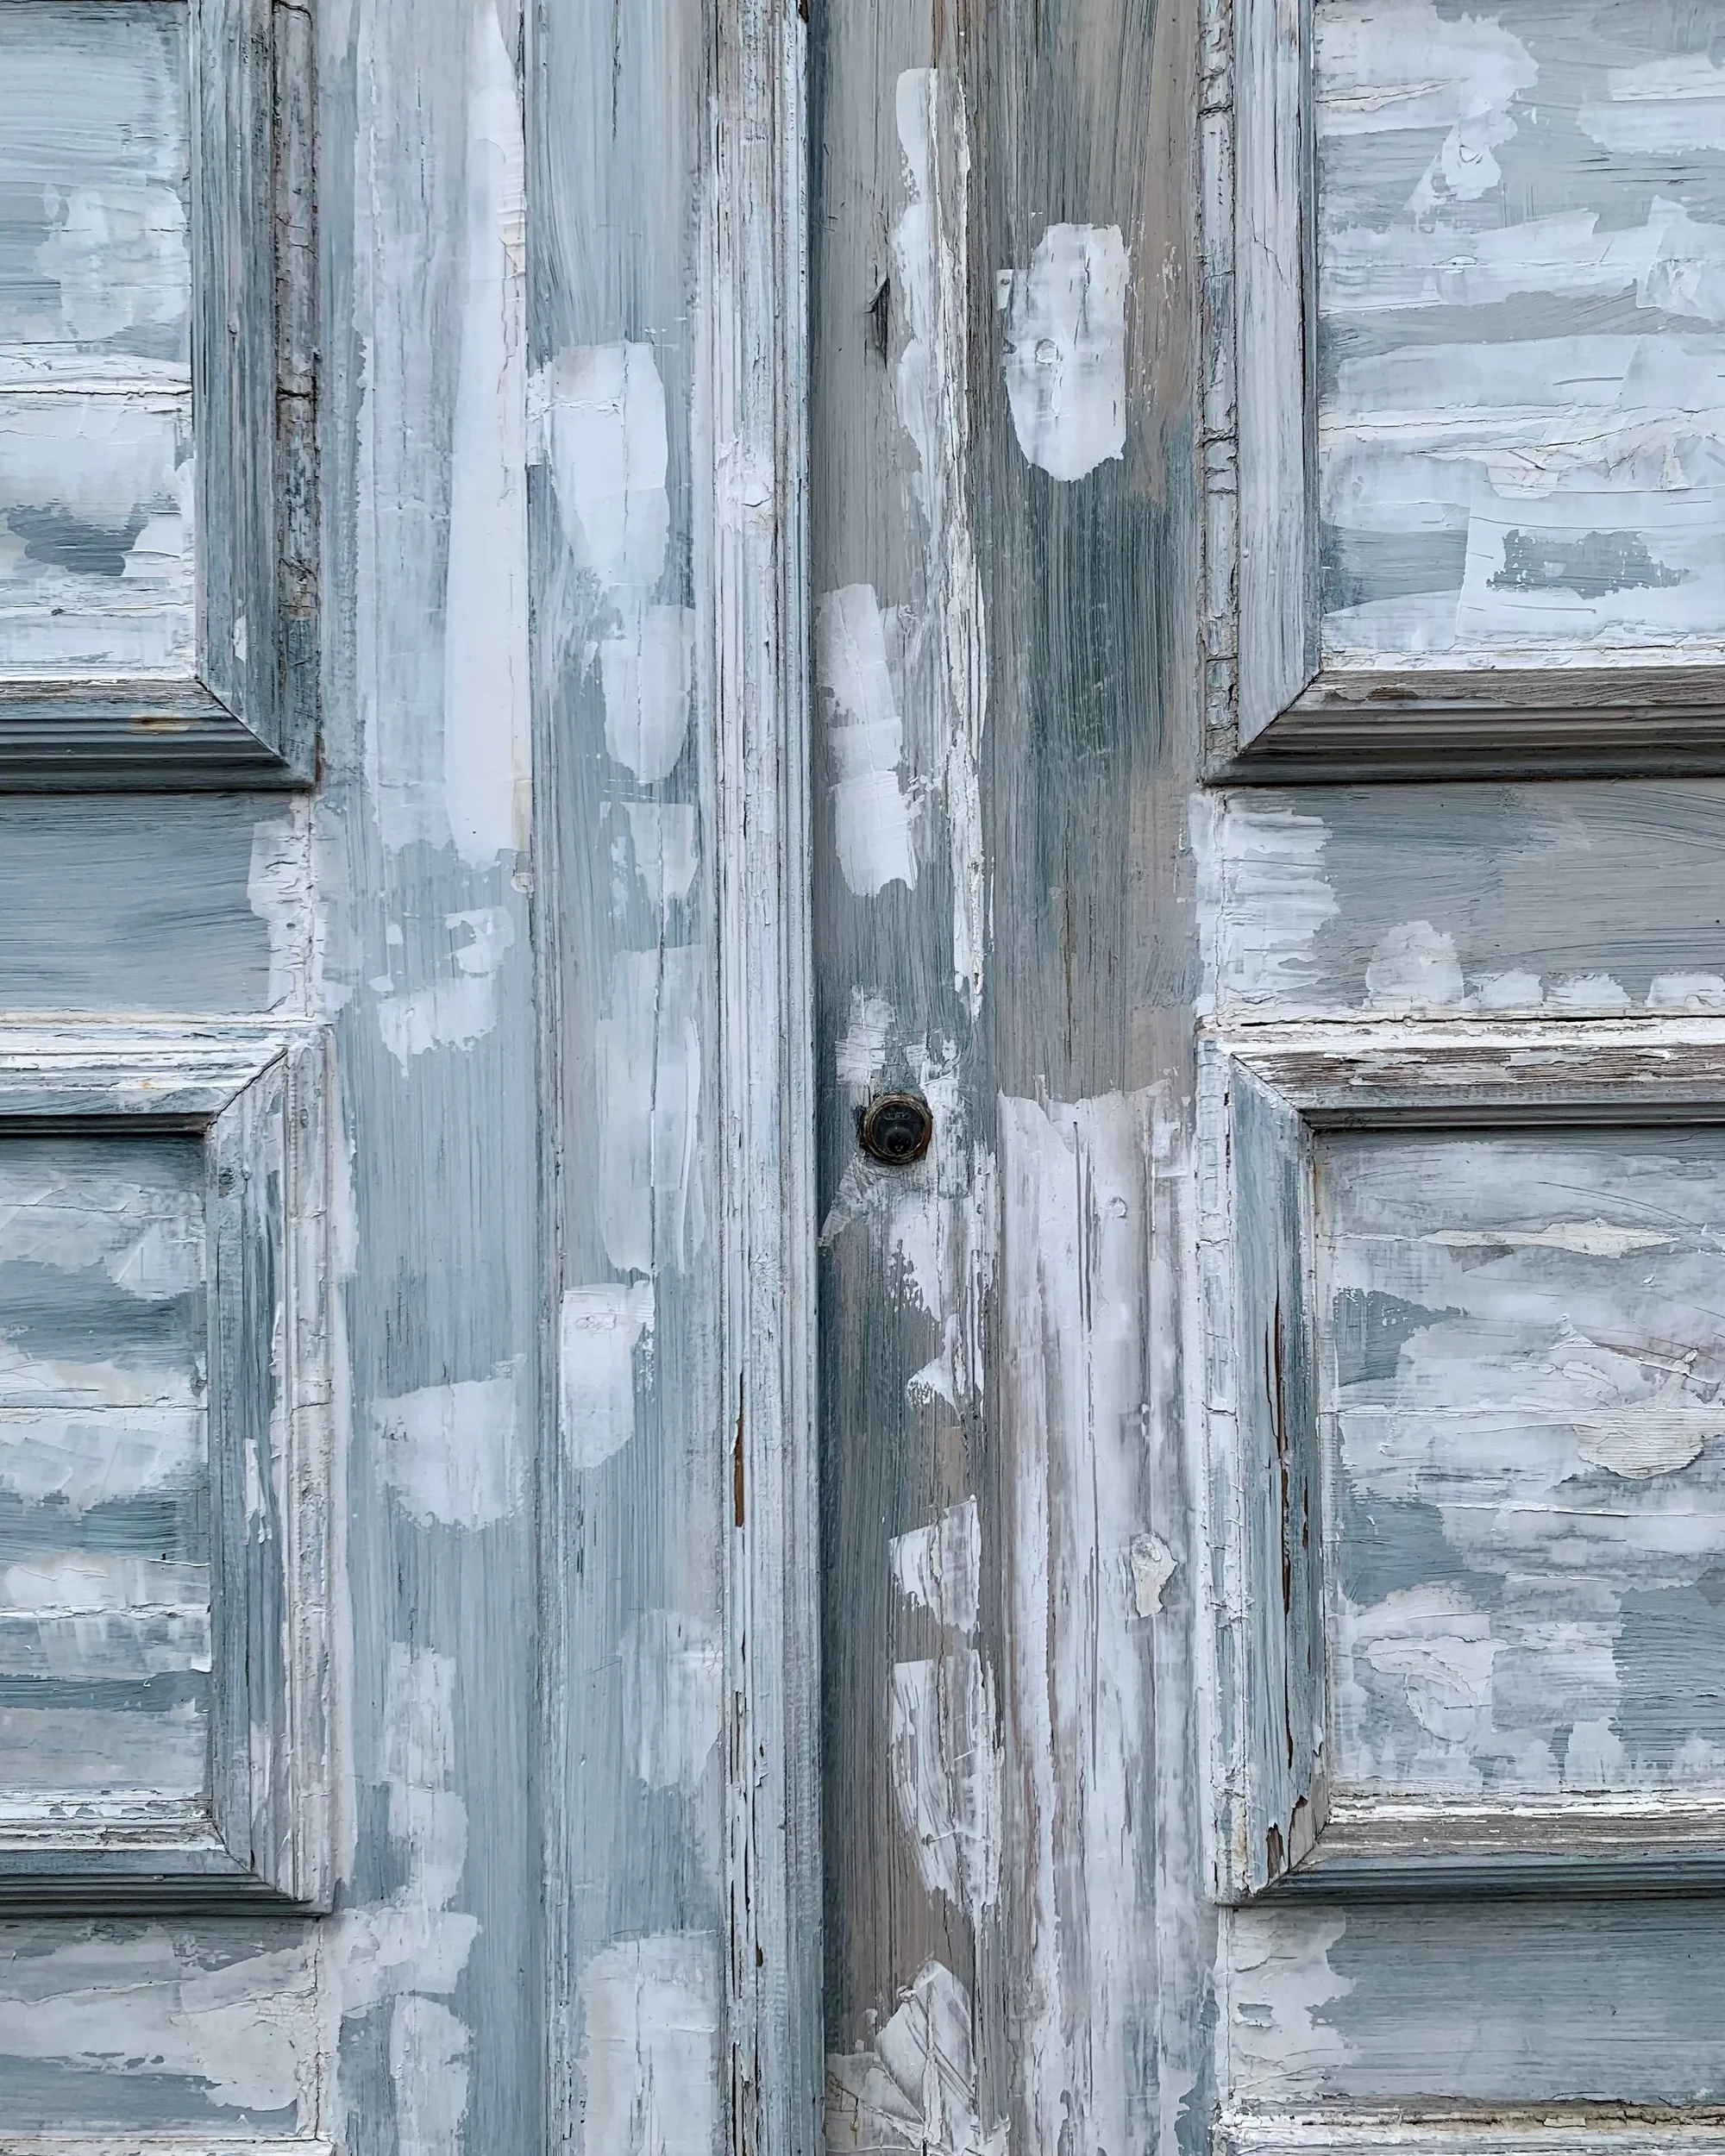
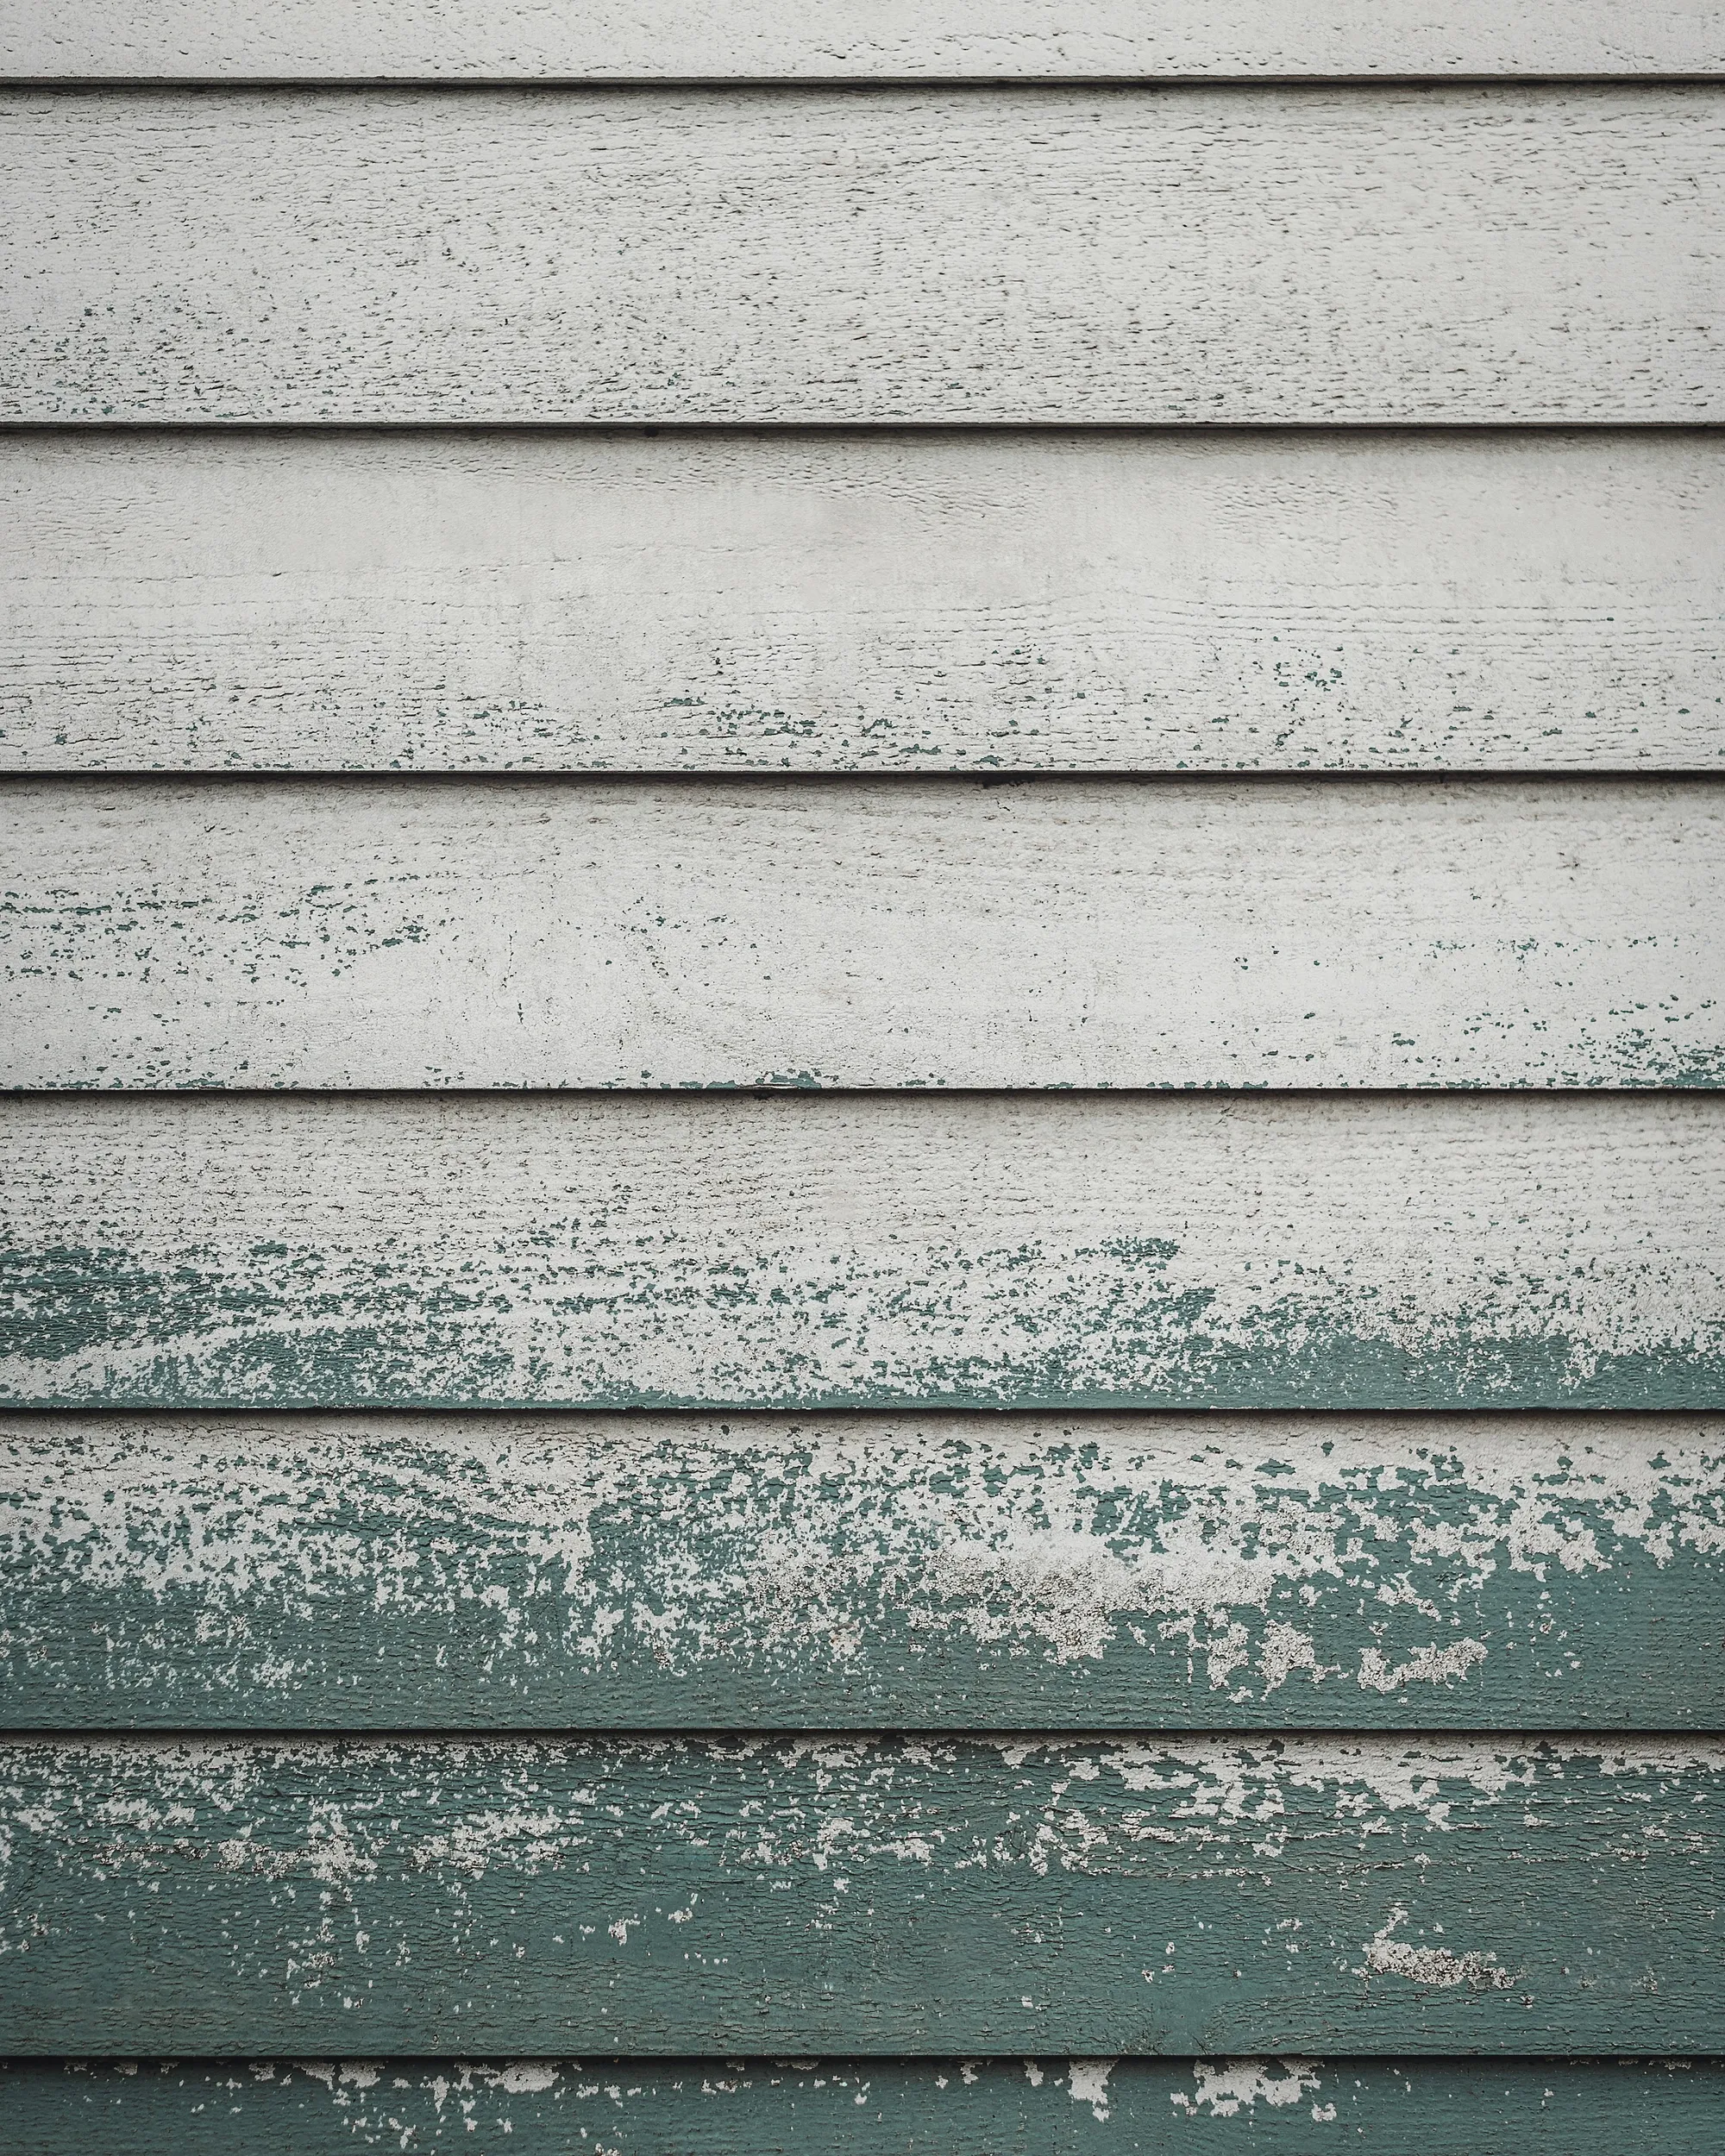
A house gets fresh paint, and before long the trim is peeling again. Why? The paint went over rot, open cracks and dried-out caulk. We fix those first.
02What we fix first
The work under the paint
Every McDermaid Restoration & Remodeling paint job starts with surface restoration. It’s slow work, and it’s the part you can’t see once the paint is on. We’ve done it for 34 years under C-33 license #803672, with Level 5 preparation inside and out. Call (650) 961-7415.
03Six steps
Six steps before the first coat
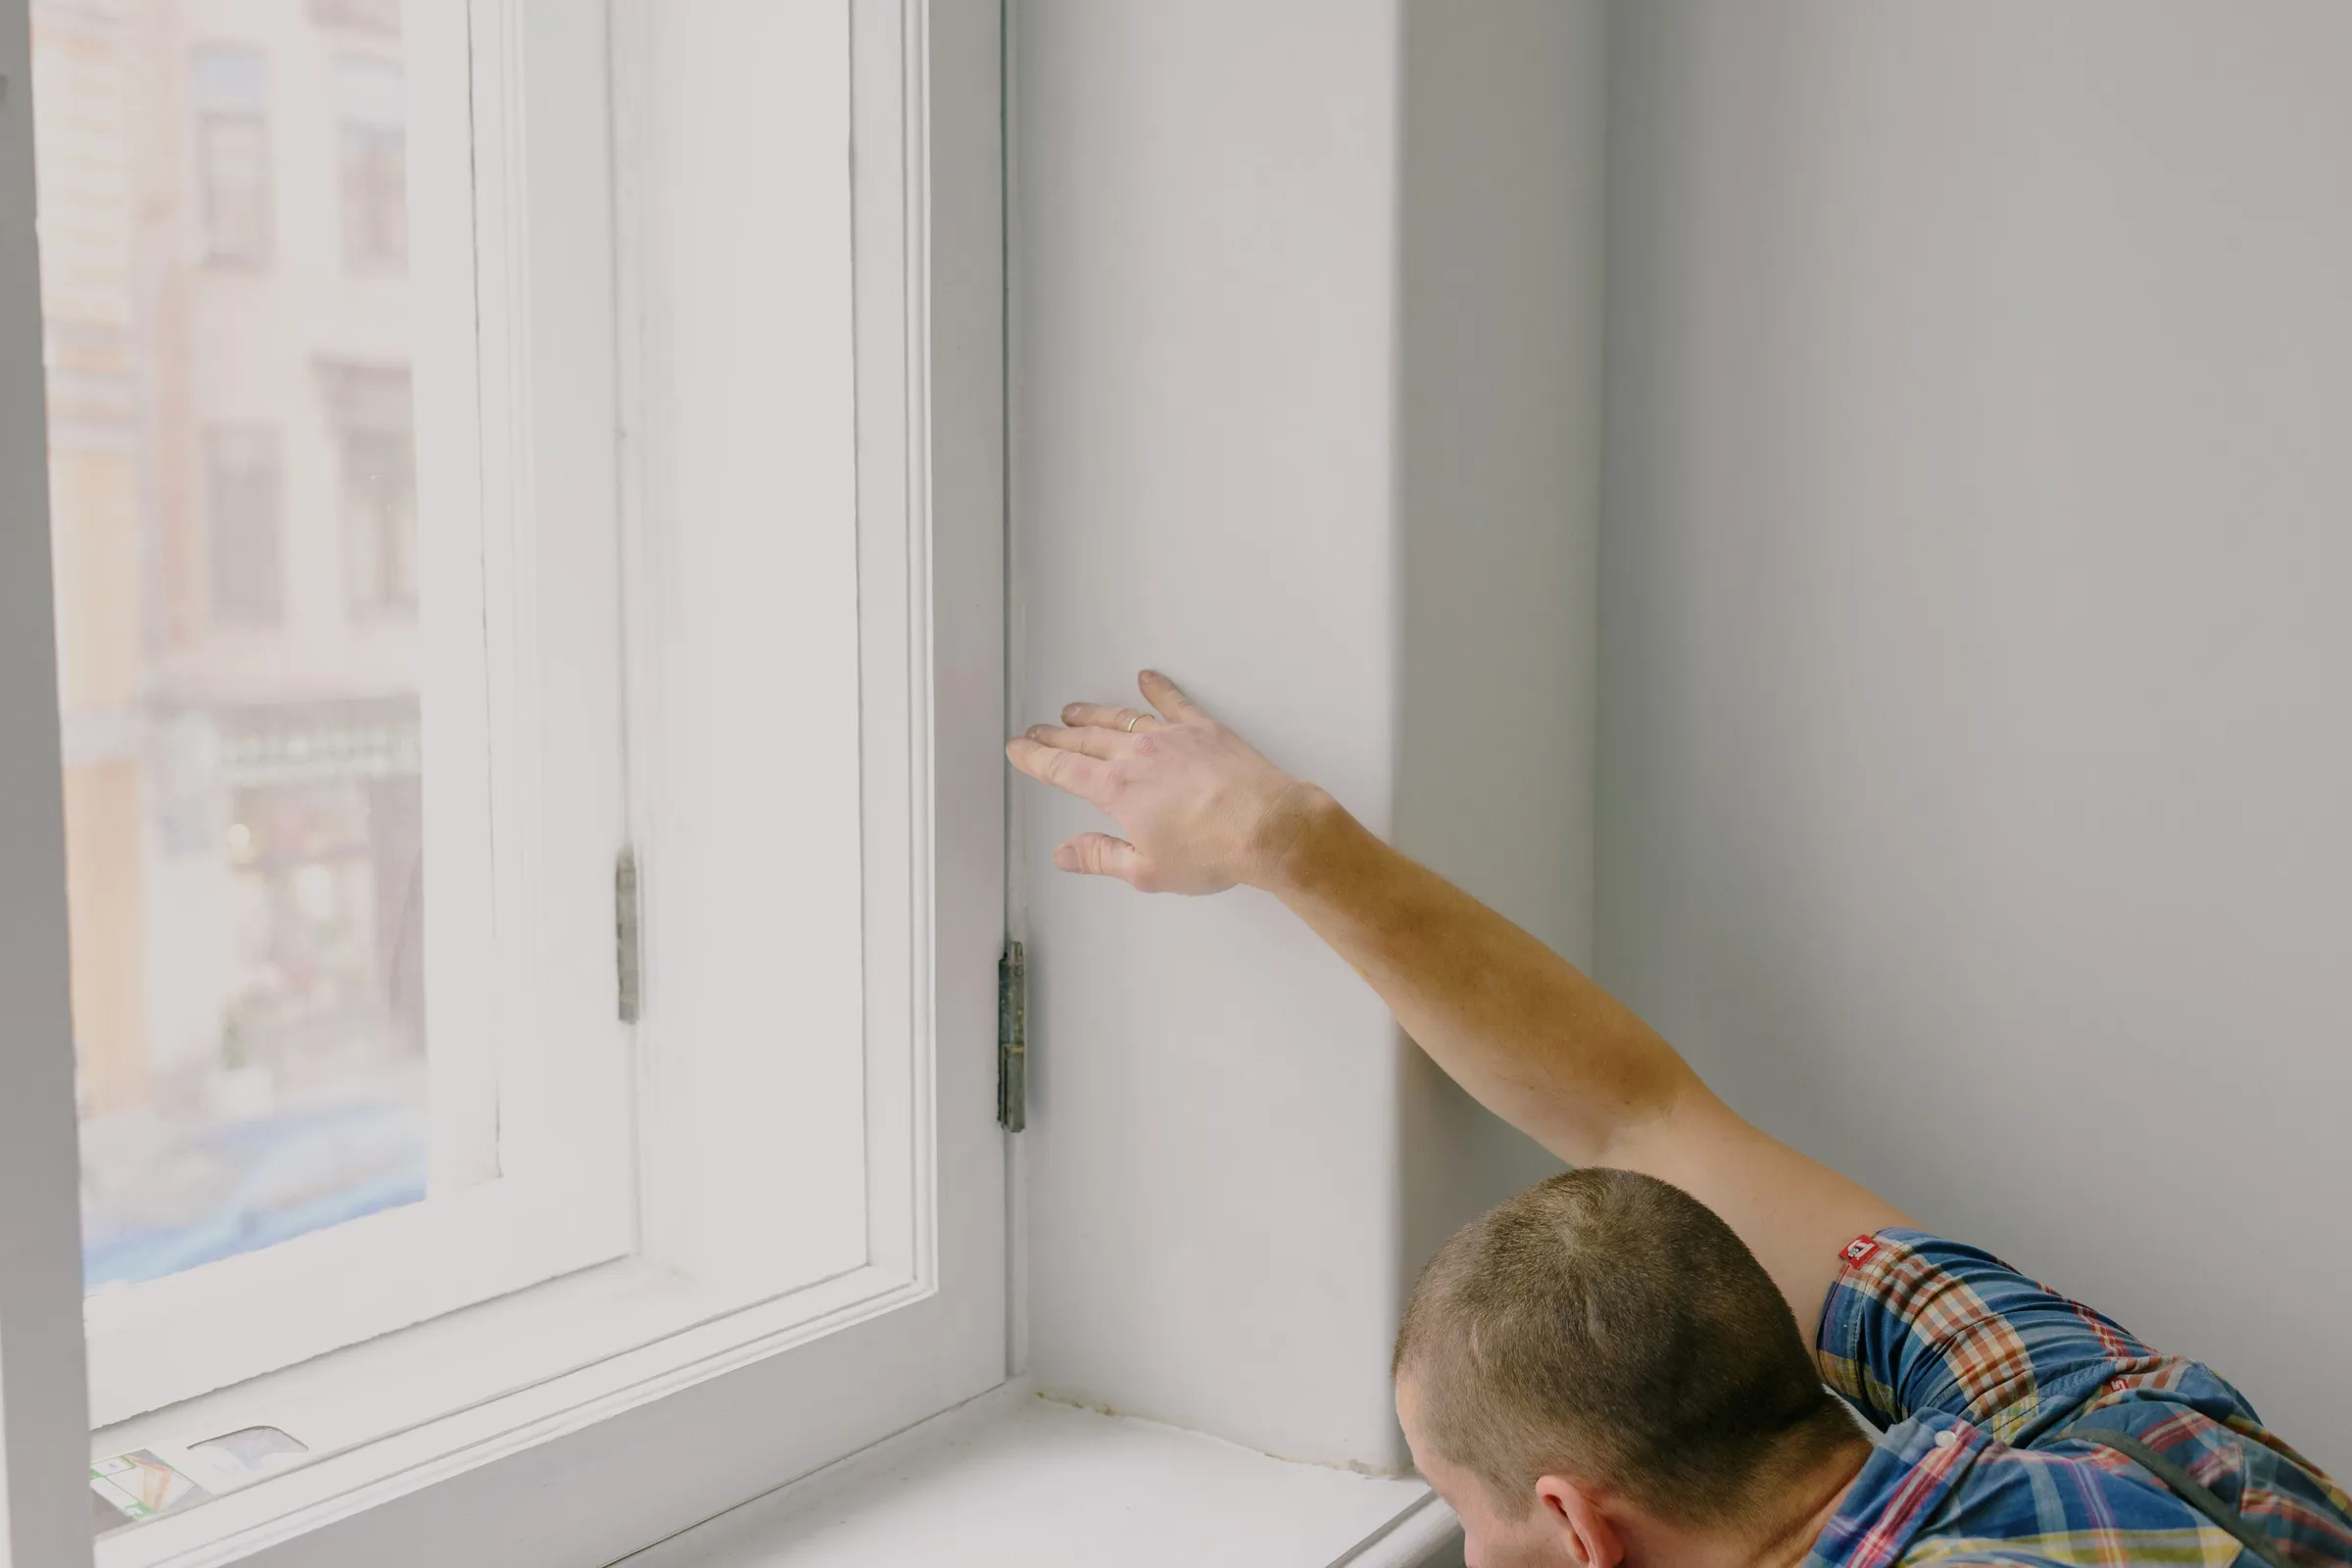
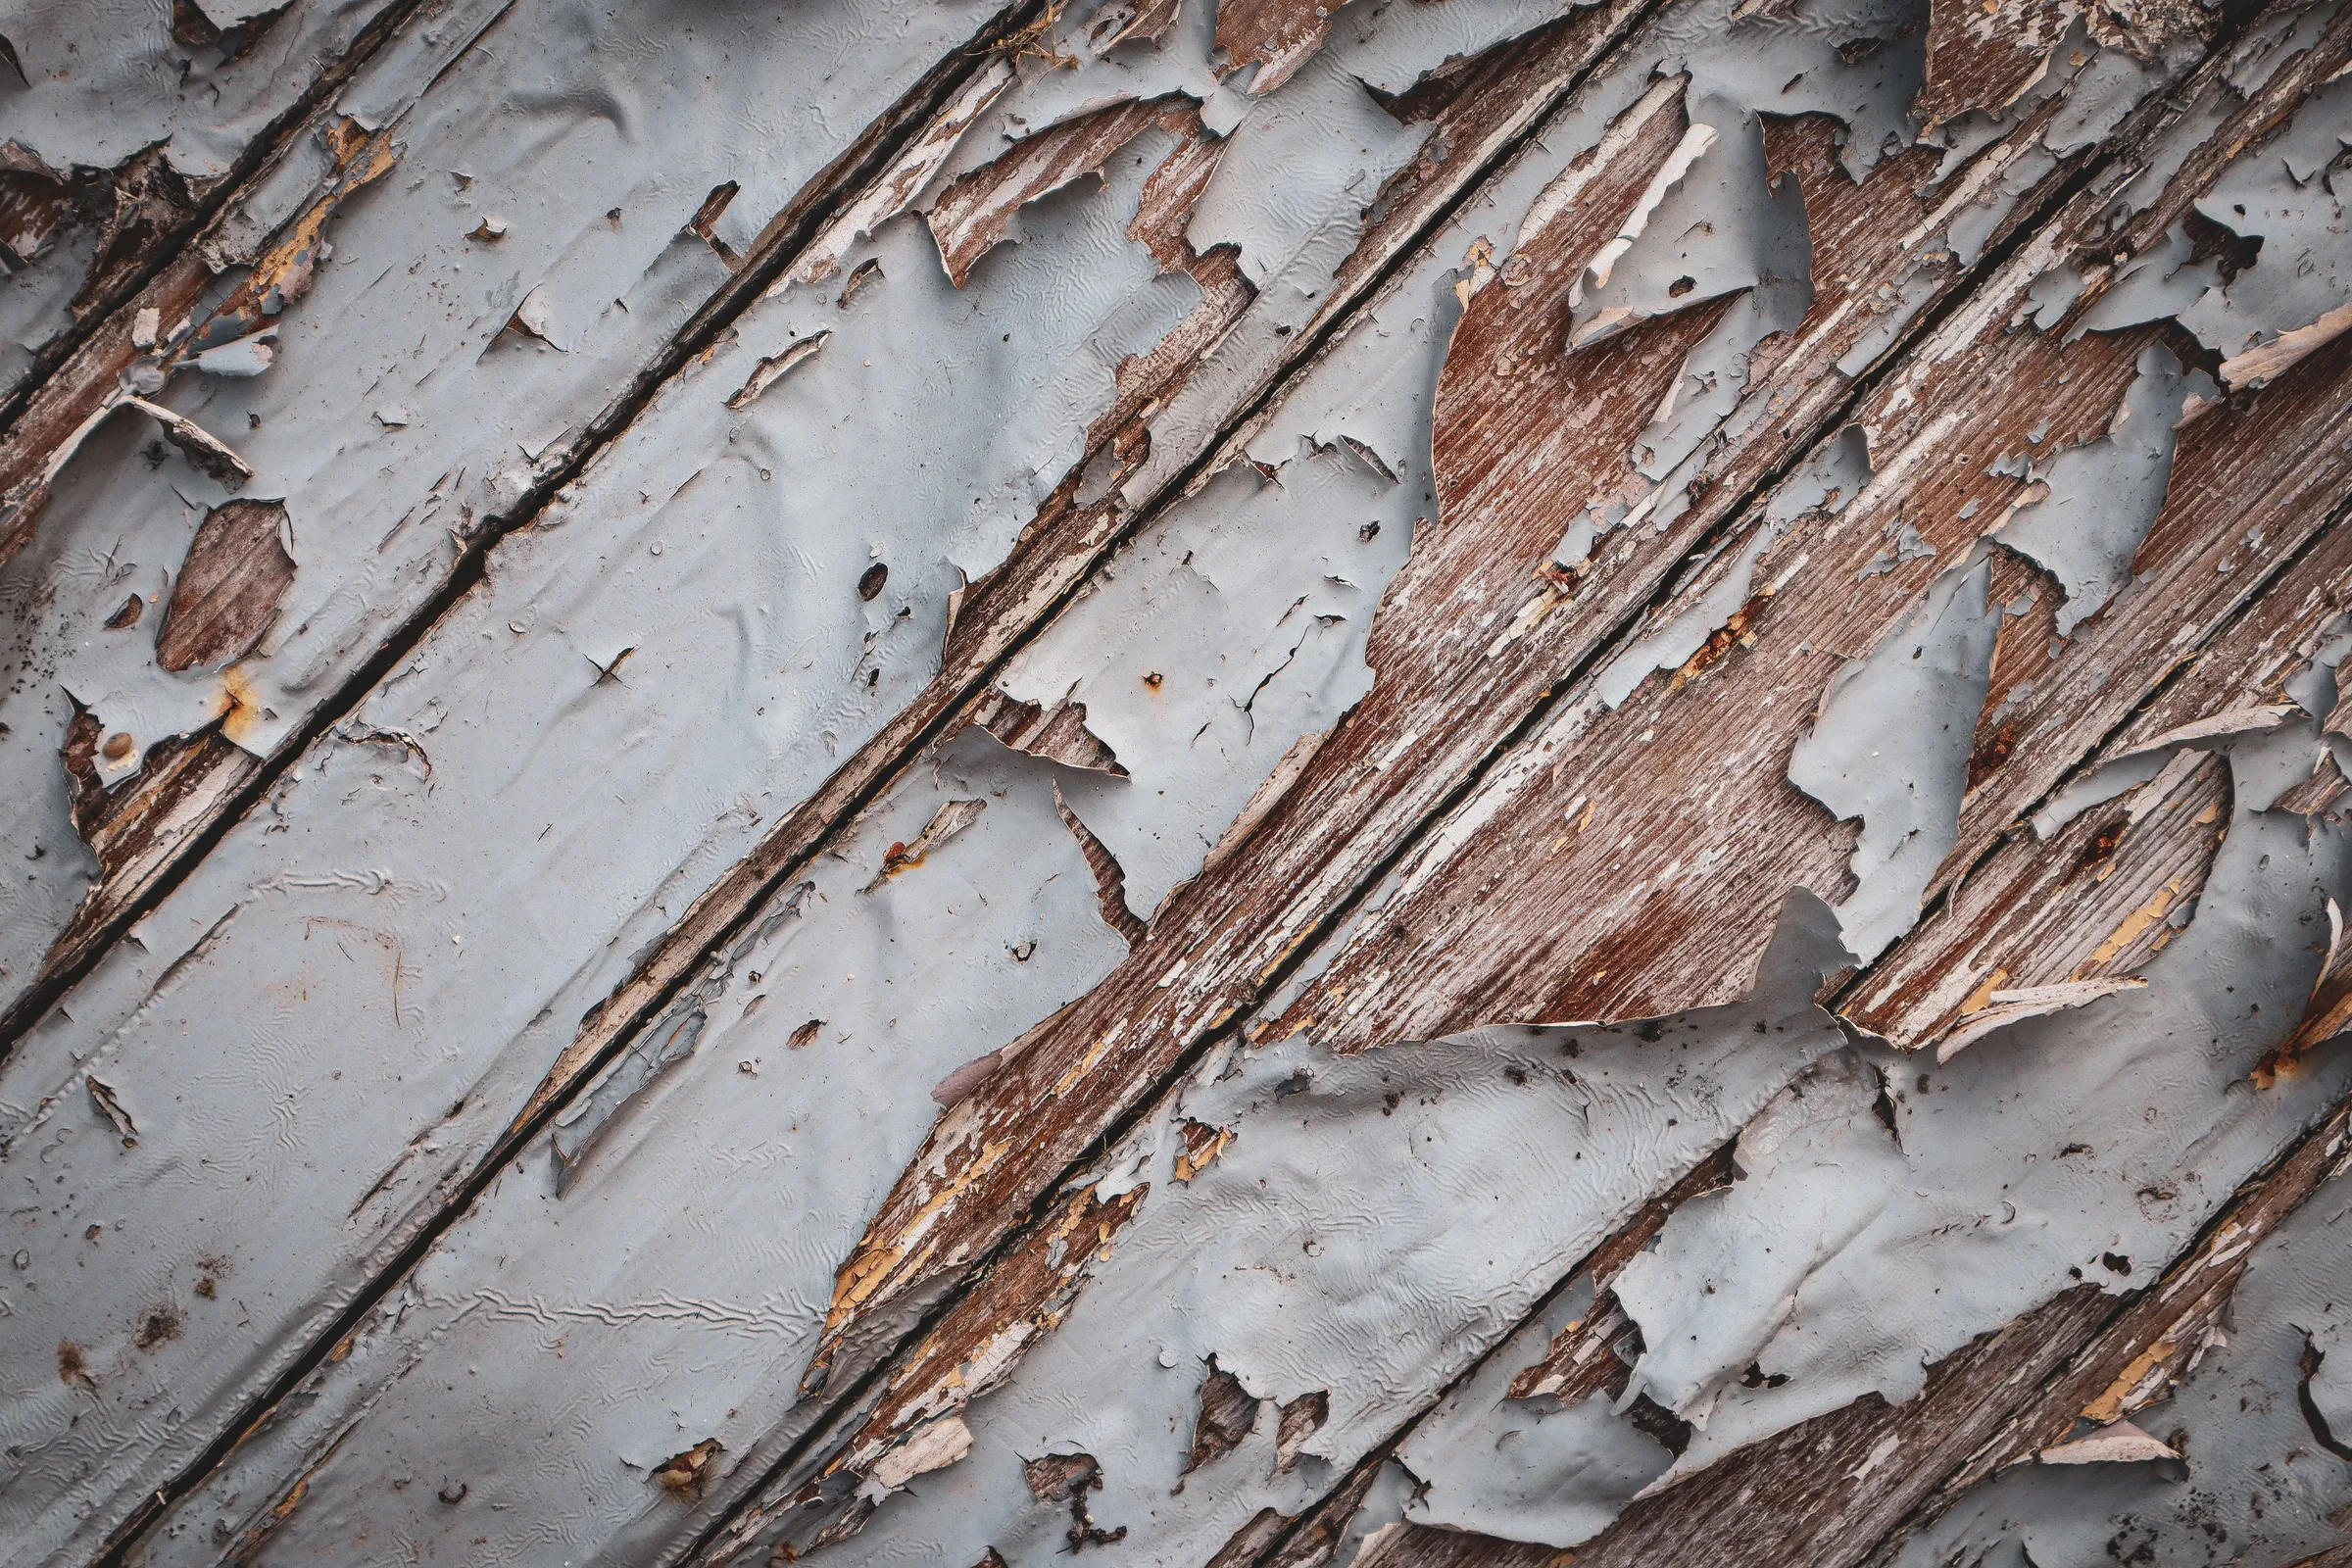
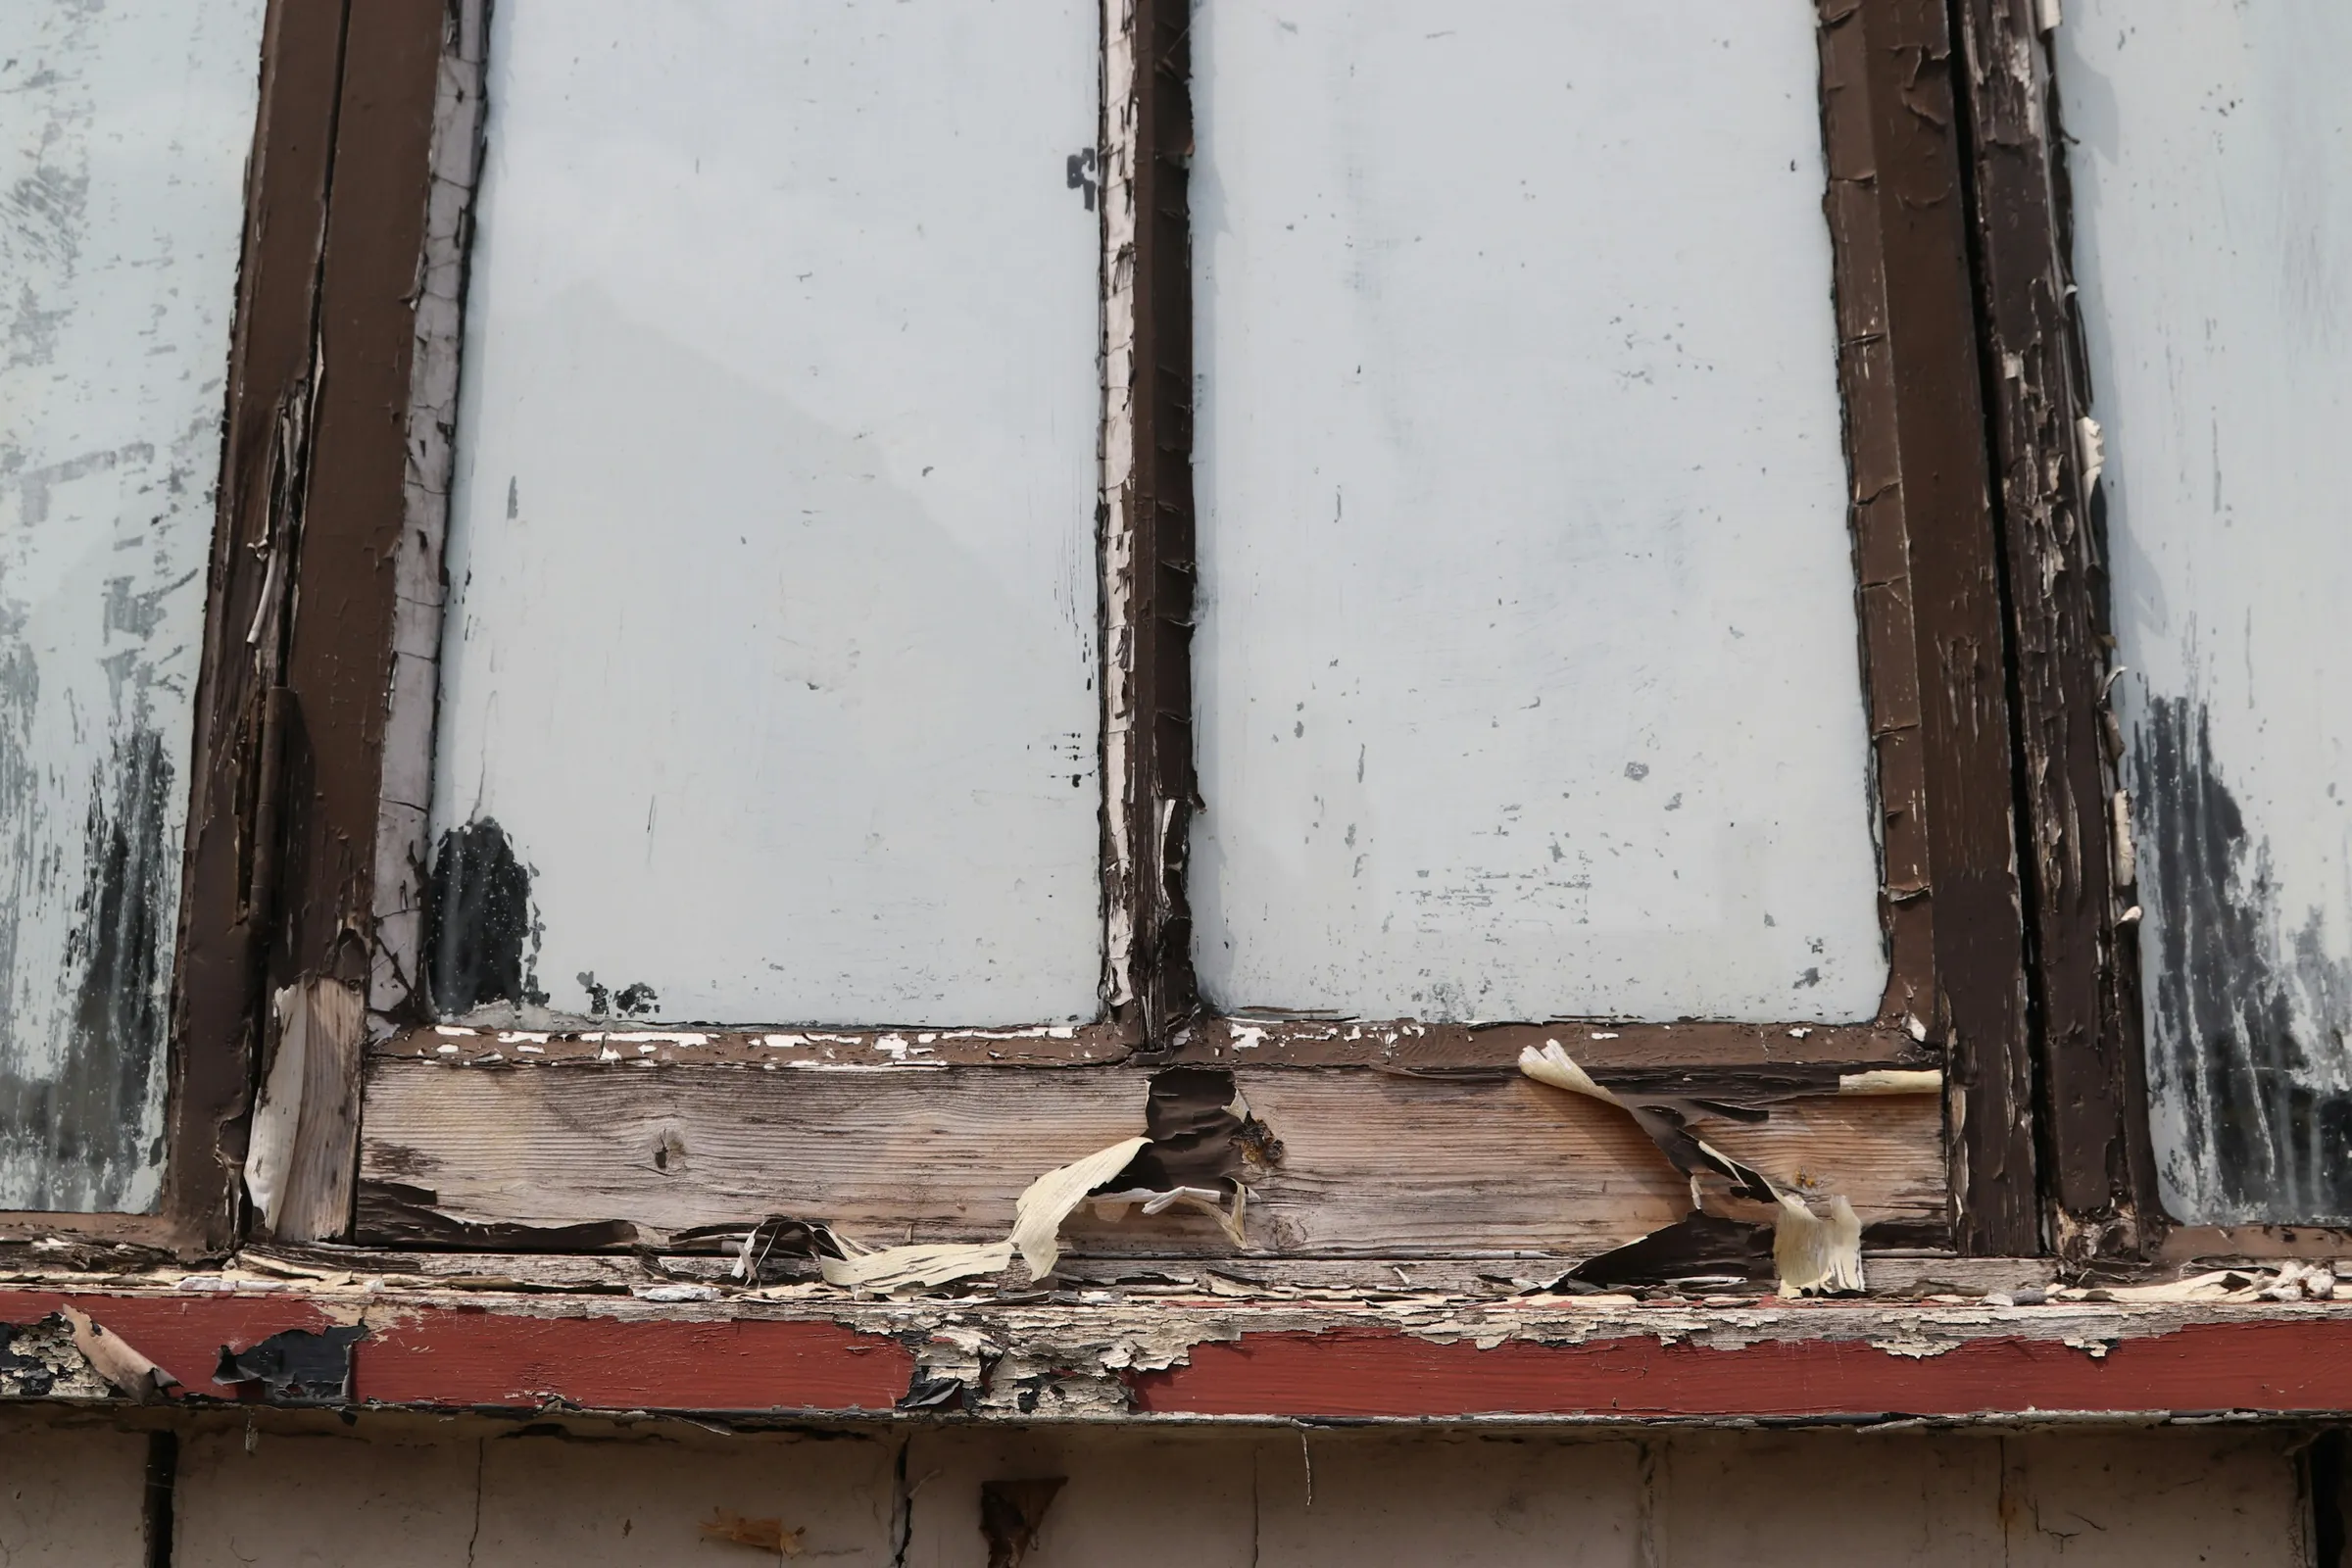
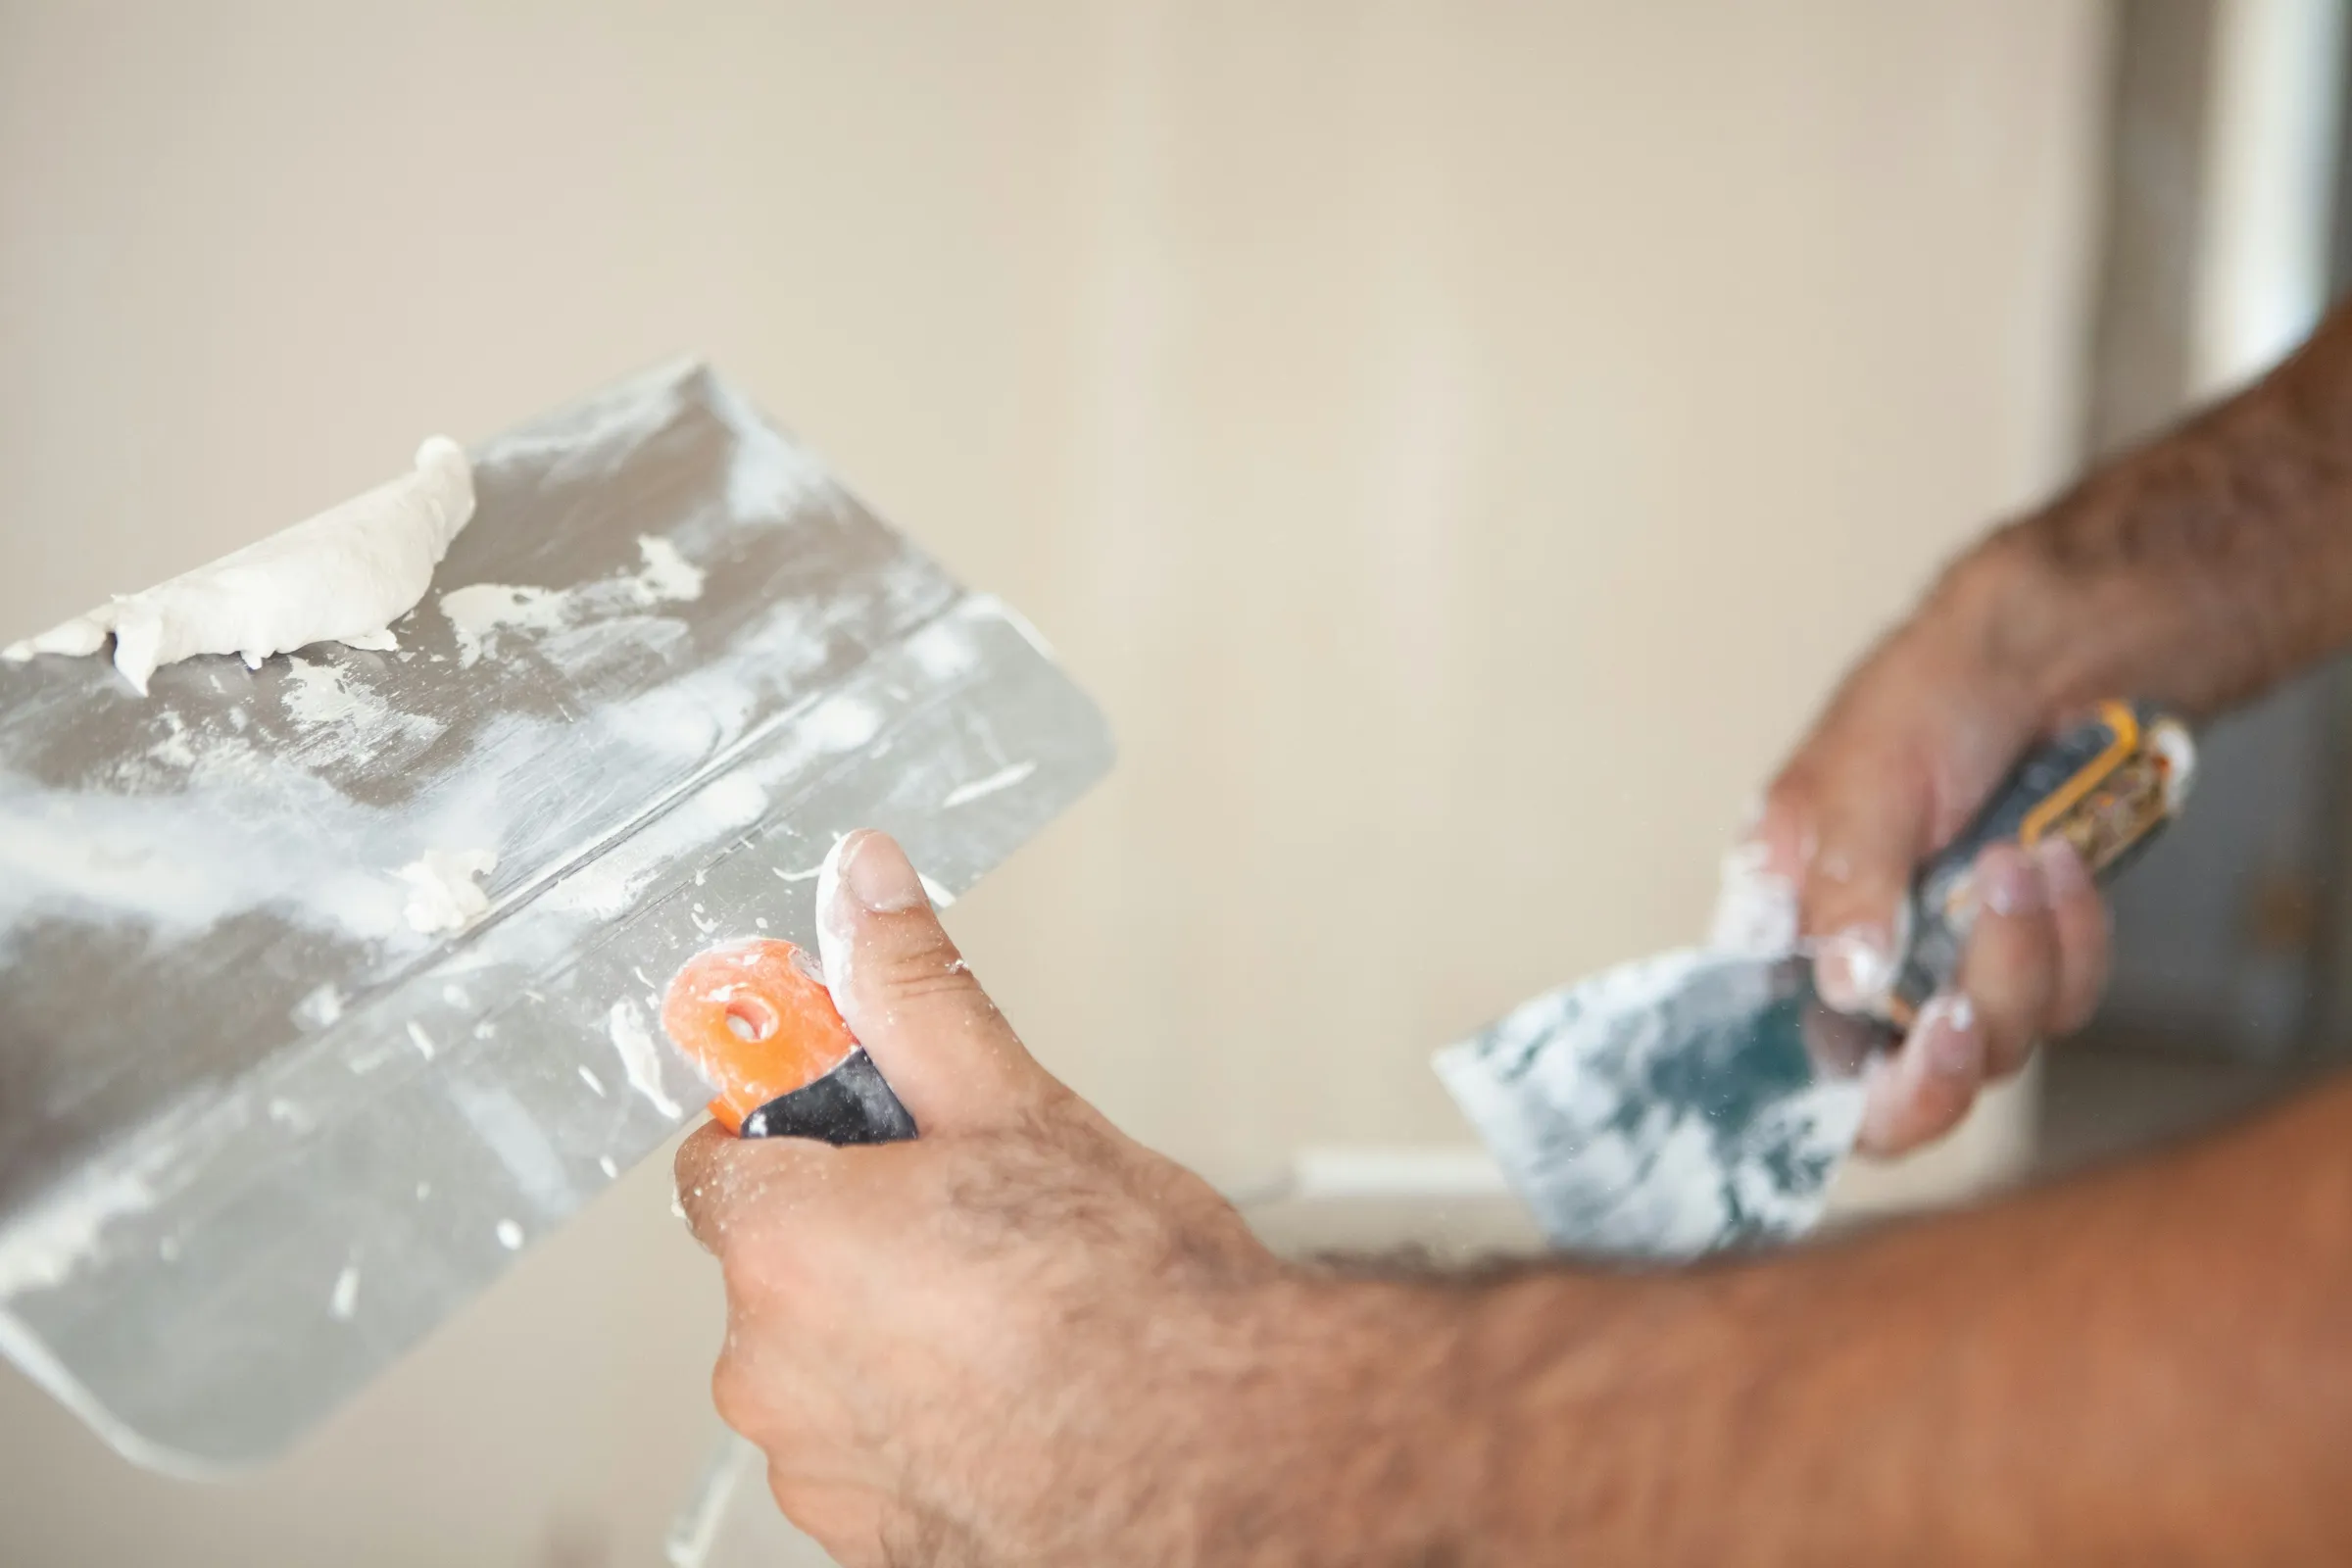
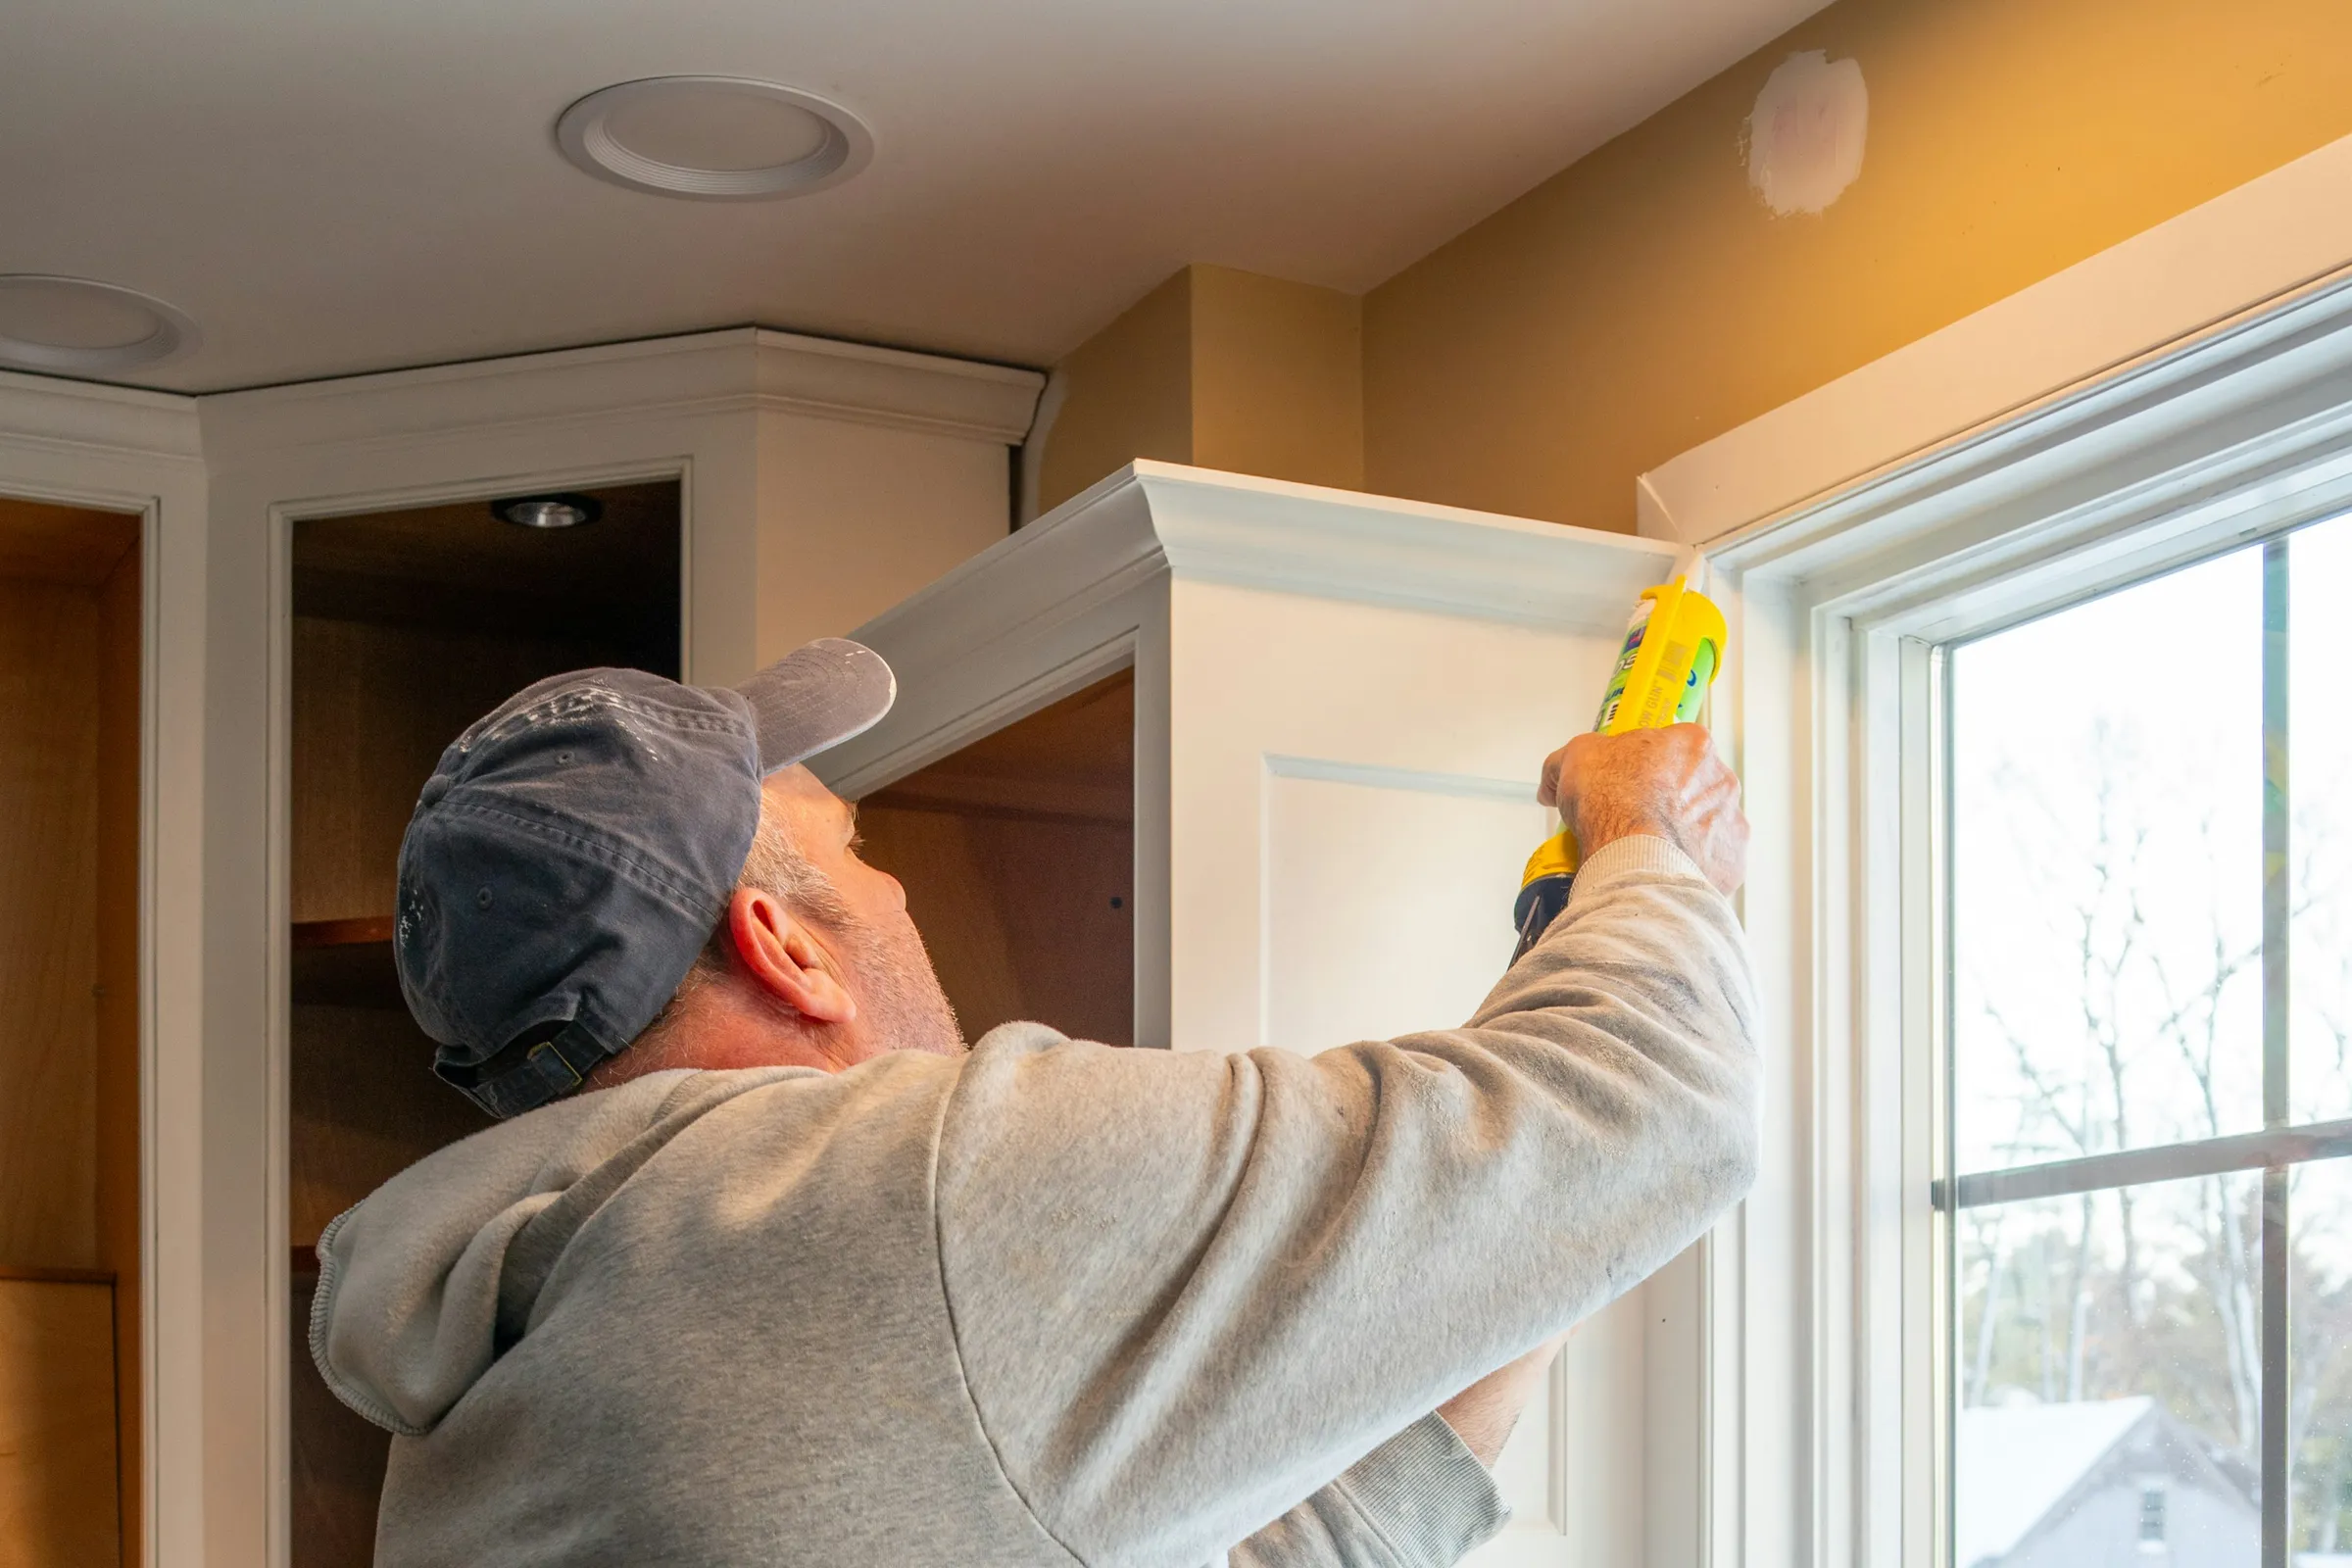
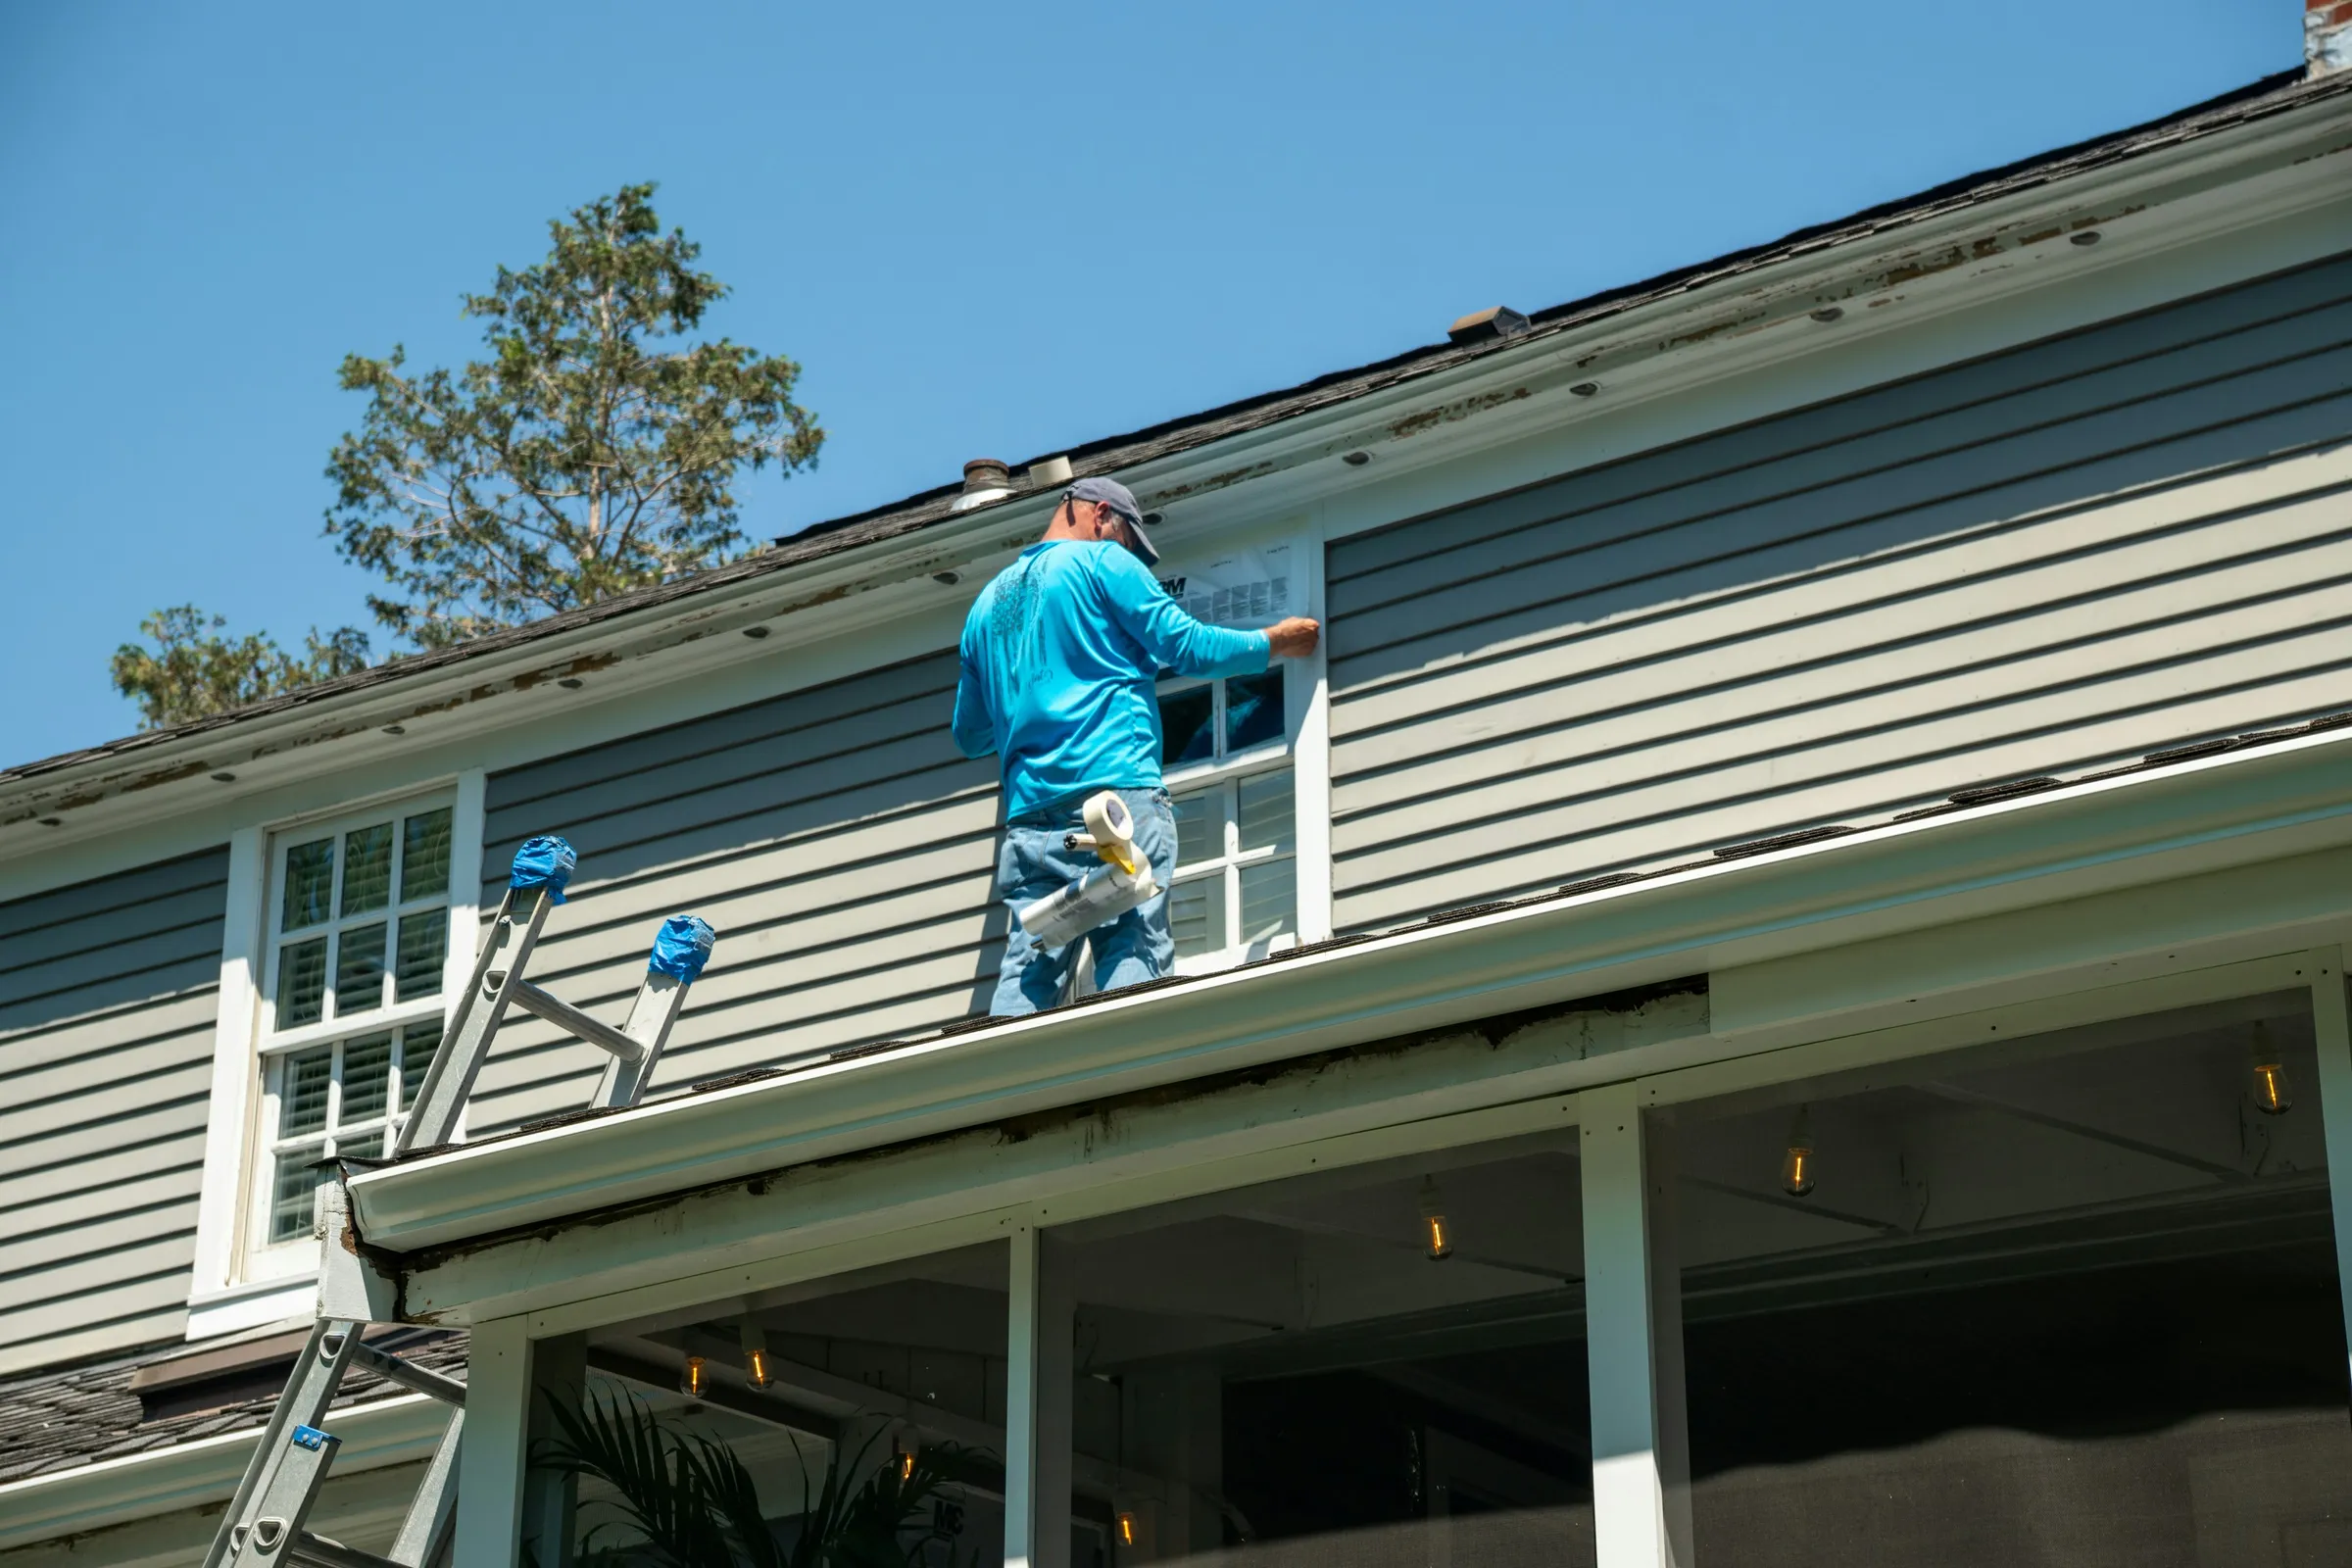
Step 1 of 6: Surface Assessment
-
We check the wood, stucco, old paint and caulk on every side of the house and write the plan from what we find.
-
On pre-1978 homes and historic properties we test for lead first and work lead-safe from there.
-
Our carpenters cut out the rotted wood and rebuild the trim and siding before anything gets painted. Rot in a load-bearing member is referred to an appropriately licensed contractor.
-
Cracks and dings get patched, and the texture is blended so the patch is hard to pick out under the paint.
-
Old caulk comes out of the joints and gaps, and new sealant goes in, around pipes and wires too.
-
Window heads, sills and the other spots where water collects get extra moisture protection, to reduce the risk of damage later.
Where a Wall Fails
Where each step does its work.
Wood siding on the left, stucco on the right. Choose a number to see where each step lands.
Illustrative elevation, not to scale
-
On pre-1978 homes and historic properties, old coats are tested first, with lead-safe practices before any scraping or sanding.
-
Water sits longest on the sill, so it rots first. We rebuild it before anything gets painted.
-
Cracks and dings patched, with the texture blended to match under the new coat.
-
Where the casing meets the siding, and around every pipe through the wall. The old caulk comes out and new sealant goes in.
-
Water running down the wall collects on top of the window. Flashing here reduces the risk of rot in the head trim.
04Our Process
Before we paint
-
Surface Assessment
We check every surface, inside and out.
-
Remediation
Rot comes out, stucco gets patched, and any other non-structural repairs get done.
-
Sealing & Caulking
Every joint, gap and penetration is sealed.
-
Preparation
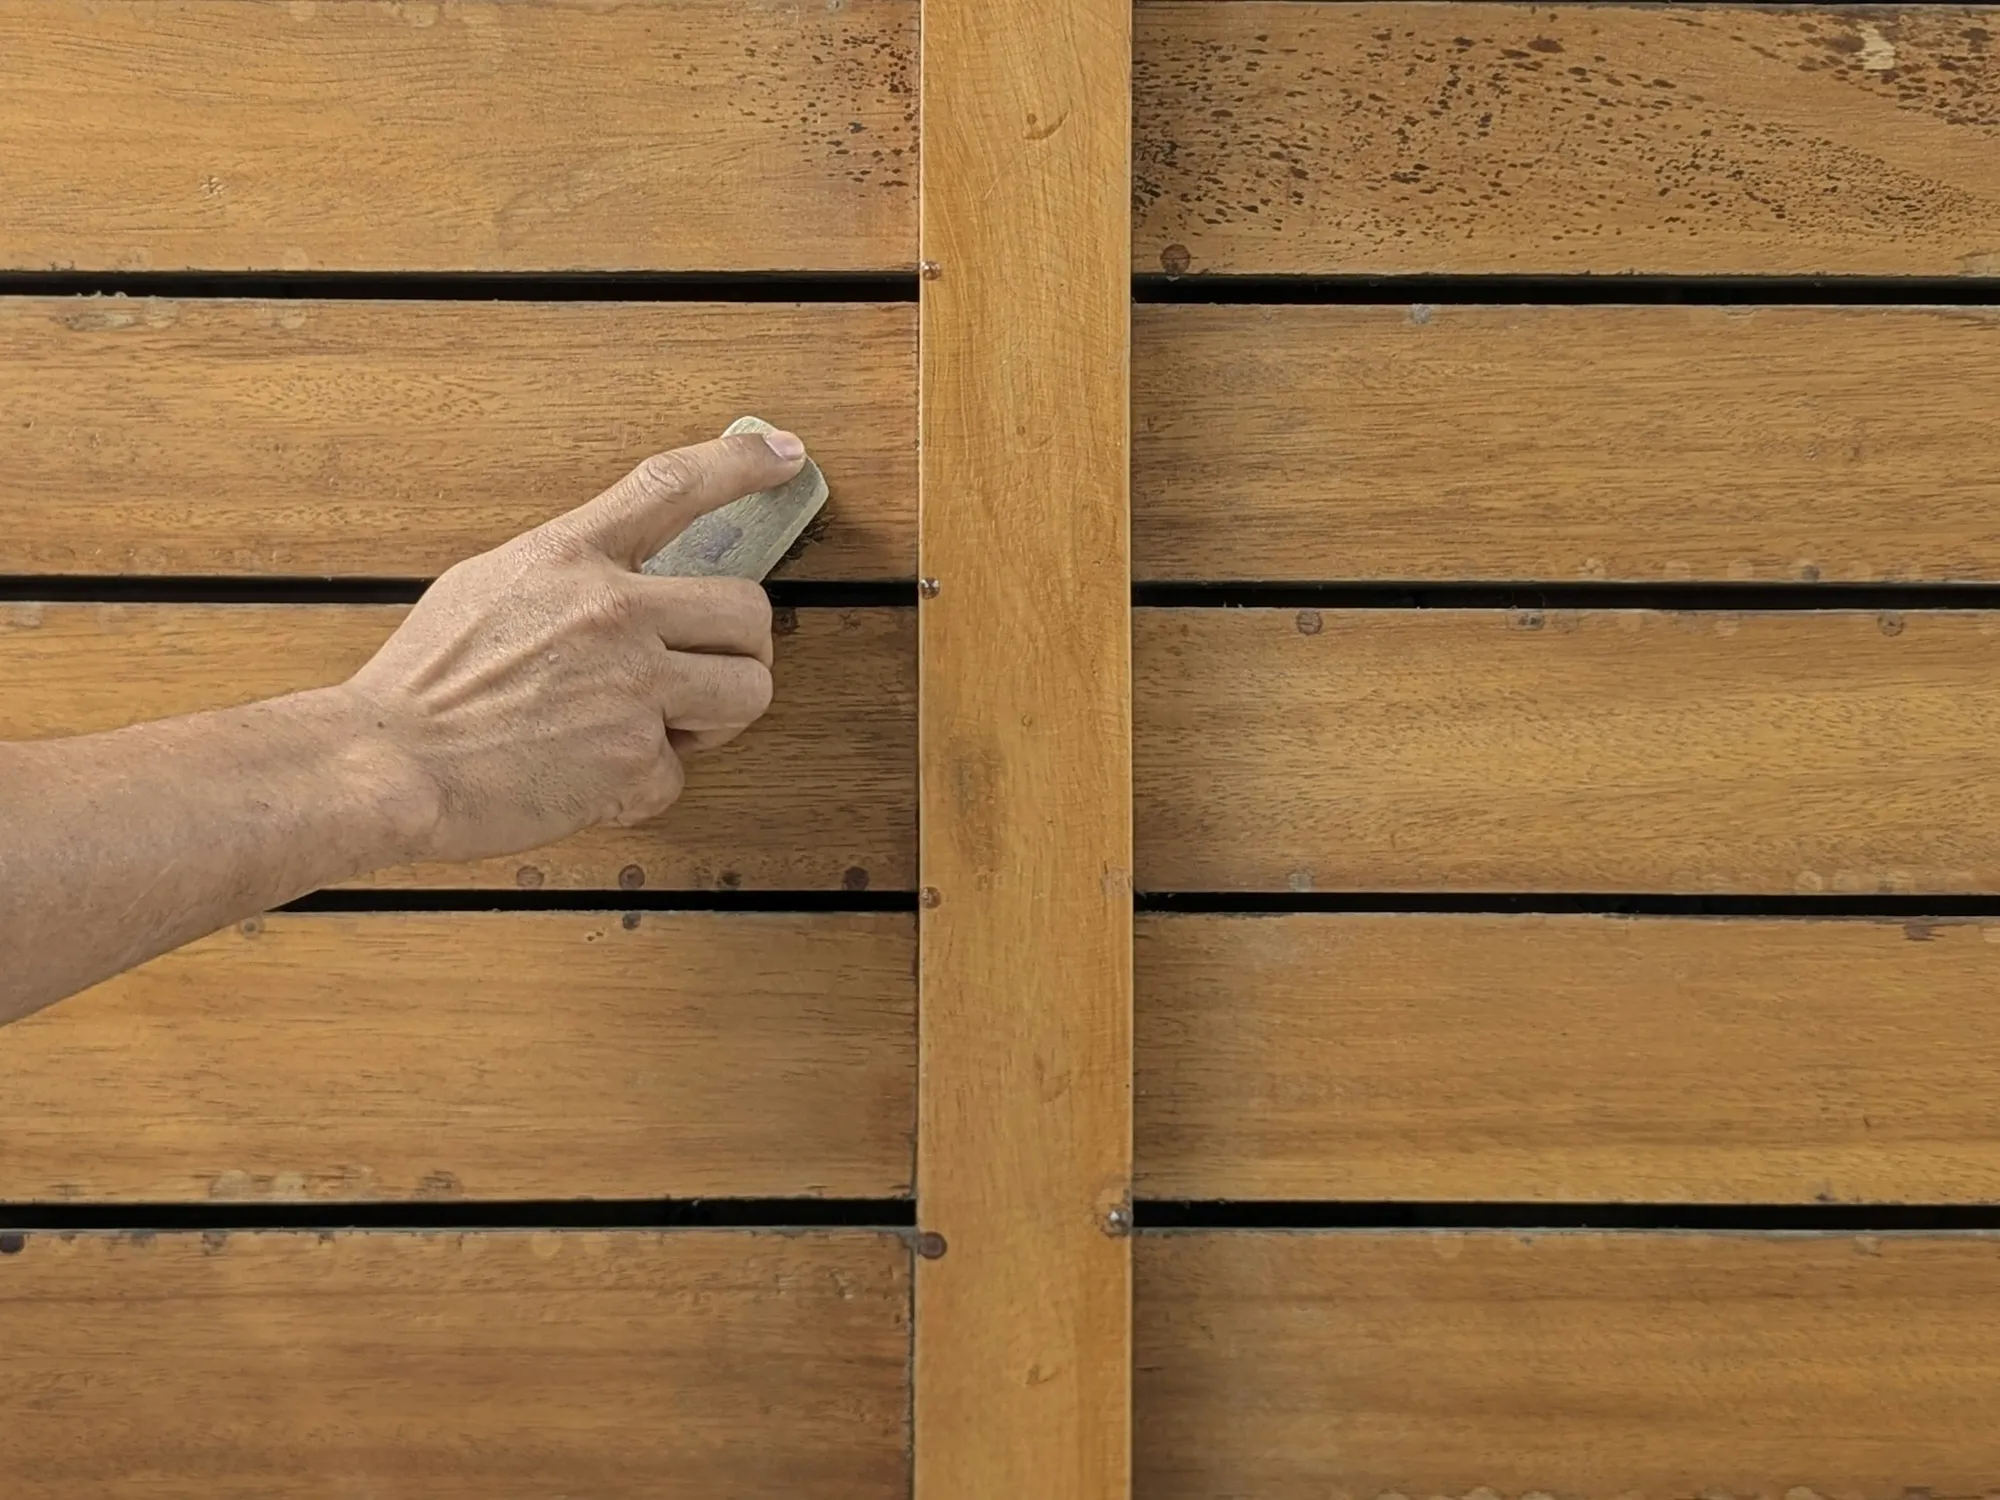
A final sanding, then primer, so the paint has something sound to grip.
05At a glance
Surface restoration in numbers
- Preparation
- Level 5
- Licensed #803672
- C-33
- Assessment
- Pre-Paint
- Lead-Safe Certified
- EPA
“Outstanding job from initial consultation to the final walkthrough.”
06Learn More
Further reading
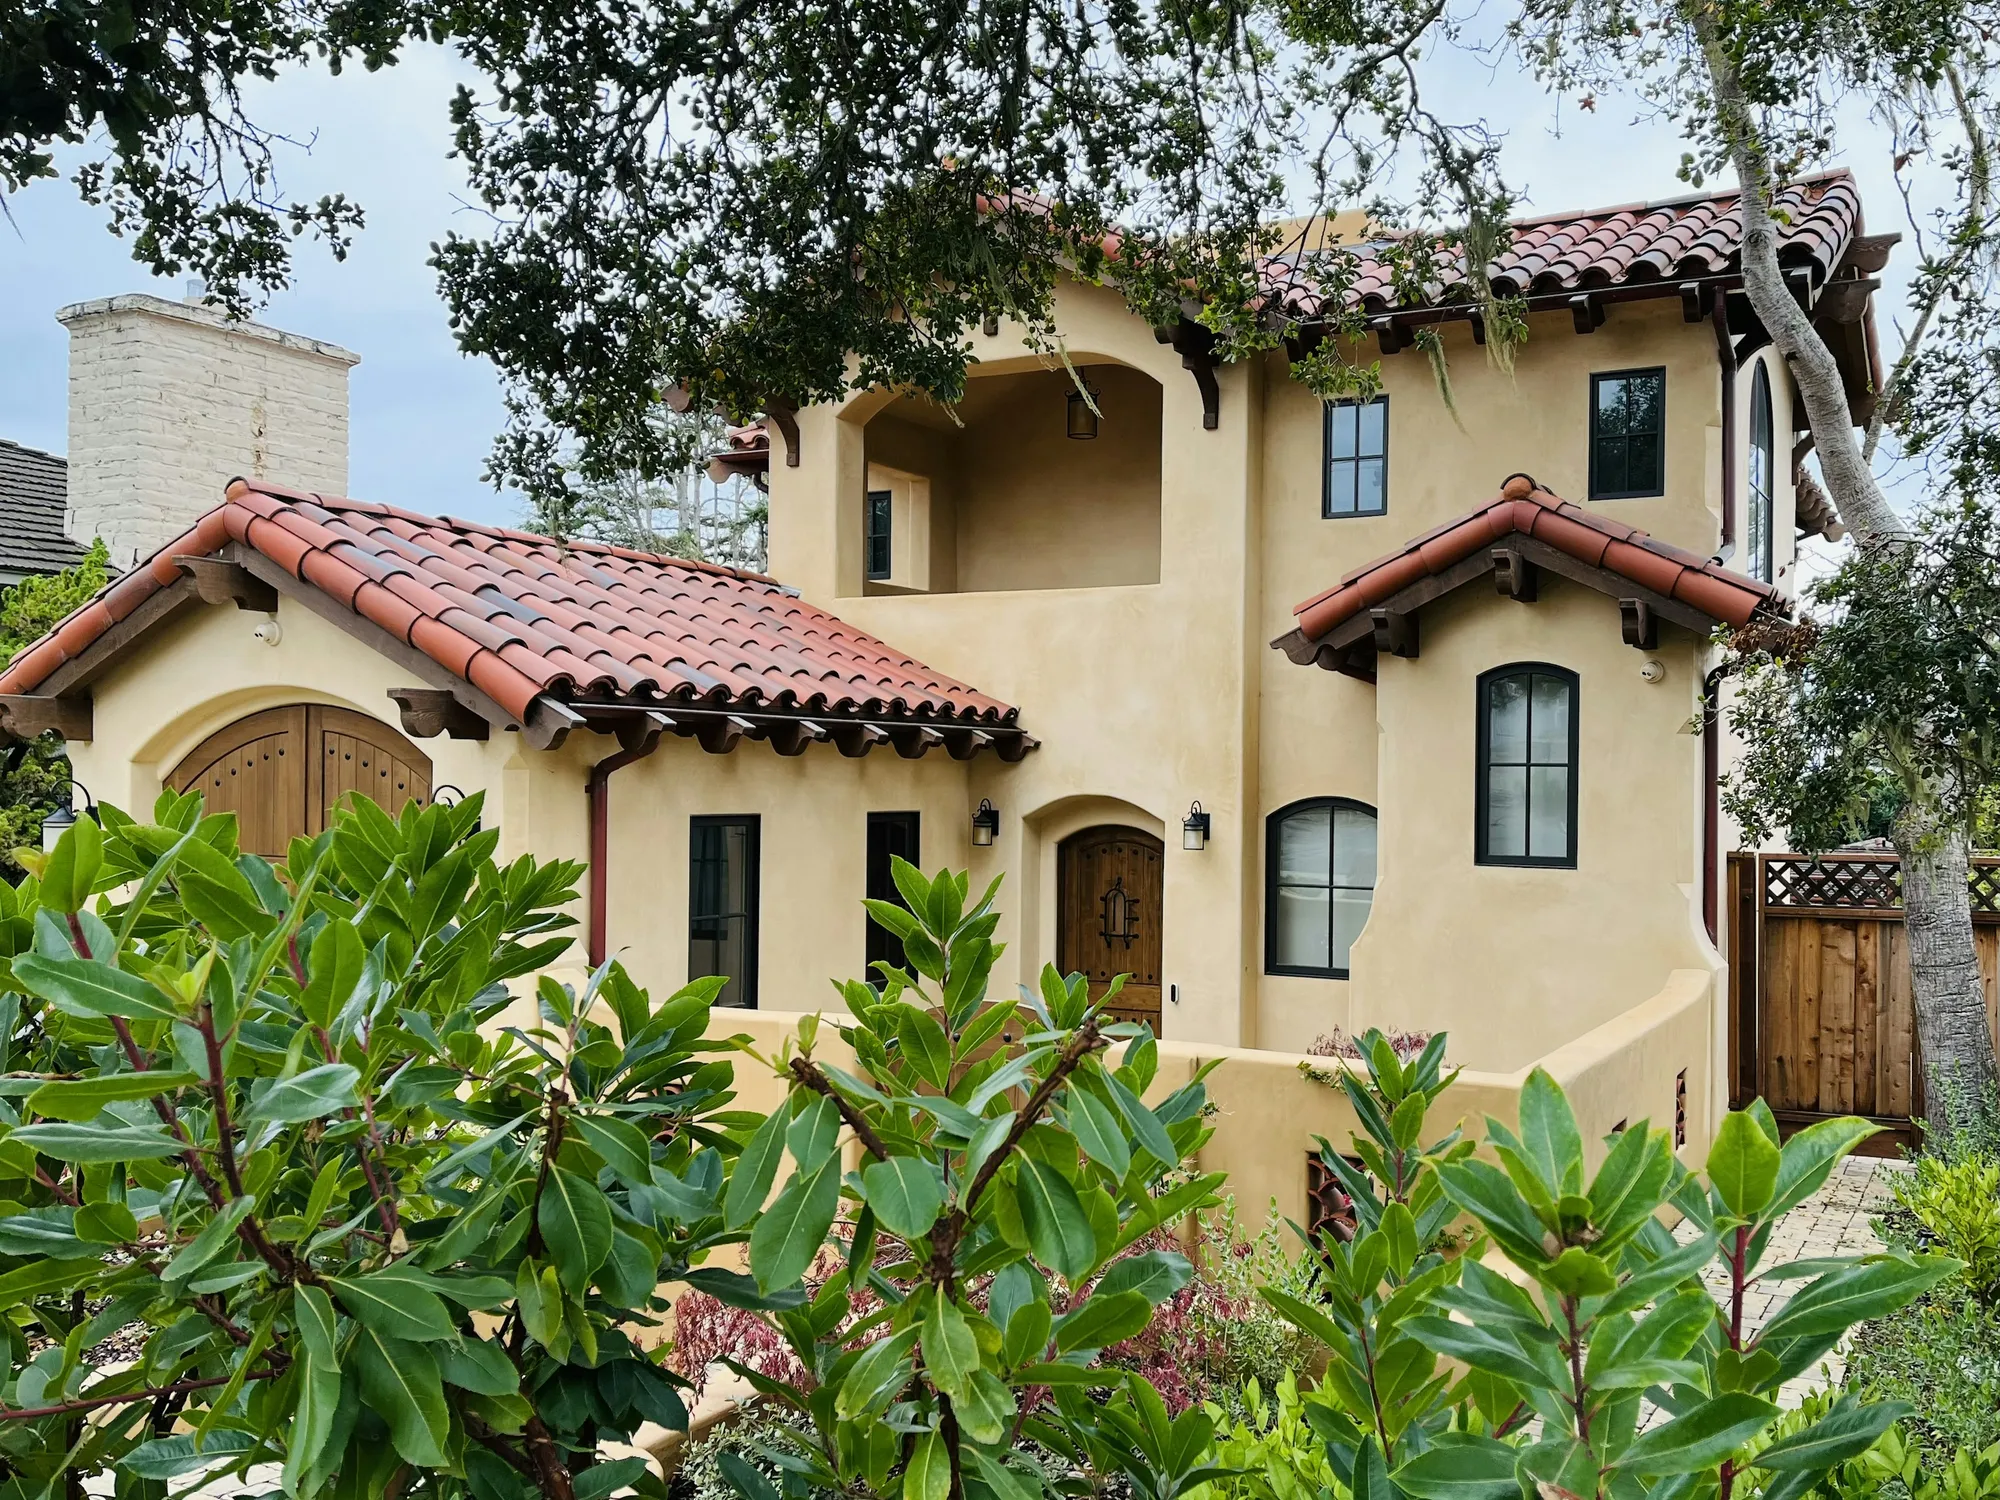
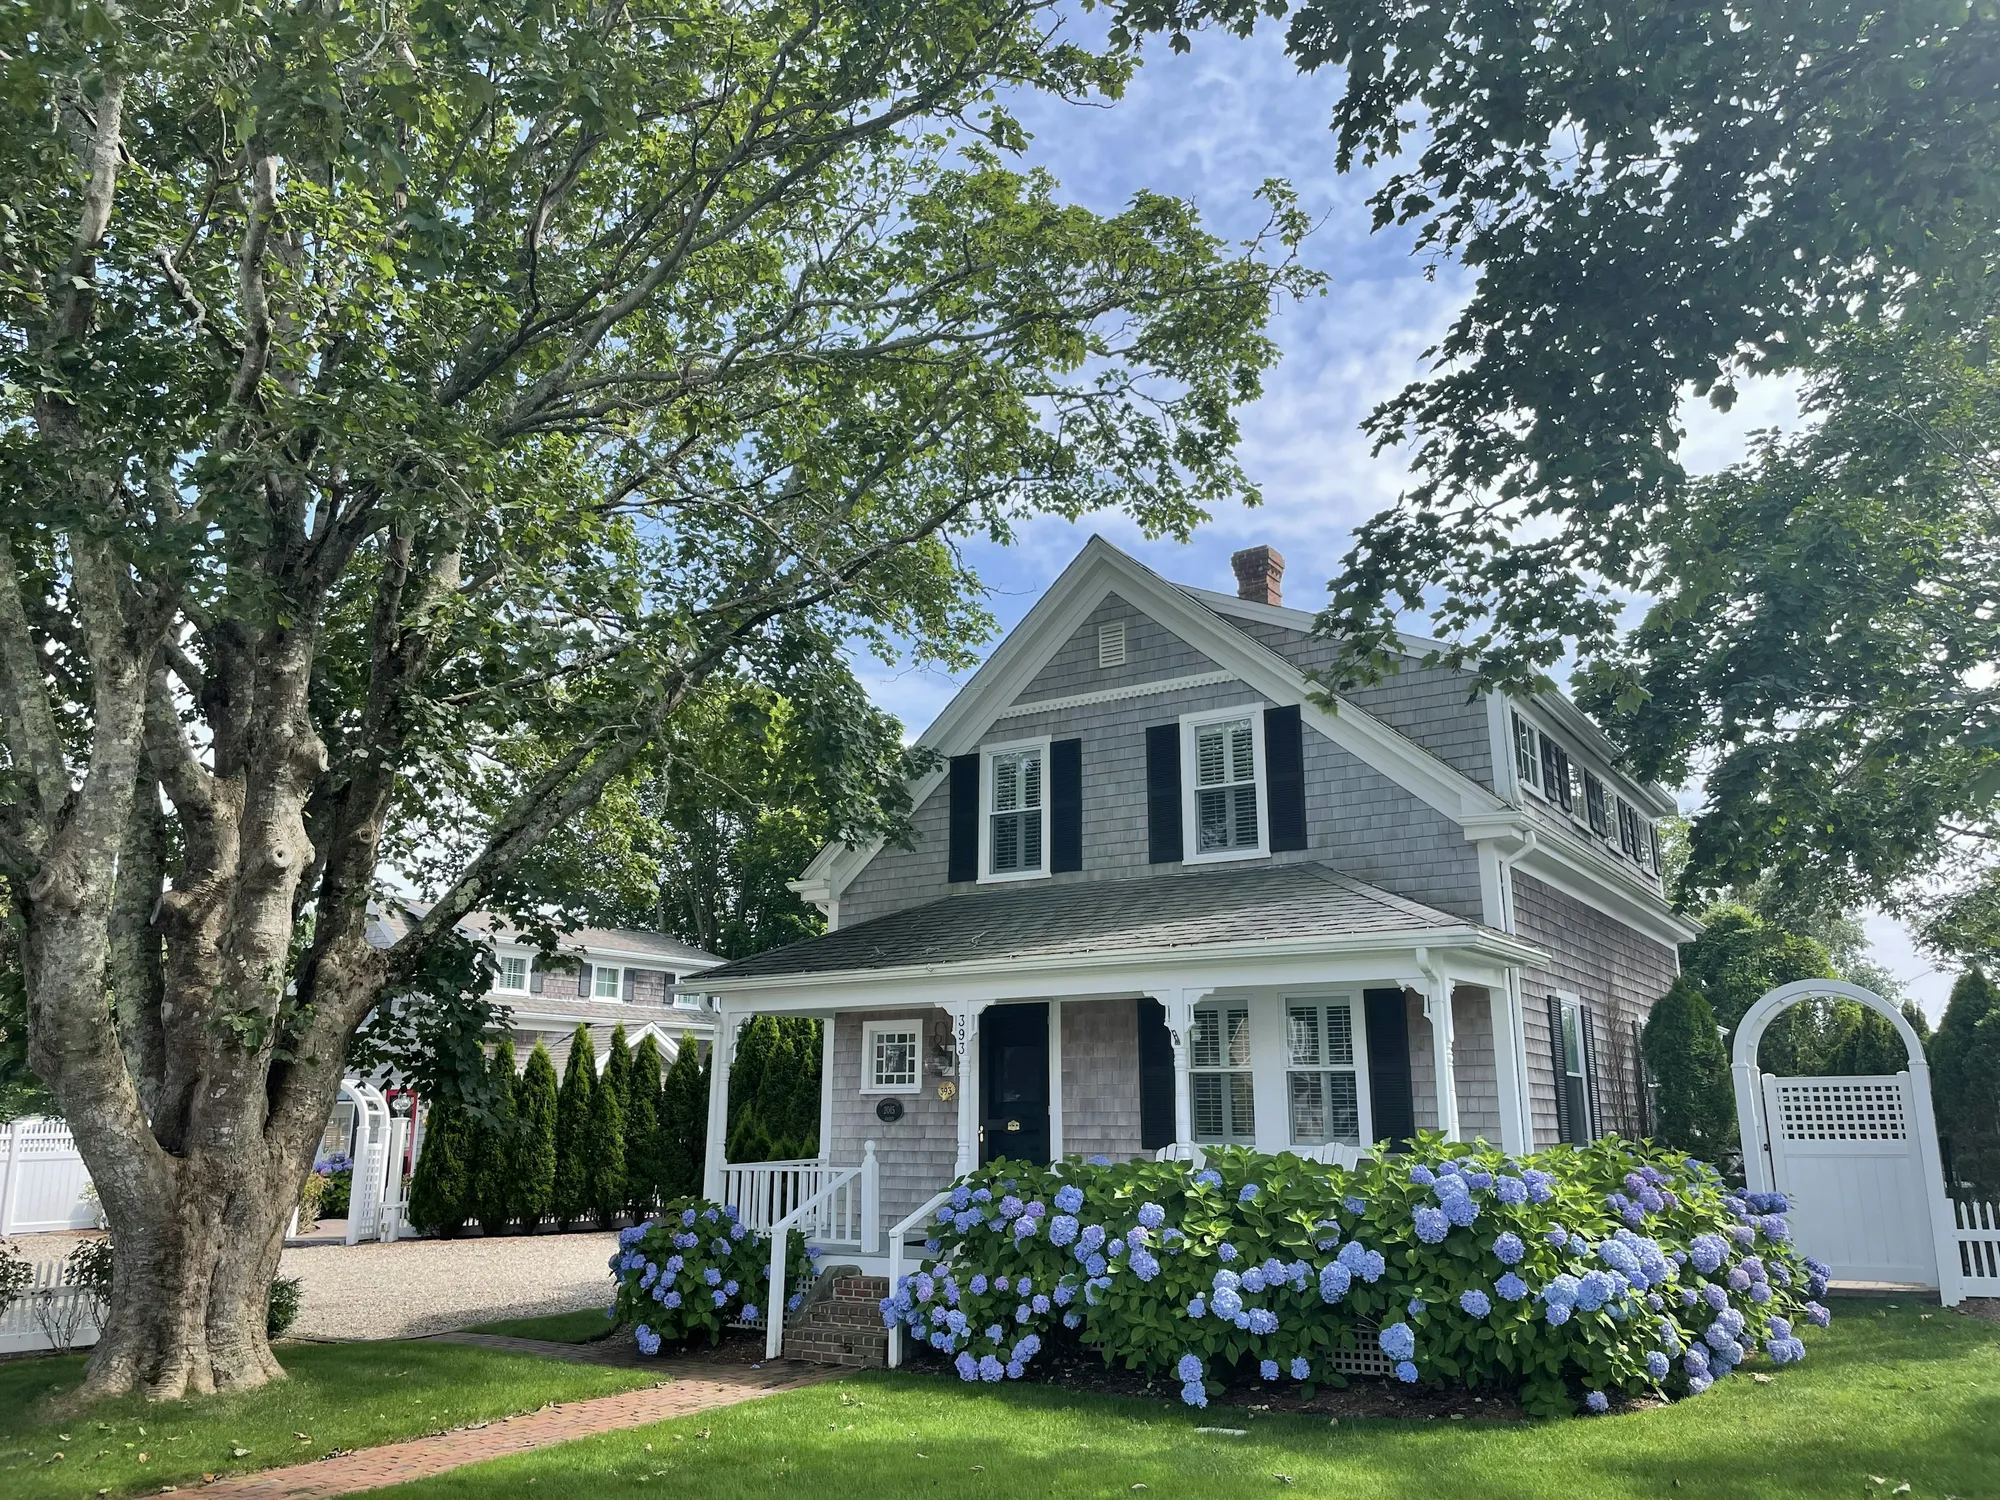
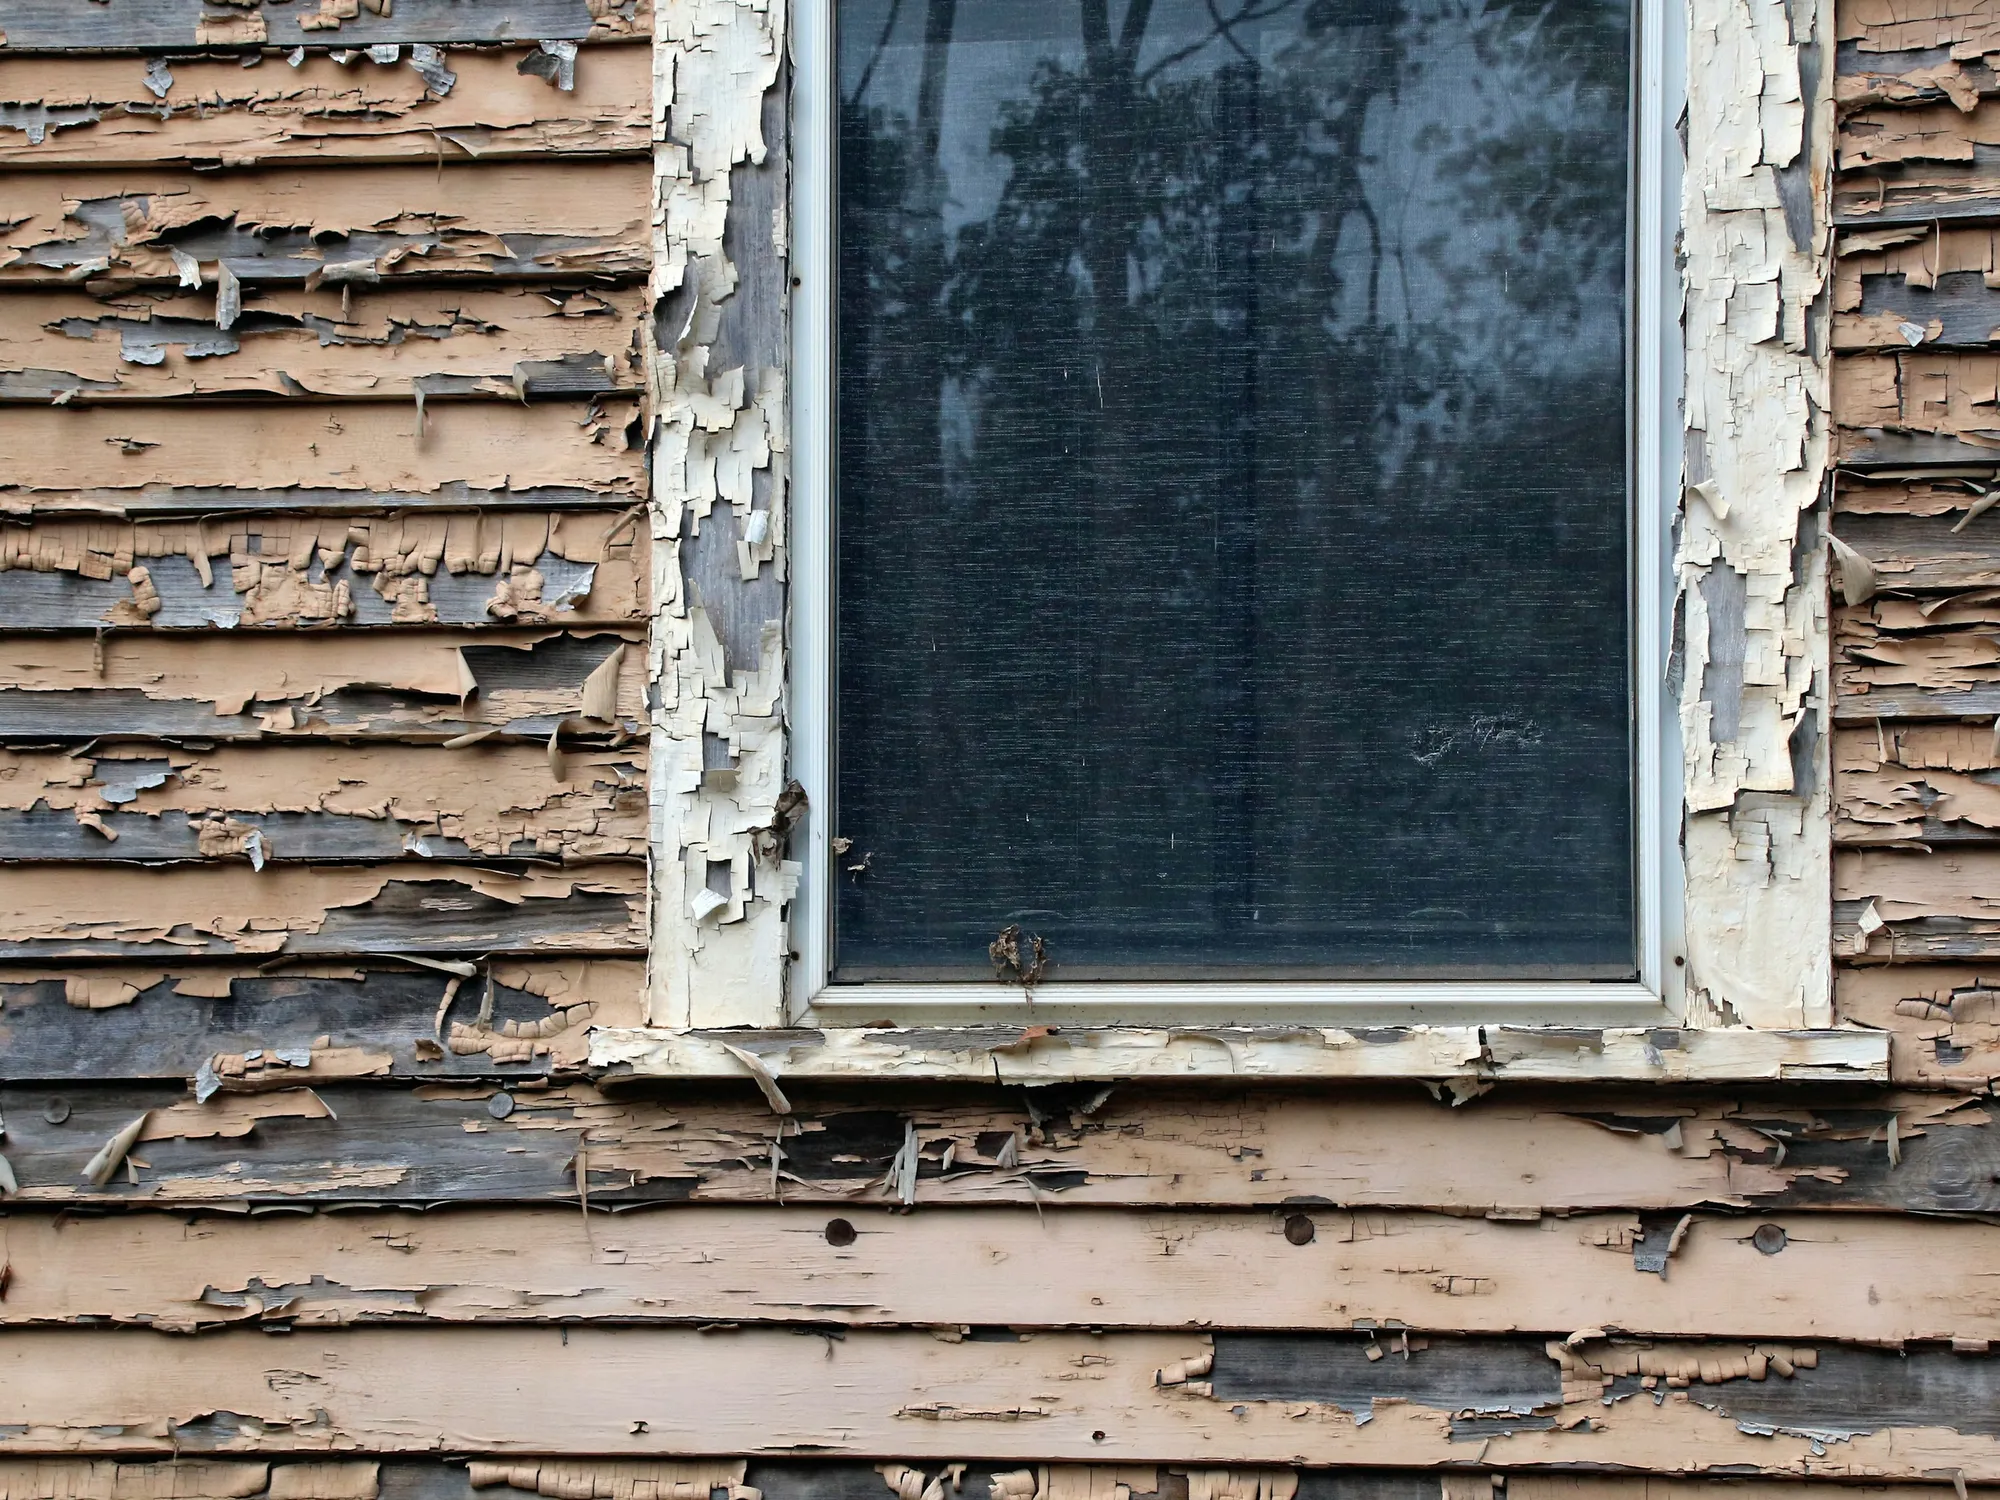
Restore Before You Repaint
Call us before you repaint and we’ll look at what’s under the old paint.