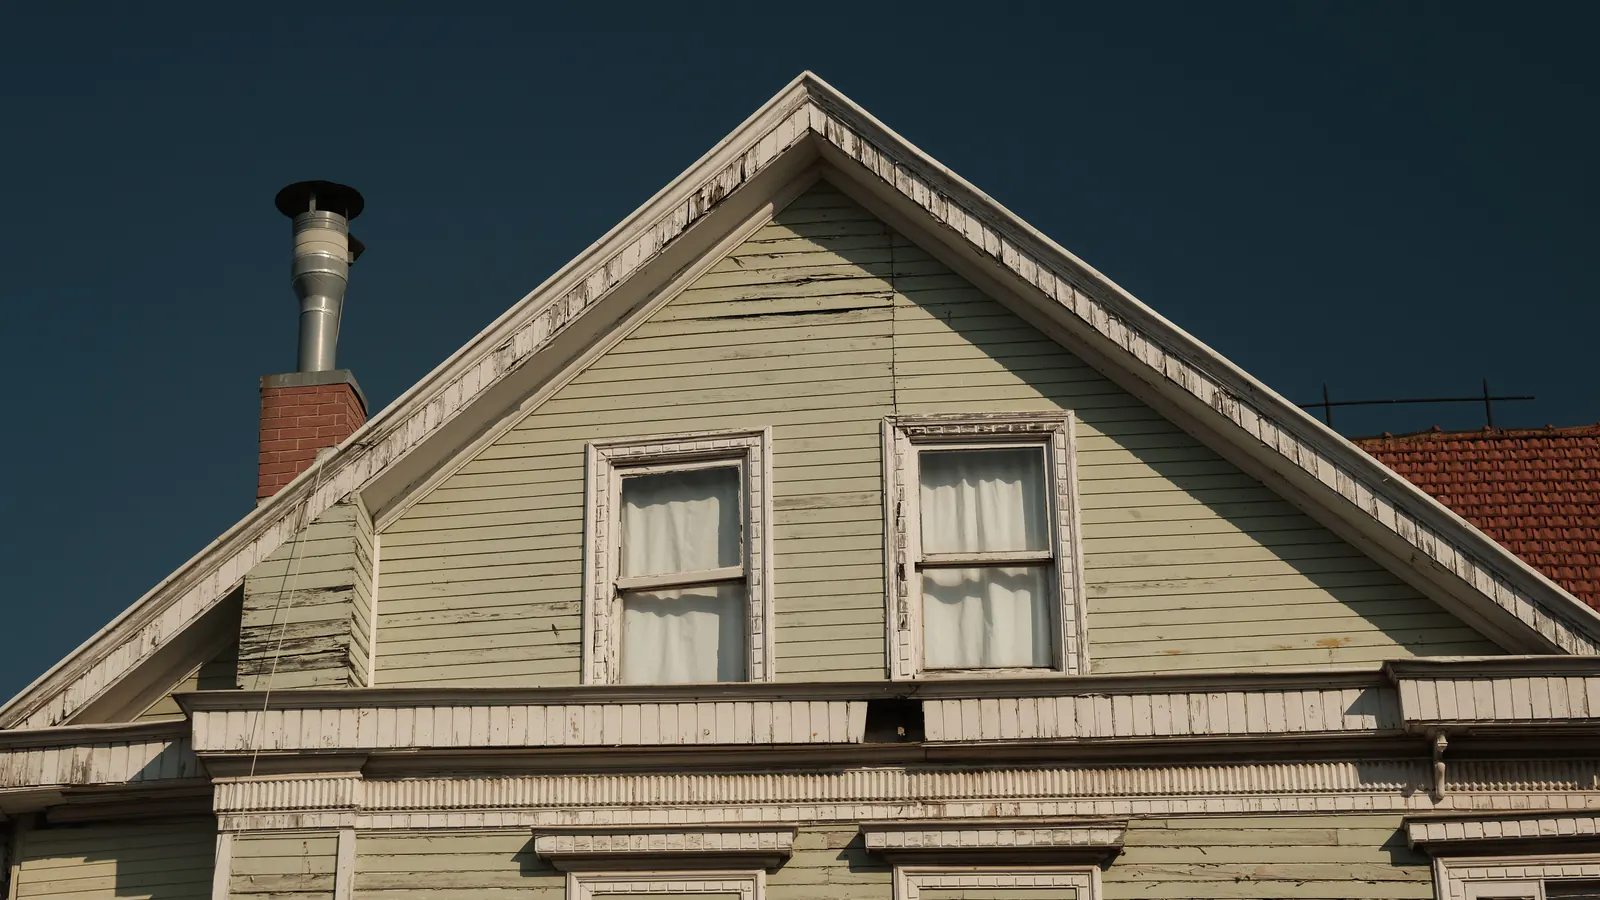
Part 1 of 3 in our Exterior Repaint series. Next up is Part 2, on prep, wood repair and lead-safe work.
From the street, repainting a house looks simple. The old color comes off and the new color goes on. In practice there’s an order to it, and most of what decides whether new paint holds up gets settled before anyone opens a can. We wrote this series to walk through that order the way we actually run a whole-house exterior job.
This first part covers the start of the job, when we look the house over, test the old paint and write everything down.
How the Job Is Ordered
New paint can only hold as well as whatever it’s sitting on. Loose old paint, wet wood and open joints all end up under the new coat, and they keep causing the same problems they caused before. That’s why prep eats up most of the schedule on our jobs. Our process page puts it at 70 to 80 percent of project time.
A whole-house repaint usually runs in this order.
- Inspection and scope. We figure out what the house needs, test it and put it in writing. That’s this post.
- Prep and repairs. Washing, getting loose paint off, fixing damaged wood, caulking and spot priming, all done lead-safe on older homes. That’s Part 2.
- Coatings and walkthrough. Primer, finish coats, the weather they need and the punch list at the end, in Part 3.
When a repaint starts peeling early, it’s usually because one of these steps got rushed or skipped.

Walking Every Side of the House
We look at every side of the house, not just the front, because each side weathers in its own way. The walls that get the afternoon sun usually go first (our post on west-facing paint failure gets into why), while the shady, damp sides are more likely to have mildew and wood that’s slow to dry out.
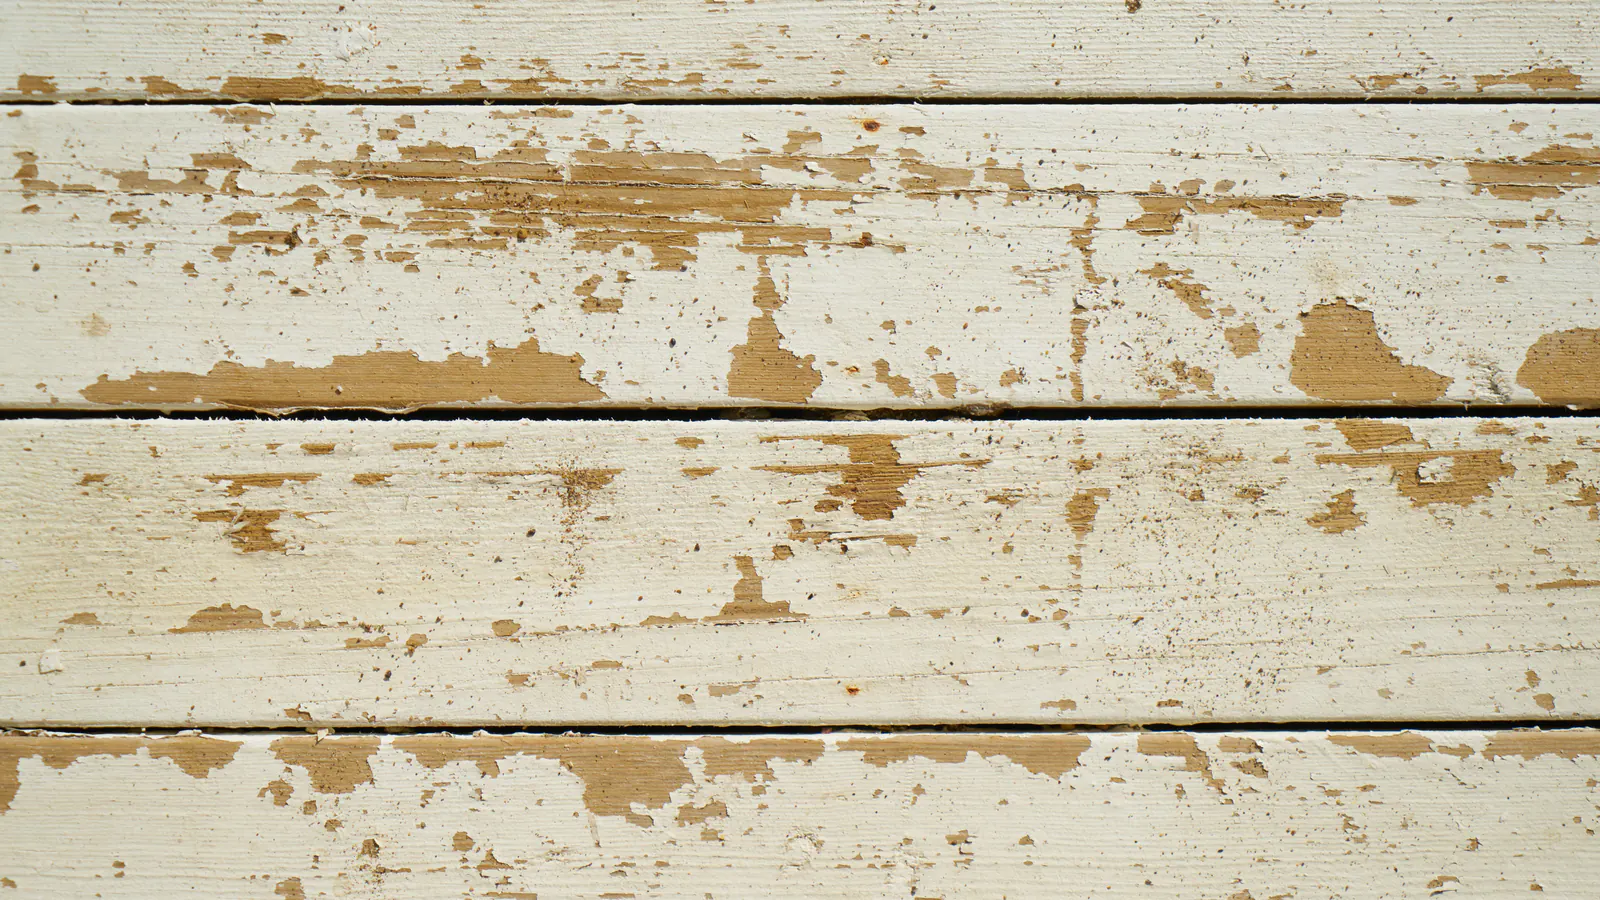
On the walk-around we’re checking a handful of things.
- How the paint is failing. Peeling down to bare wood, cracking along the grain, blistering and chalky faded paint all have different causes, so each one needs different prep.
- Bare, gray wood. Wood that’s been out in the sun and rain for a while needs some work before it’ll hold paint again.
- Soft spots. Rot usually starts where water sits longest, like sills, the bottoms of door and window casings, fascia ends and the trim board along the bottom of the wall.
- Open joints and old caulk. We check where trim meets siding, around windows and doors, and anywhere a pipe or fixture goes through the wall.
- Stucco cracks. Stucco needs its cracks repaired and a coating that lets moisture out of the wall. Our process page has a section on that.
- Anything touching the house. Shrubs pressed against the siding, sprinklers soaking the lower wall and downspouts dumping water at the foundation all wear paint out faster.
We take photos as we go, so there’s a record of how the house looked before work started.
Testing the Old Paint
You can’t always tell by looking whether old paint will hold a new coat, so we test it.
Adhesion. Our assessment includes an adhesion test per ASTM D3359, which is a standard tape test. You cut a small pattern through the old paint, press tape over it and pull it off. If the tape takes paint with it, that paint would let go under a new coat too, so it has to come off first.
Lead. Houses built before 1978 may have lead-based paint somewhere in the older layers. On those homes we screen for lead as part of the assessment, with a test kit or a certified inspector. It matters because the federal Renovation, Repair and Painting (RRP) rule kicks in once exterior work disturbs more than 20 square feet of painted surface, and a whole-house repaint pretty much always does. Our EPA Lead-Safe Certified Firm page explains the rule, and our post on lead paint in pre-1978 homes lists what to ask a contractor. Part 2 shows what lead-safe work looks like on site.
Soft wood. We poke at anything suspicious with a pointed tool. Good wood pushes back, and rotted wood lets the tip sink in. Our post on finding and fixing wood rot goes through that test.
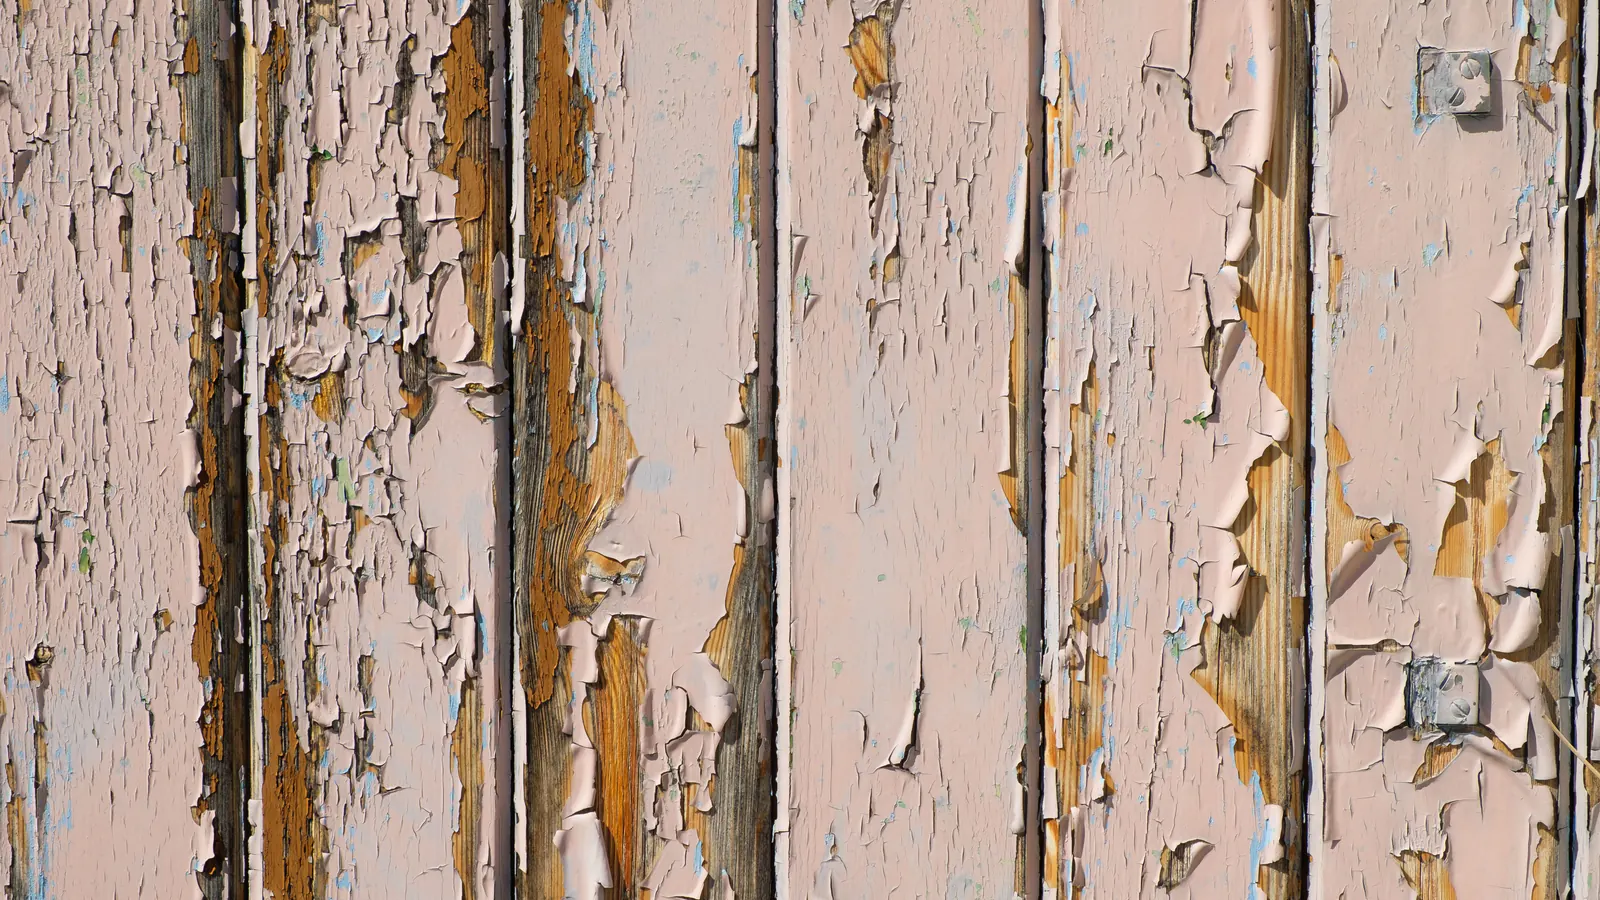
Some damage stays hidden until the old paint comes off, so an inspection catches most of it but not everything. The proposal should say how anything found later gets handled.

Putting It in Writing
Everything we find goes into a written proposal. Ours covers the scope, the products we’ll use, a timeline and a payment schedule tied to milestones. In California the down payment on a home improvement contract can’t be more than 10 percent of the price or $1,000, whichever is less.
Whoever you hire, you should be able to find these answers in the proposal.
- Which surfaces are included (body, trim, windows, doors, fascia, eaves, railings) and which aren’t.
- How loose paint comes off and how surfaces get prepped before primer.
- How damaged wood gets repaired, and how damage found partway through is priced and approved.
- Which primer and finish products, and how many finish coats. We put at least two finish coats on our exteriors.
- On a pre-1978 house, which lead-safe practices will be followed.
- How plants, walkways, windows and fixtures will be protected.
- The timeline and the payment schedule.
- What the written workmanship warranty covers. Ours is stated in the contract and spelled out in the proposal before any work begins, and our warranty page lists what it does and doesn’t cover.
A vague proposal can look cheaper, but the decisions it skips still have to be made. They just get made halfway through the job, when they’re harder and usually cost more.
Picking the Color Up Front
We settle color before work starts. Color consultation comes with all of our painting projects at no extra charge. We put big samples of the actual products on your house, so you see them in your own light at different times of day instead of judging a little chip indoors. The final colors are confirmed and written down before the project begins.
Sheen gets decided at the same time. Trim, doors and siding often get different sheens, and our paint finish guide explains the tradeoffs.
Where Our Work Stops
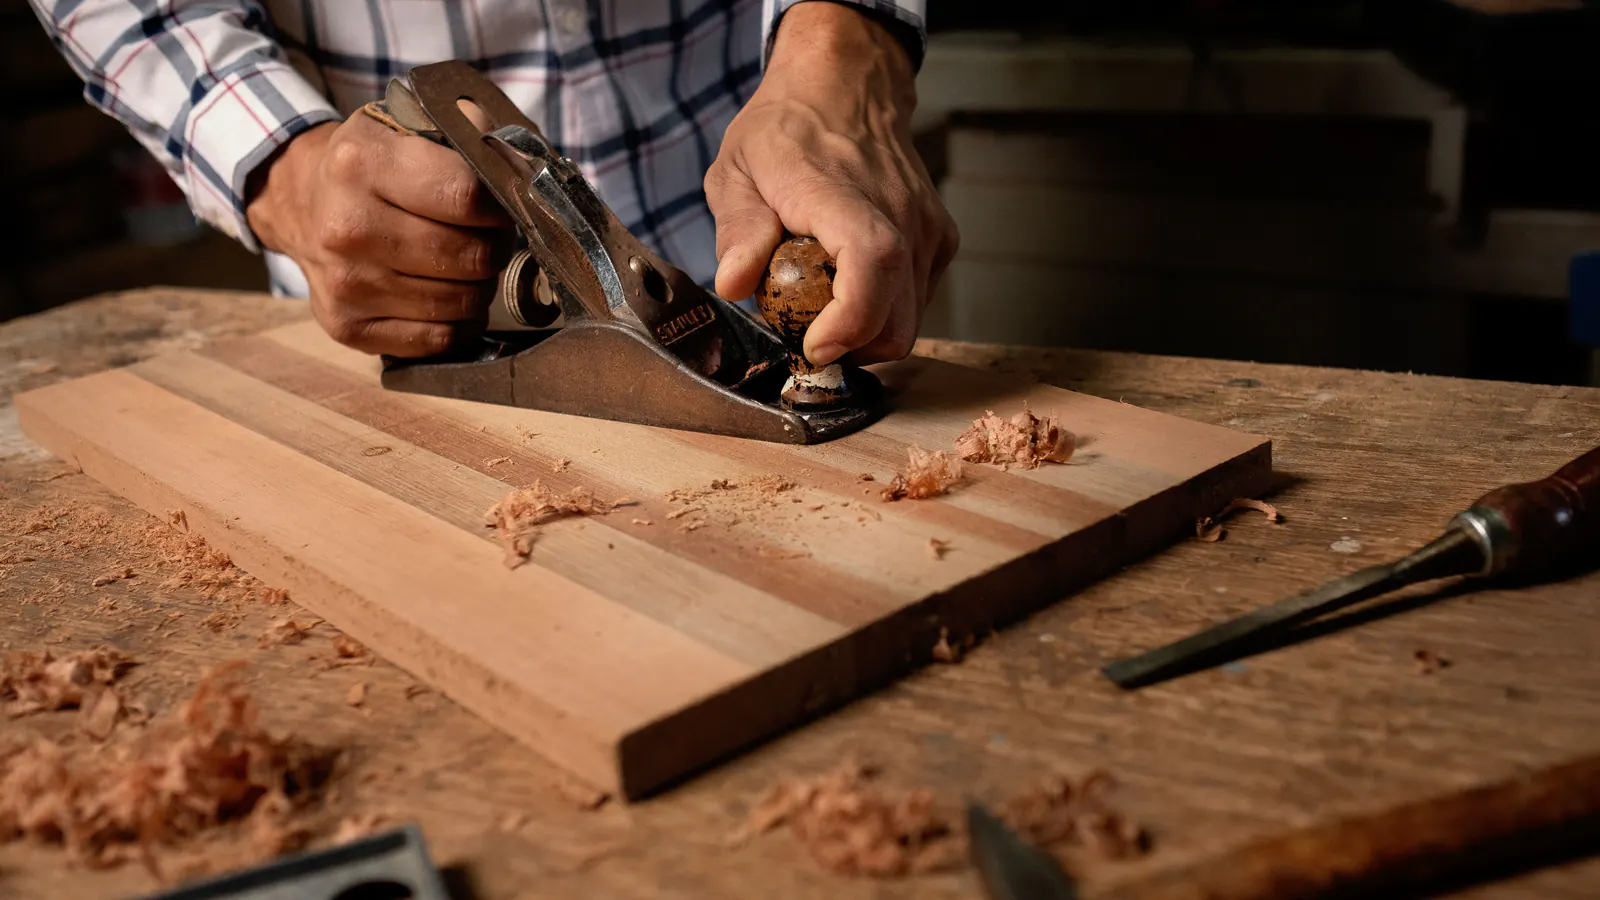
McDermaid holds CSLB license #803672, B-2 Residential Remodeling and C-33 Painting and Decorating. Our carpentry team fixes non-structural wood, like damaged trim and siding, as part of a repaint. If we find rot in a load-bearing member, that repair goes to an appropriately licensed contractor before we paint anything, and the proposal will say so. Painting over rot in the framing would just hide it.
How long does a whole-house exterior repaint take?
It depends on how big the house is, what shape it’s in, what repairs turn up during prep, and the weather. Our written proposal includes a timeline, and we hold off on painting when conditions are outside what the coatings need. Part 3 goes into those conditions.
Why test the old paint if it looks fine?
Paint that has lost its grip can look fine from the ground. Once a new coat goes on top, it adds weight and pull, and the whole stack can peel together. The tape test shows us that before we price the job.
Do you check homes built after 1978 for lead?
The RRP rule covers homes built before 1978, the year lead-based paint was banned for residential use. On newer houses we spend the inspection on the paint, the wood and the joints.
Up next is Part 2, on prep, wood repair and lead-safe work. If you’re planning a repaint now, have a look at our exterior painting page, then request an estimate or call us at (650) 961-7415.