Part 2 of 3 in our Exterior Repaint series. Before this was Part 1, on inspection and the written scope, and after it comes Part 3, on primer, finish coats and the walkthrough.
Part 1 ended with a written scope, so everyone knows what the house needs. This part is where most of the actual work happens. On our jobs prep is 70 to 80 percent of the time, and once the color’s on you can’t see any of it. What you do see is whether the paint stays put.
Covering Up Before We Start
Before we wash or scrape anything, we cover the house and the yard around it. That means plants and beds along the walls, walkways, decks, light fixtures and anything else that can’t be moved. We mask windows and doors where the work gets close.
On a house built before 1978 there’s more to it, because a federal rule decides how the work area gets set up.
Lead-Safe Work on Older Homes
McDermaid is an EPA Lead-Safe Certified Firm, and our crews follow the Renovation, Repair and Painting (RRP) rule on every pre-1978 job. Outside, the idea is to set things up so paint chips and dust land somewhere we can collect them.
- Before work. You get the EPA’s lead hazard pamphlet before we start, which the rule requires.
- Containment. Plastic sheeting goes down on the ground under the work, and up along the scaffold where we need it, so debris lands on plastic and not in your soil.
- Work methods. We use wet methods and keep the dust down while old paint is being disturbed. The rule bans some methods on lead paint outright, including burning it off with an open flame and power sanding without a HEPA dust collection system.
- Cleanup. HEPA vacuuming and wet cleaning, with the debris bagged and hauled off.
- Check. We inspect the work area visually and take dust wipe samples where they’re required.
Our EPA certification page lays out the same steps, and our post on EPA lead paint rules in California covers what to ask a contractor.
Washing, Then Waiting for It to Dry
Paint doesn’t stick well to dirt, chalk, mildew or pollen, so the house gets washed first. Our exterior painting scope includes power washing, but we keep the pressure to what the surface can take. Too much of it can chew up old wood and soft stucco.
After that the walls need to dry out. If the wood is still damp from washing or from a wet week, it’ll push the paint off from behind. So we wash first, do the scraping and repairs next, and only prime once everything is dry.
Getting the Loose Paint Off
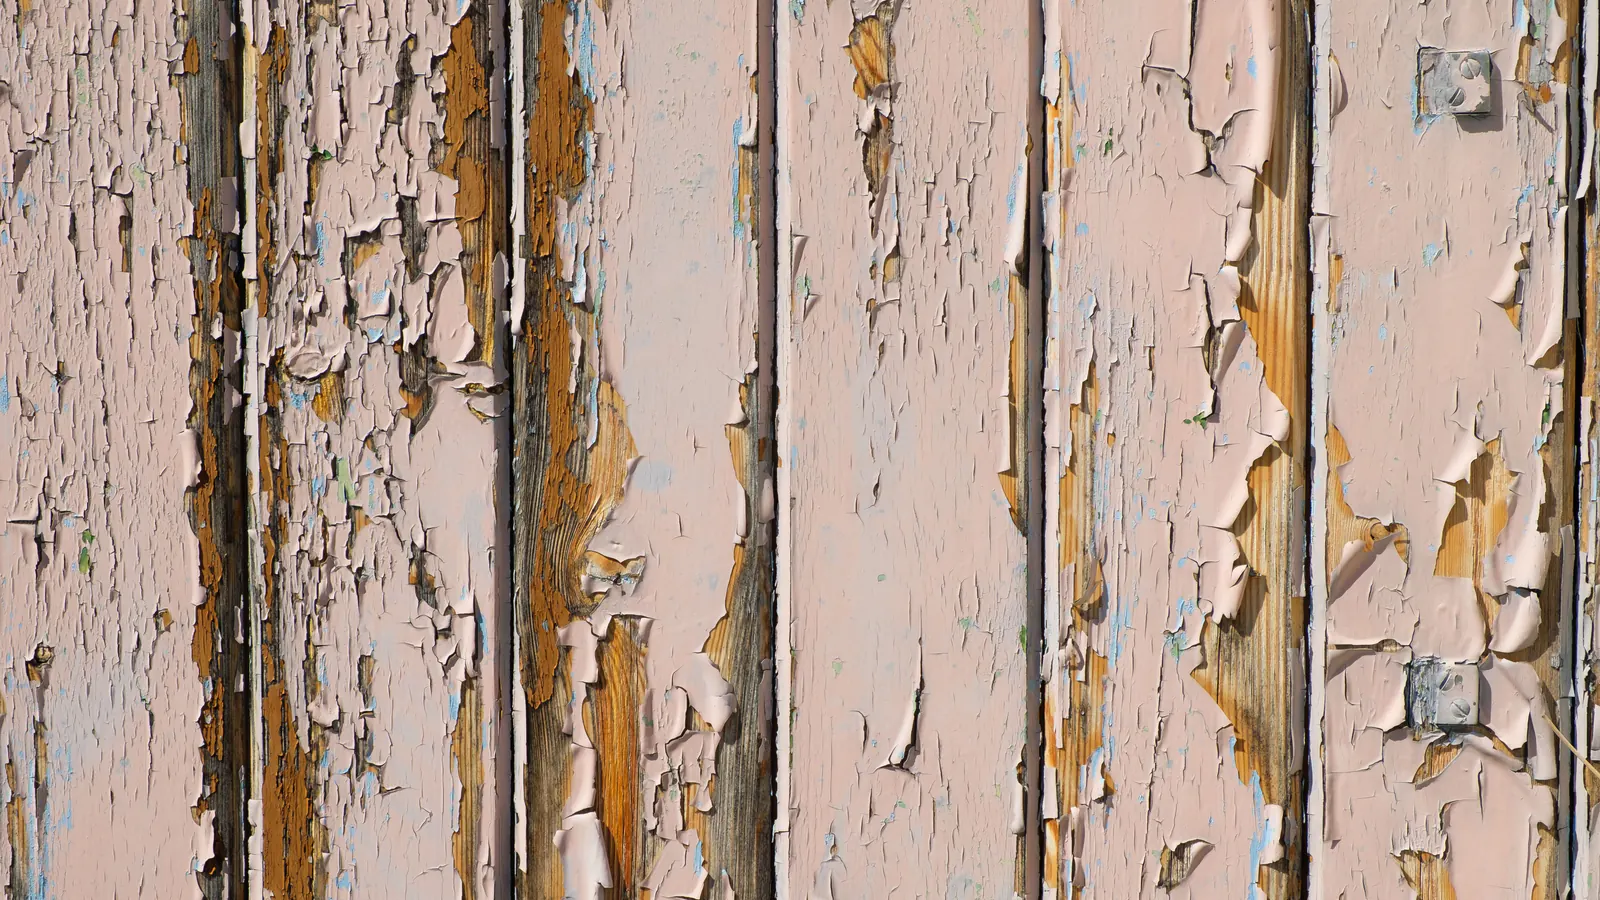
The goal with scraping is to get rid of every bit of paint that’s lost its grip and leave the paint that’s still well stuck. Taking the whole house down to bare wood usually isn’t needed. Most of the loose stuff comes off with hand scrapers, worked with the grain so we don’t gouge the wood.
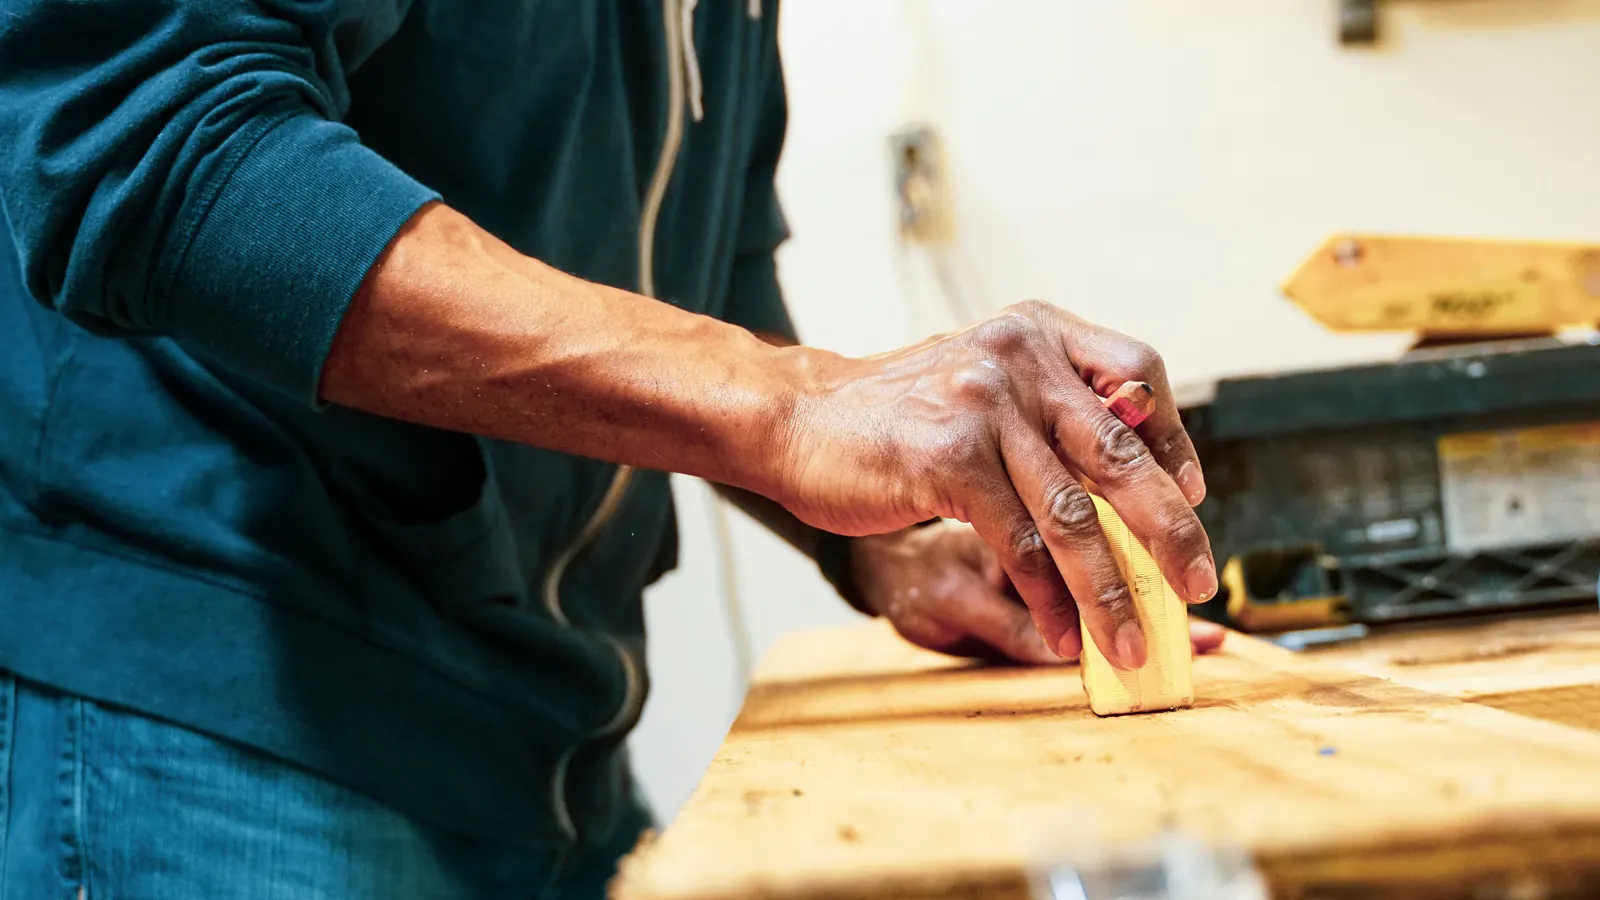
Scraping leaves hard edges where old paint meets bare wood, and those would show through the new finish, so we sand them down and feather them out. Any glossy paint we’re keeping gets scuffed so the primer has something to grab. On a pre-1978 house all of this happens inside the containment, using only the methods the RRP rule allows.
Scraping also works as a second inspection. Once the loose paint is off, you can see soft wood and open joints that were hiding under it. Our post on exterior prep before the first coat shows this stage on a real job.
Fixing Damaged Wood
We don’t paint over rot. Our carpentry team cuts out the damaged wood and rebuilds sound trim and siding before anything gets refinished, which is how our surface restoration page describes it. When a piece is too far gone, we replace it with new material shaped to match what’s next to it, so the wall still looks like itself. On an older home that often means swapping out one shingle or one length of trim instead of a whole wall.
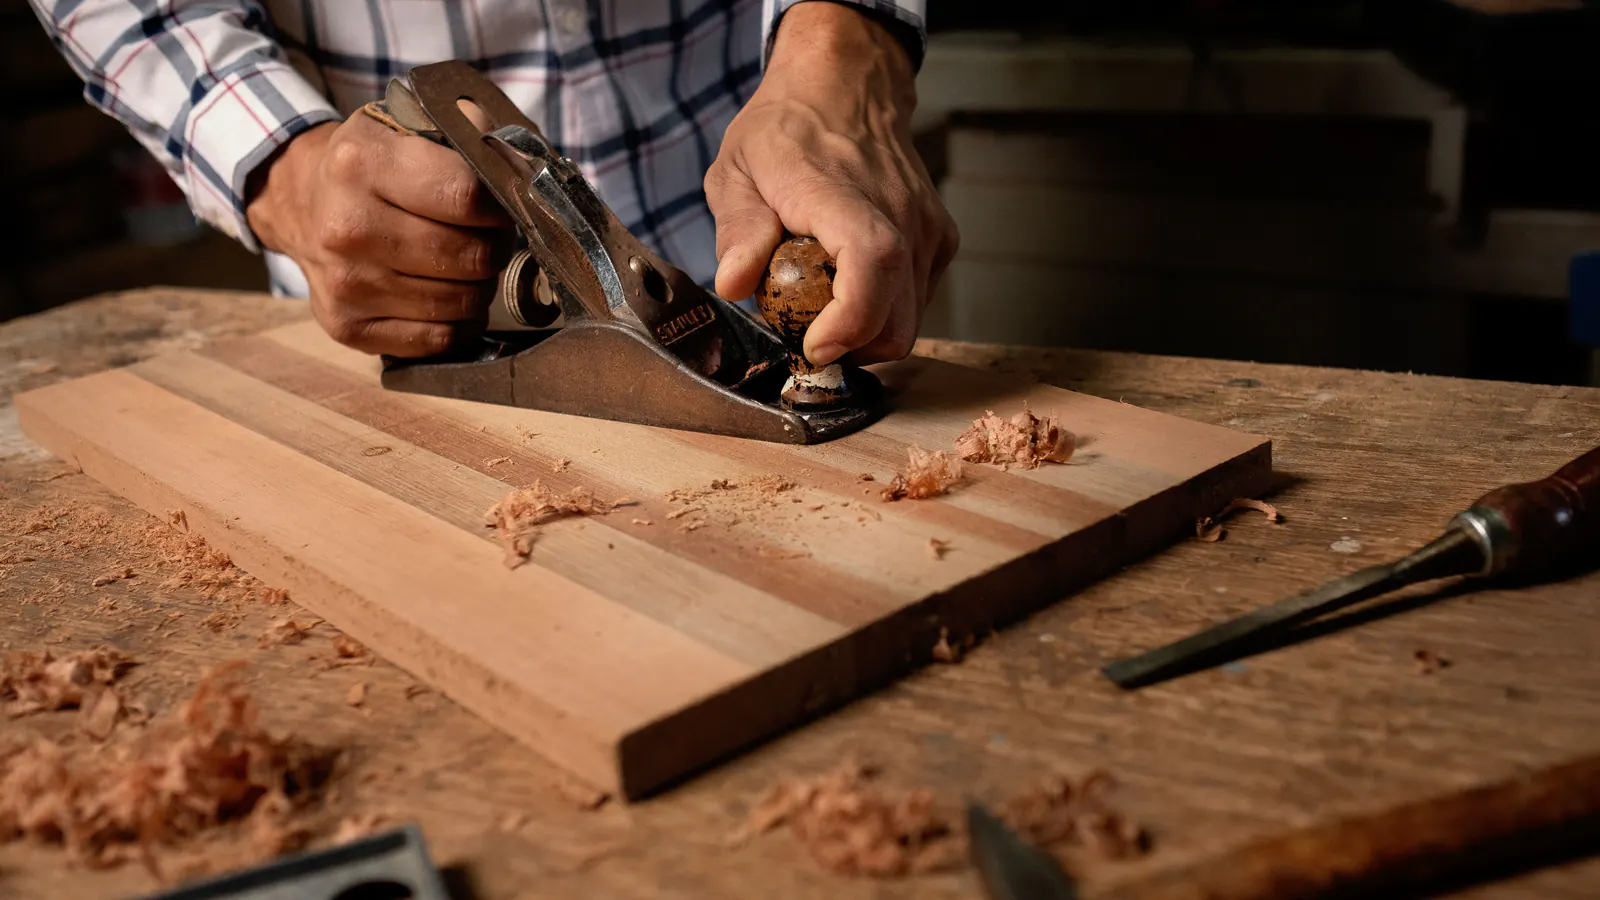
Two things hold for every repair.
- Find where the water’s coming from. If a sill rotted because water sits on it, or a trim board stays wet from a sprinkler, it’ll rot again unless that gets fixed too.
- Know where our work stops. We repair non-structural wood. If rot has reached a load-bearing member, that goes to an appropriately licensed contractor before any paint goes on.
New wood and patched areas get primed before the finish coats, along with every other bare spot.
Caulking and Filling
Our exterior scope says every seam, penetration and transition gets sealed to keep water out. On a real house that means caulk where trim meets siding, around window and door casings, at butt joints, and around pipes and fixtures that go through the wall.
What we leave open matters just as much. The bottom edges of lap siding and any weep openings are there so water can drain out and the wall can dry. If you caulk those shut, moisture gets stuck behind the paint. Dents, nail holes and small cracks in trim get filler instead, sanded flush once it’s cured so the patch disappears under the paint.
Caulk won’t fix wood that’s already wet or rotten. Our post on caulk, primer and paint explains why.
Spot Priming
Bare wood, new wood, filled spots and sanded edges all get primer before any finish coat goes on. We pick the primer for the surface. Some are chosen for adhesion or for how porous the wood is, and on redwood and cedar we use one that blocks tannin, so the natural stain in the wood doesn’t bleed through a light color. Part 3 picks up from here.
Can you skip prep on walls that look fine?
Not completely. Even paint in good shape gets washed, and glossy spots get scuffed, so the new coat has something to bond to. Walls can look fine from the ground and still need that.
Do I need to leave the house during lead-safe work?
On an exterior job the work is outside, inside the containment. We keep windows and doors near the work closed, and we’ll go over the setup for your house before we start.
What if you find more rot than expected?
We show you the damage before we repair it, and the written proposal says how that extra work gets priced and approved. If it reaches a load-bearing member, it goes to an appropriately licensed contractor.
Next is Part 3, on primer, finish coats and the walkthrough, or you can go back to Part 1, on inspection and the written scope. Our surface restoration page has more on repairs, and you can request an estimate or call us at (650) 961-7415.
Sources (1)
- U.S. EPA, Renovation, Repair and Painting Program epa.gov (https://www.epa.gov/lead/renovation-repair-and-painting-program) Back