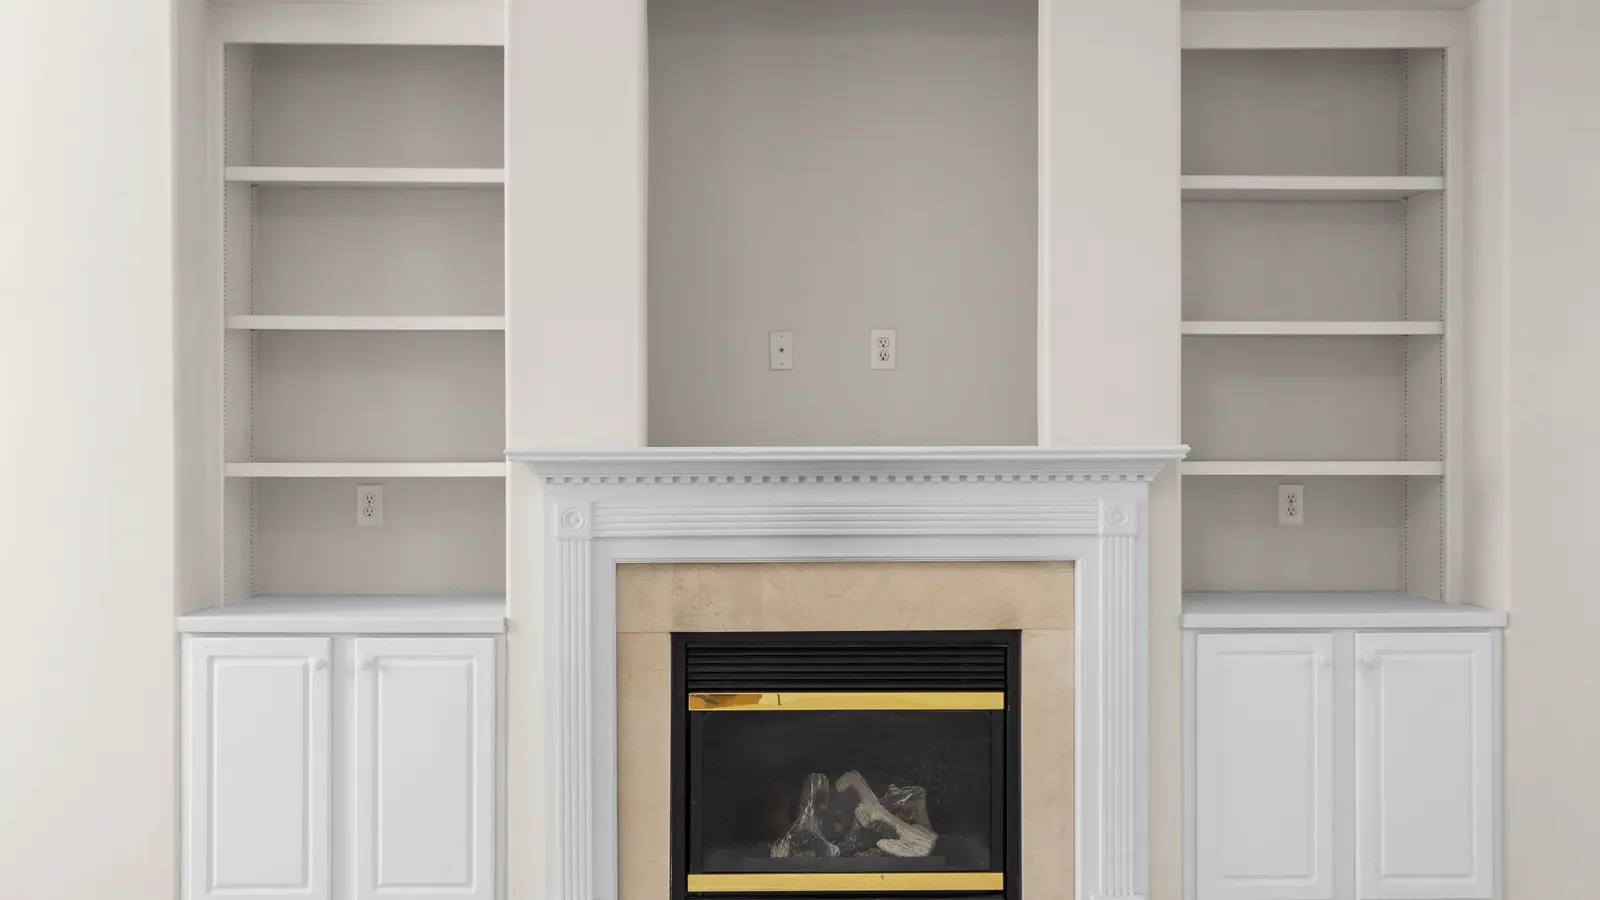
A built-in is basically furniture that’s part of the house. Think of a bookcase between two windows, a window seat with storage under it, shelves on each side of a fireplace, or a bench and cubbies by the back door. When it’s done well, people assume it came with the house.
A lot of Peninsula homes have odd sizes and older styles that store-bought cabinets were never made for. Custom millwork usually fits better and looks more like it belongs, whether it’s matching old details or adding something more modern. Below is how we take a painted built-in from an idea to the finished piece, following the four steps on our custom carpentry page.
Step 1: Design and Spec
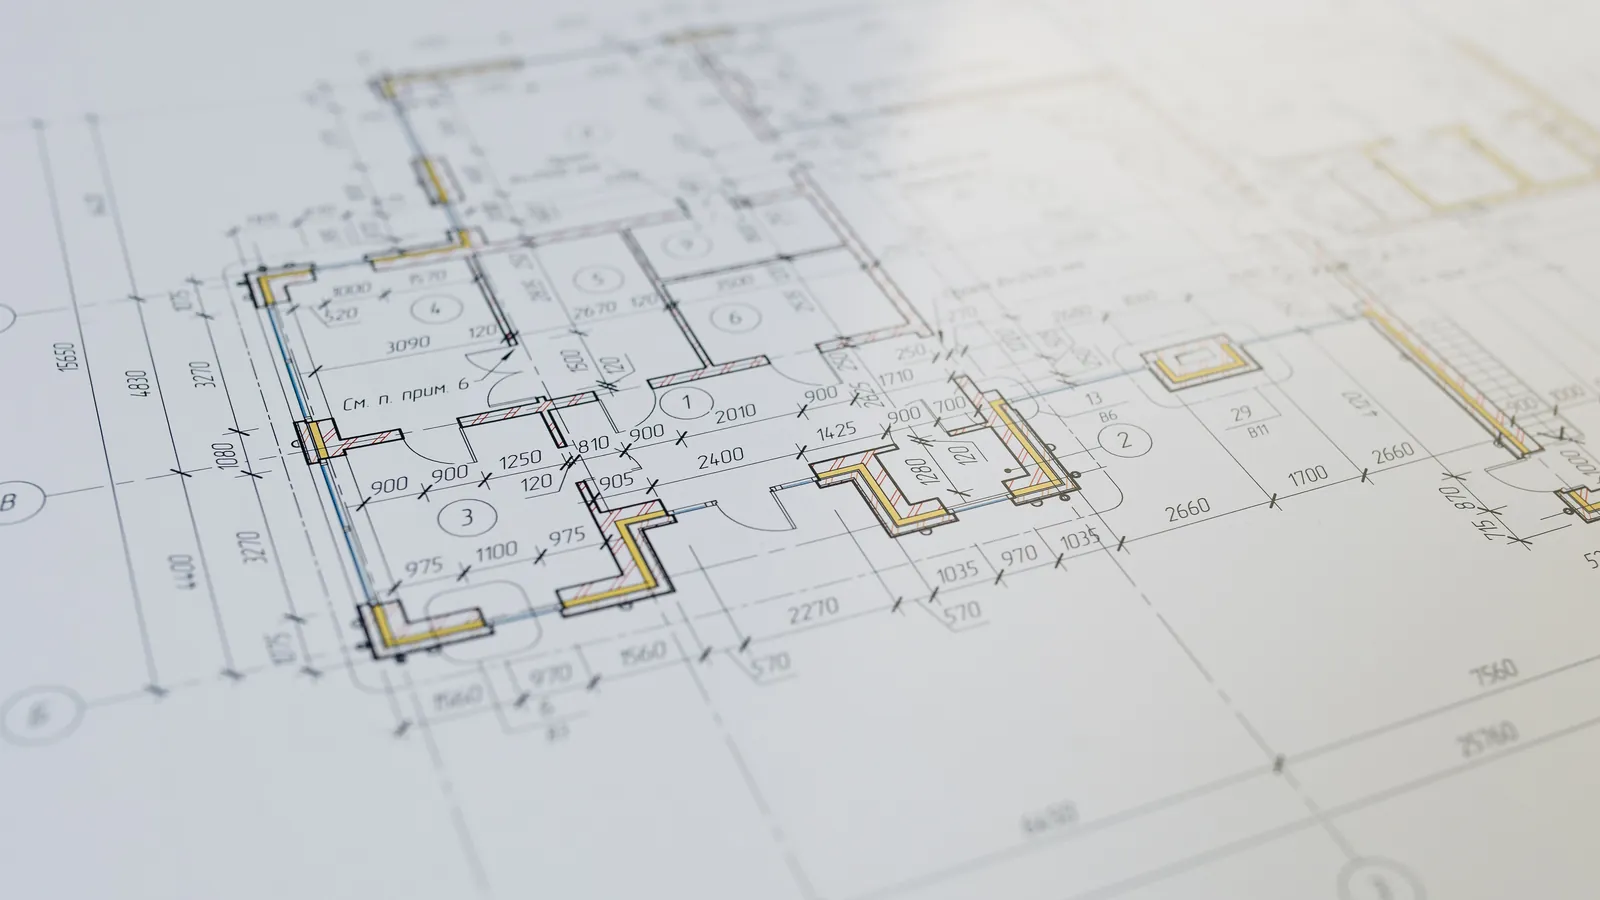
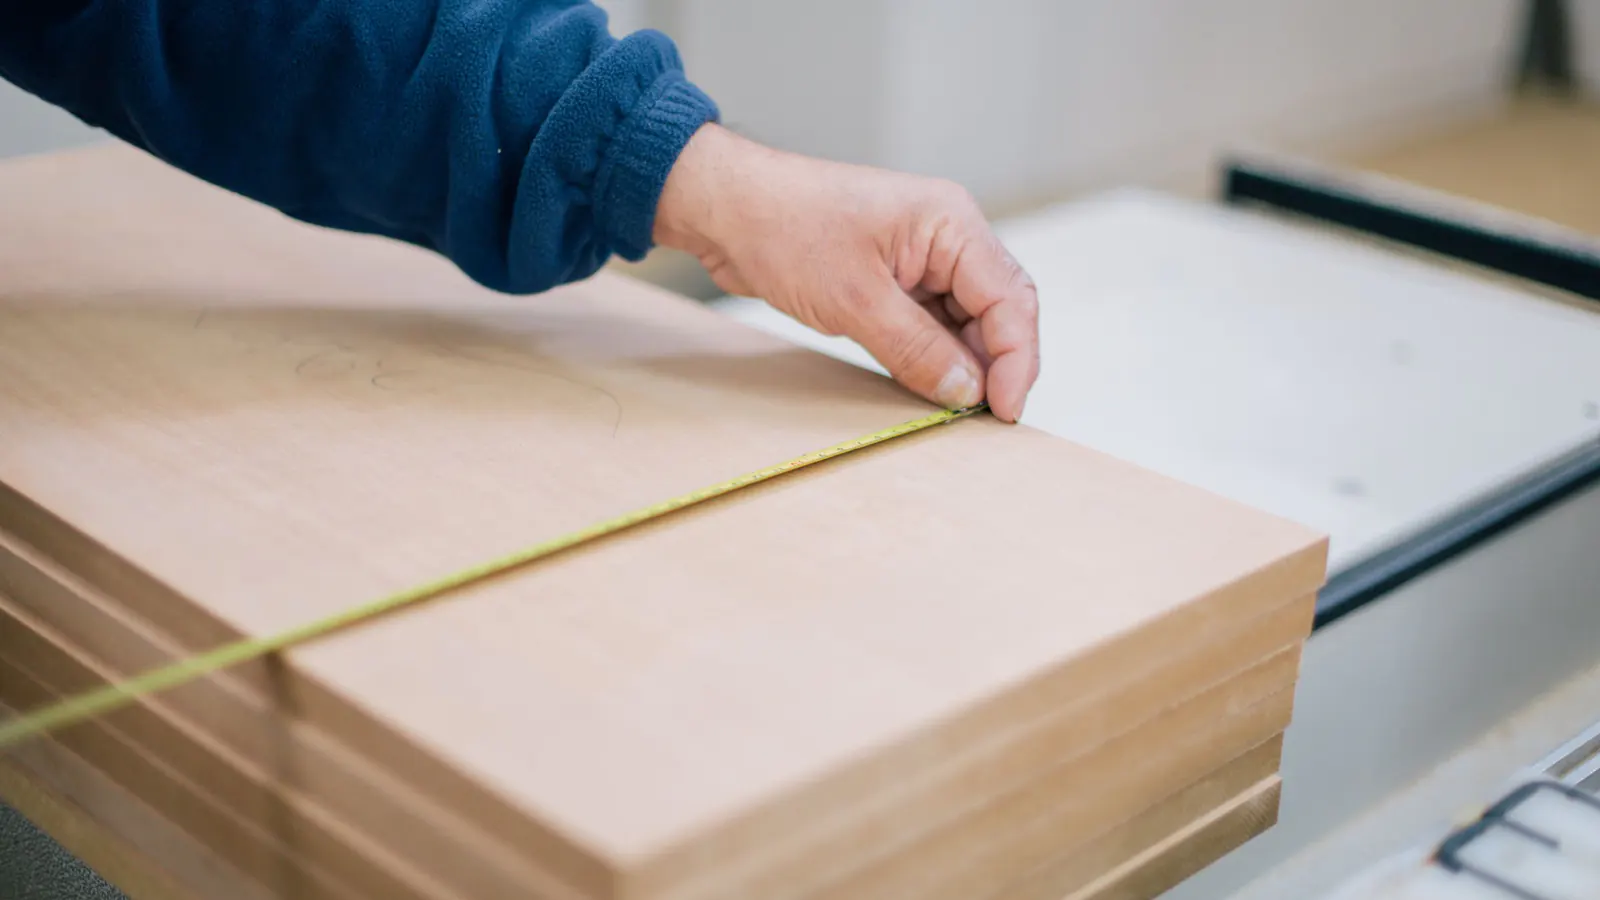
We work everything out on paper before any wood gets cut, including detailed plans, the materials and the finish specs. The plan covers the obvious stuff like size and layout, but it also has to answer some questions people don’t always think about.
- How the case will meet a wall, floor or ceiling that isn’t perfectly flat, level or square
- Whether the trim should match the baseboard, casing and crown already in the room, or have its own look
- Which shelves are fixed, which ones adjust, and how much weight they need to hold
- Doors, drawers and hardware
- Paint or stain, which product, and how much sheen
If you want lights or outlets inside the built-in, that part is electrical work and a licensed electrician handles it.
Step 2: Blocking in the Wall
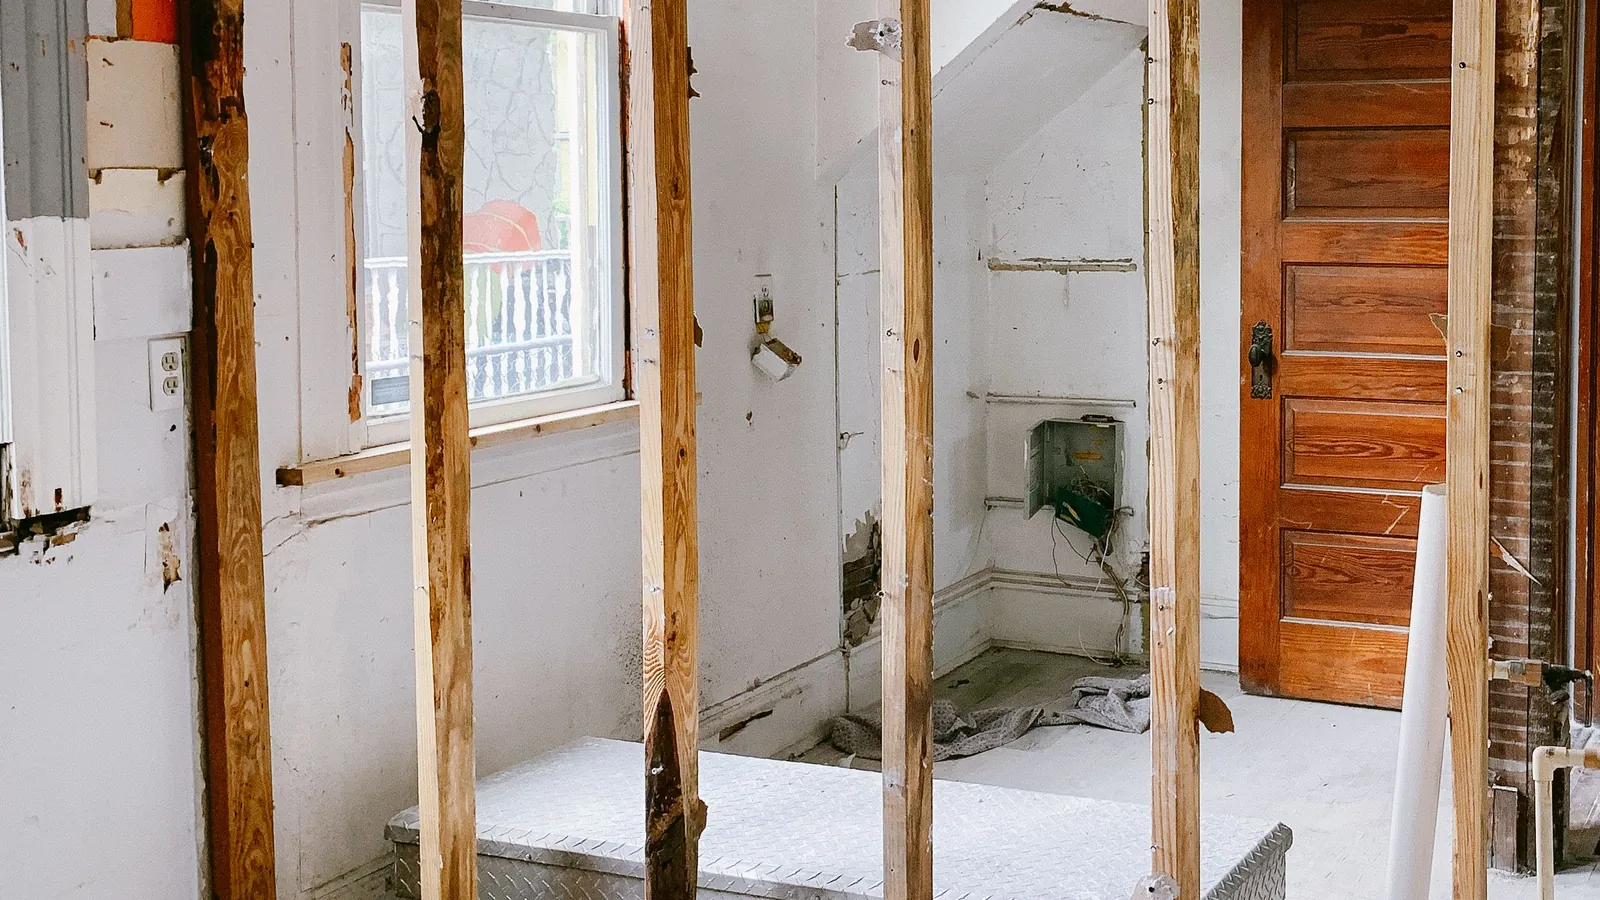
A tall bookcase full of books is heavy, and you don’t want to hang it off drywall. So before the case goes in, we add non-structural blocking and framing. That’s solid wood fitted between the studs right where the case will be fastened, so every screw goes into something solid.
Nobody sees this part once the job’s finished, but it matters a lot. A case that’s screwed into good blocking stays where it is and stays square.
The case is fastened to the wall, but it isn’t holding anything up, and we don’t touch the framing that does. Structural changes to load-bearing elements are performed by appropriately licensed contractors.
Step 3: Building and Fitting It
The piece is made as custom millwork and installed carefully, because the small details are what make it look built in instead of pushed up against the wall. Walls are hardly ever perfectly flat, so on a well-fitted case the edges that touch the wall get shaped to it, instead of leaving a gap that has to be filled later. The face frames line up with each other and with the room. Crown molding runs across where the case meets the ceiling, and the base ties into the baseboard.
Any small gaps left between the case and the wall get filled and caulked before finishing, so once it’s painted it reads as part of the wall.
Step 4: The Finish
The last step is the painting or staining and the final detail work. For painted built-ins we spec Fine Paints of Europe Hollandlac Brilliant 98. We’re a Fine Paints of Europe Master Certified contractor, and we spray it on millwork so it goes on smooth and even.
That deep gloss comes from several layers. There’s a sanded primer, then thin coats of finish, and each coat gets a light sanding so the next one has something to stick to. The last coat doesn’t get sanded. Our Fine Paints of Europe page walks through each layer.
Hollandlac takes 14 to 21 days to cure fully, per FPE, before it should see heavy use. It’ll feel dry well before then but it isn’t fully hard yet, so for those few weeks try not to drag stacks of books across the shelves or leave things sitting on the fresh paint.
Why the Same Team Does Both
On our built-ins, the carpentry and the finishing are done by the same team, and that makes more of a difference than you’d think. The finish is the part everyone looks at, and how good it turns out depends a lot on what happened during the carpentry, like how the joints were made and how the edges were fitted.
When one team is responsible for the whole piece, nothing gets lost between two trades. The carpenter builds knowing what finish is going on it, and the person doing the finish knows exactly what’s underneath.
Common Questions
Can a built-in match the trim I already have?
Yes, and that’s often what people want. Custom millwork can match the profiles of your existing baseboards, casings and crown, or add something more modern if that suits the room better.
Should it be painted or stained?
That depends on the wood, the room and the look you’re after. Paint gives you a smooth, even surface in whatever color you like, and it’s a good choice when the piece should blend in with painted trim. Stain lets the grain of a nice hardwood show. We go over both when we’re designing it.
What else do you build?
Feature walls, coffered ceilings, crown molding, stair railings and balusters, and other finish carpentry. The custom carpentry page has the full list.
Thinking about a built-in? Have a look at our custom carpentry and Fine Paints of Europe pages, then schedule a consultation or call us at (650) 961-7415.